Hello there!
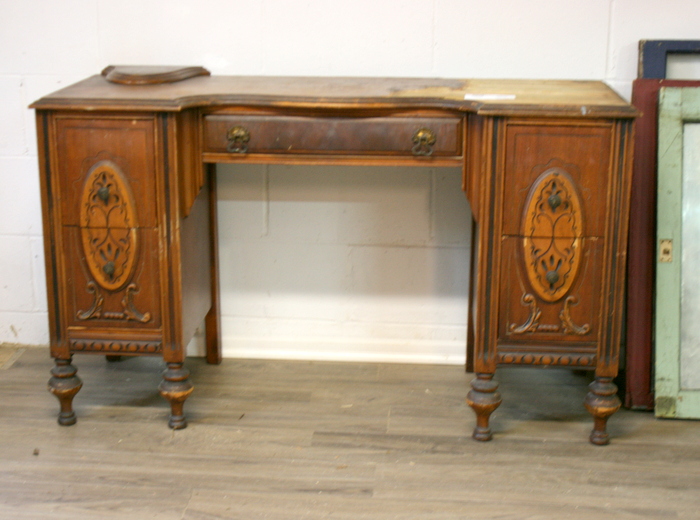
I’ve been shopping over the past few days trying to increase my inventory for the spring. I came across this vanity and knew it was coming home with me!
It looked like someone had already started to work on it – but got a little overwhelmed and quit. The mirror was missing, and someone had tried to start to remove the veneer, unfortunately leaving deep gouges in the wood. So I decided I had to make a new top.
Affiliate links are included in this post for your convenience, any affiliate income goes to more fun blogging projects 🙂
Since this is a more formal piece, I didn’t want to plank my wood. I grabbed some 3/4 sanded plywood and cut it to size.
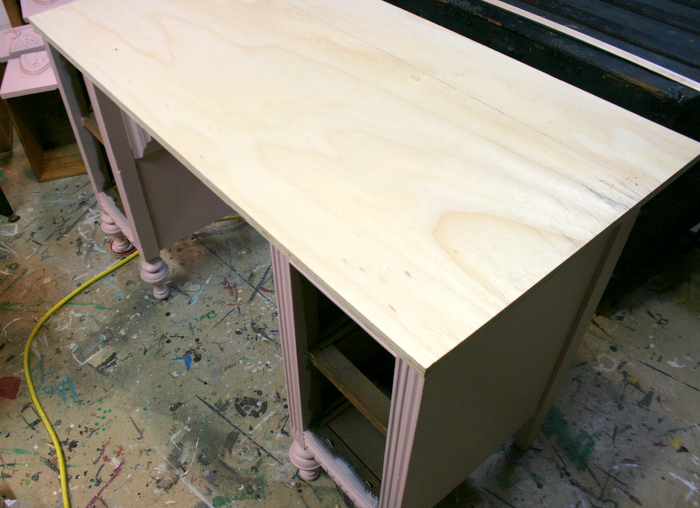
I then grabbed some pretty trim and lined the edges of the plywood. This makes it look much more finished. I attached the trim with some wood glue and a few brad nails.

At first I was thinking this piece needed a dark top and Antique White base, but after the first coat of Antique White, I changed it up and made a custom Blush pink color. {Have you noticed blush pink is super popular right now?!?}
Let’s talk custom color mixing for a bit…
When I first switched from primarily using latex to General Finishes, I felt a little limited in colors. But I realized there are some real benefits to having a specific color chart.
–The General Finishes Colors are very classic and go well together in different combinations
-If you are painting a piece for a client, giving them a defined color chart makes it much easier for them to make a decision
-Just because you are limited to the color chart, doesn’t mean you can’t mix to your heart’s content!
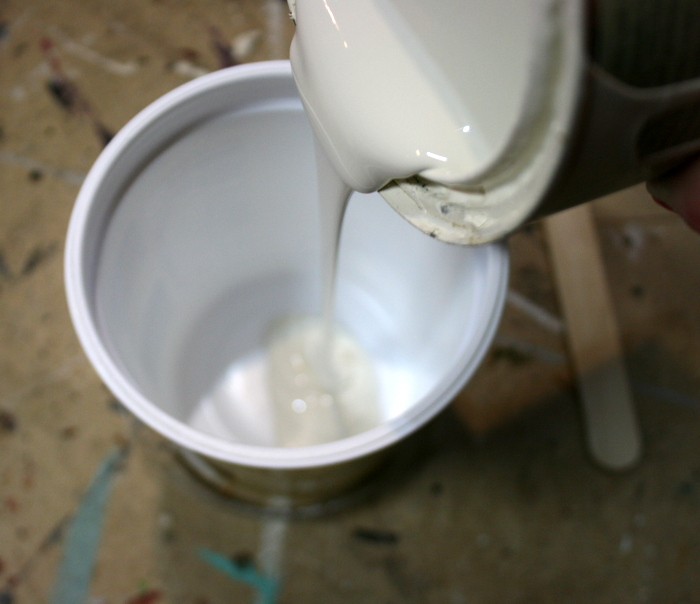
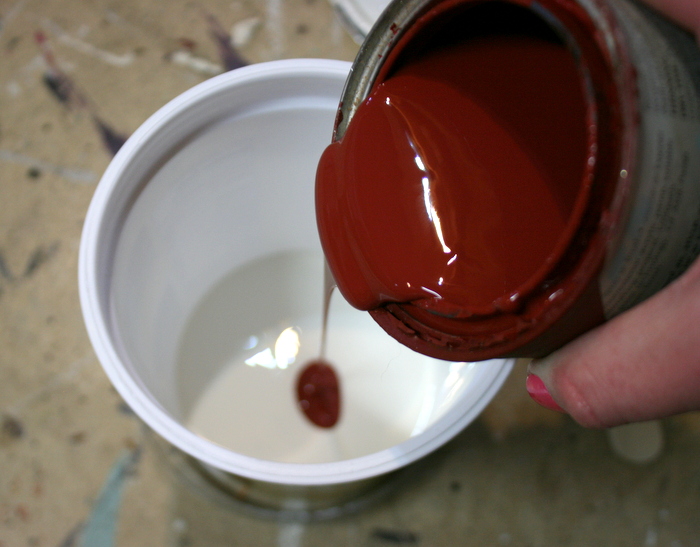
Here’s how I mix colors- grab a clean container (save those kitchen jars) and START WITH YOUR LIGHTEST COLOR. I knew I was going to start this mix with Antique White, so I poured in about 1/2 cup.
Then slowly ADD YOUR DARKER COLORS. Start with just a tablespoon at a time. The dark colors are so saturated, it goes a lot farther than you may think. This is Tuscan Red Milk Paint.
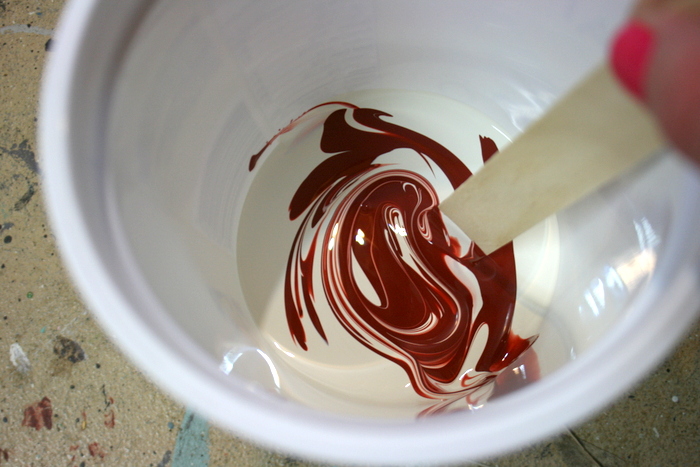
MIX IT UP. I just use a popsicle stick (or paint stick) to mix the paint together. No special tools needed.
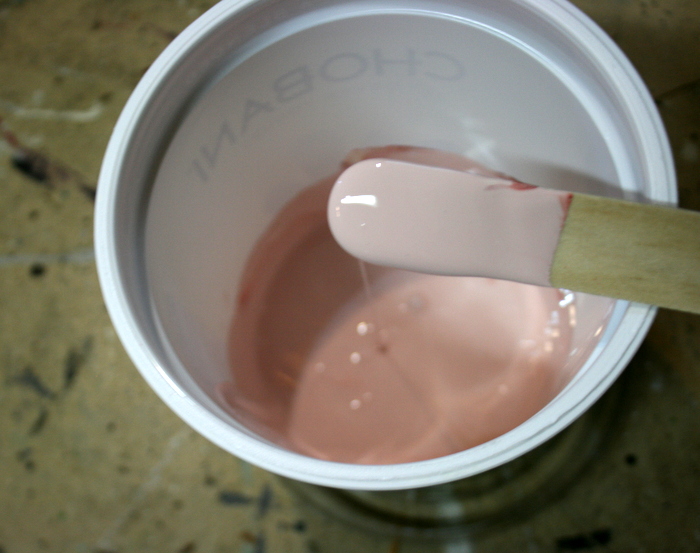
There’s my color! Easy as that. This final recipe is: 1/2 cup Antique White + 1 Tablespoon Tuscan Red = Beautiful Blush!
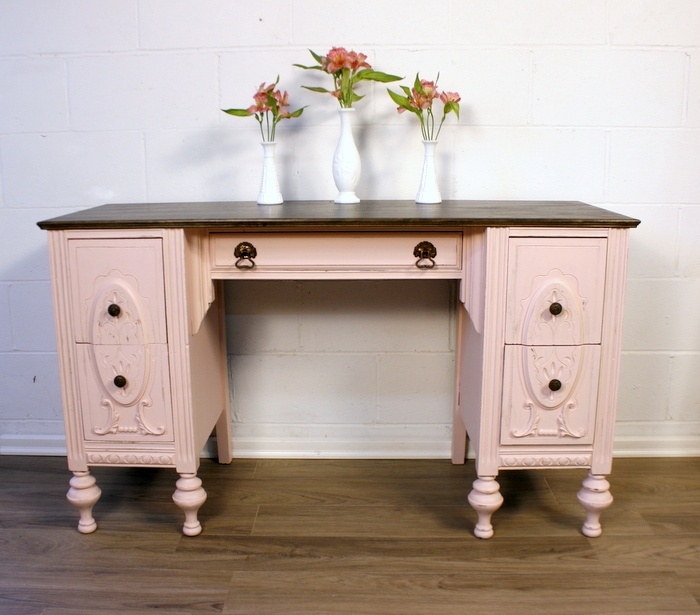
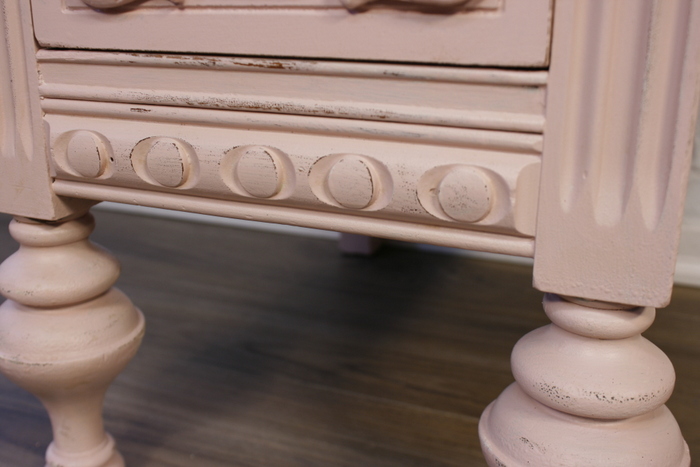
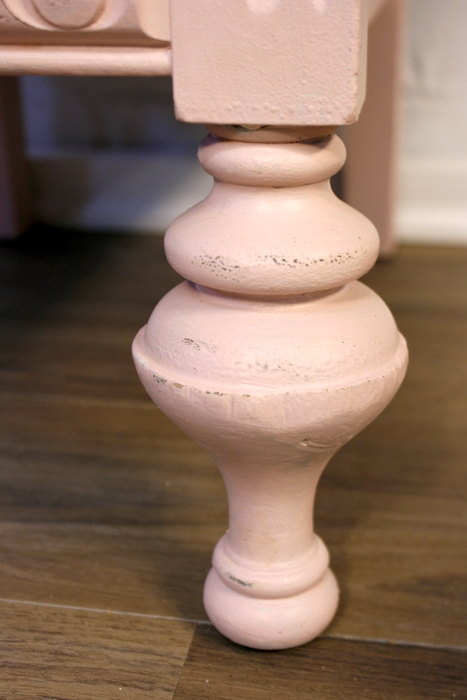
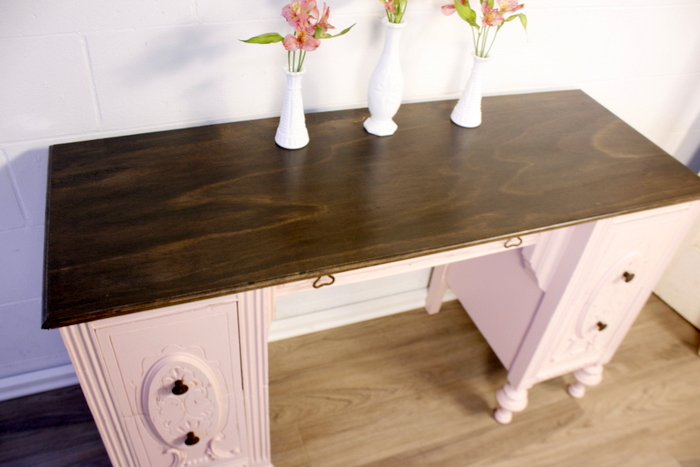
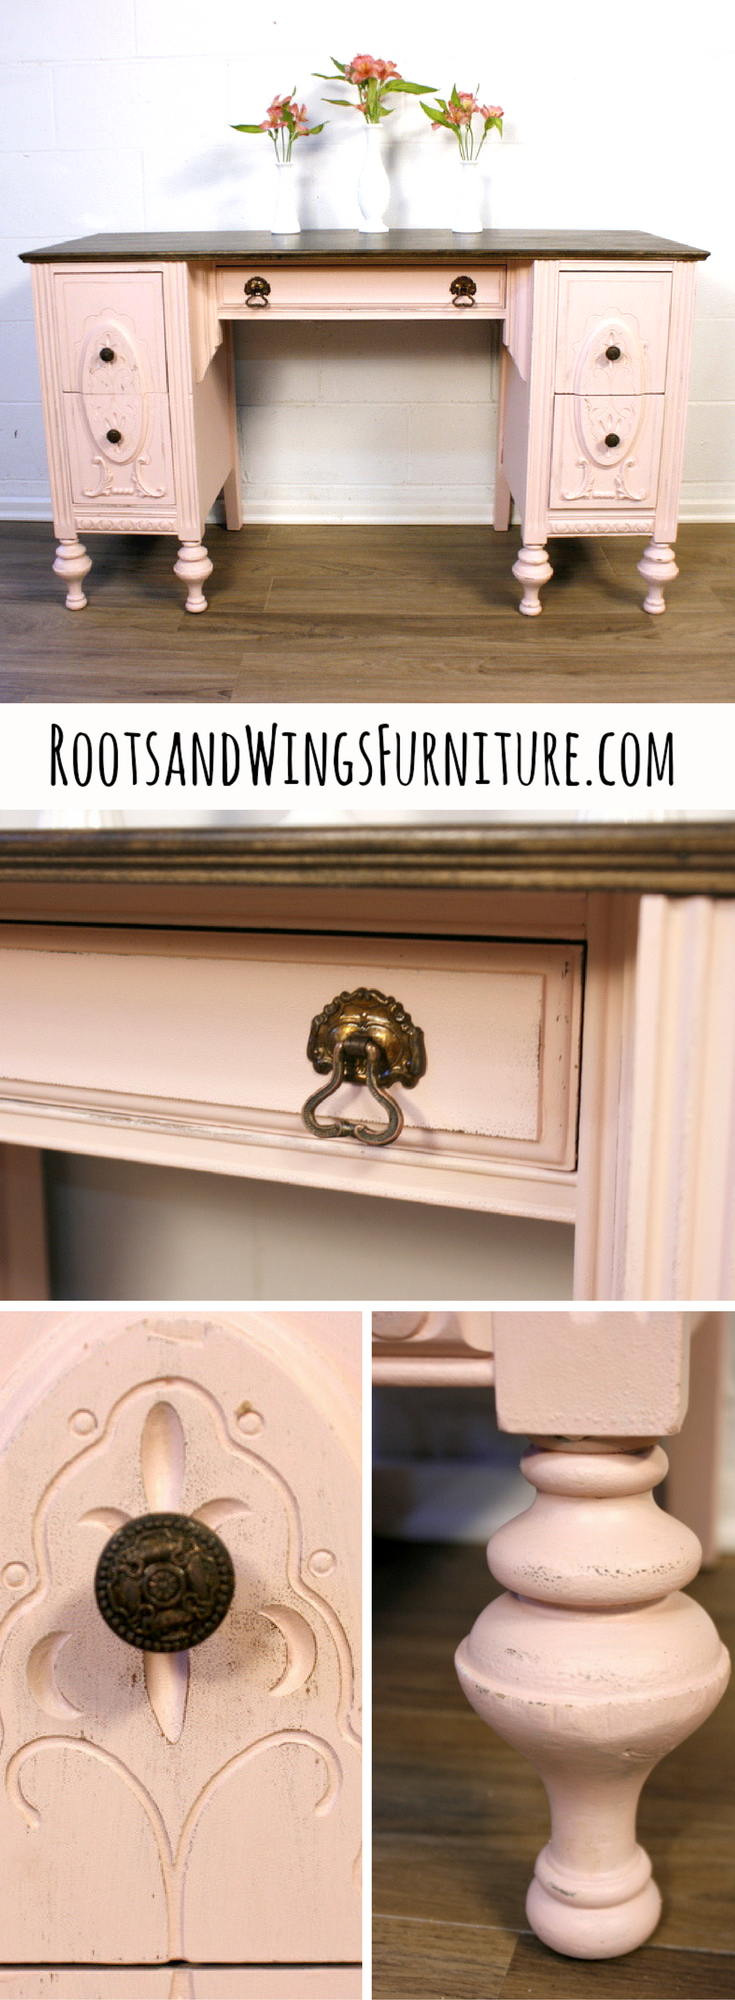
And here’s how my vanity turned out!
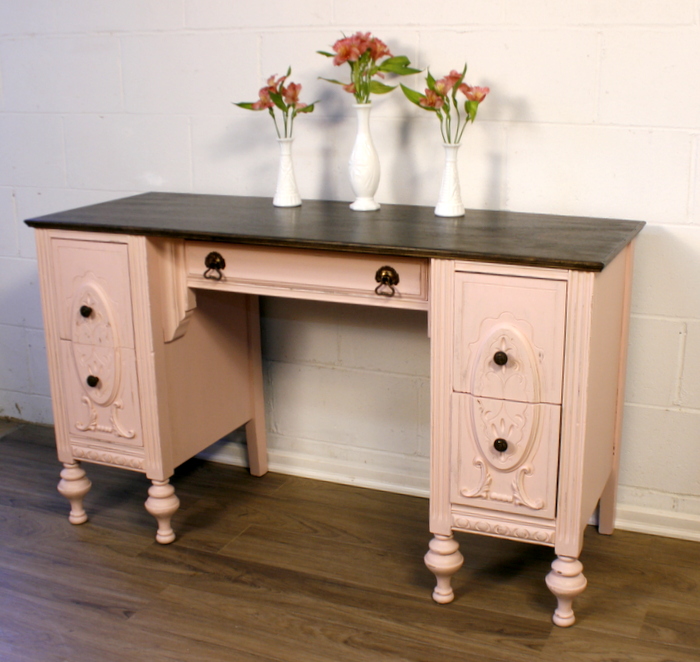
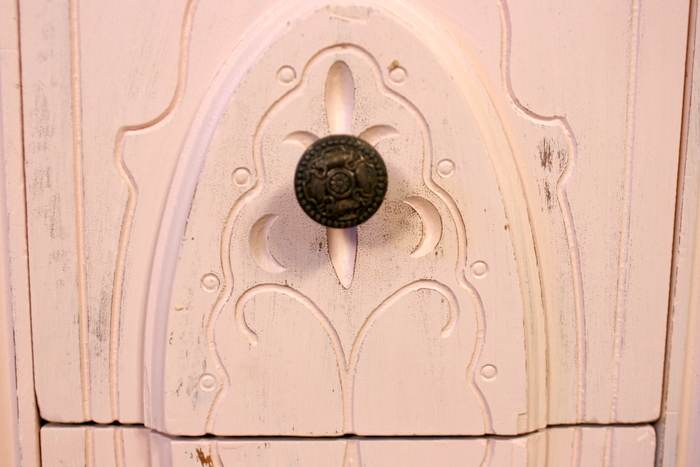
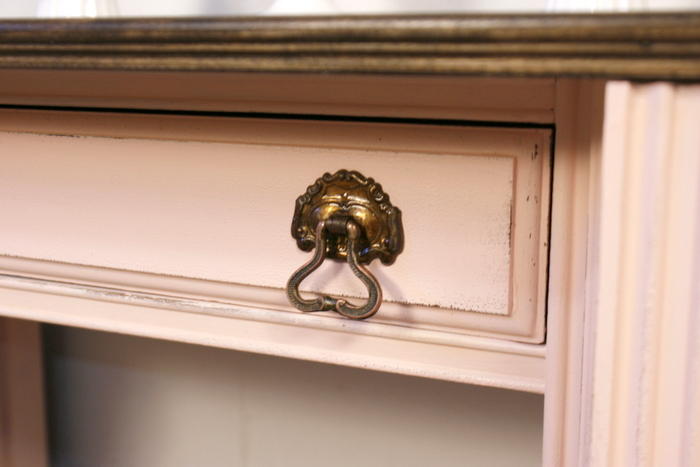
All the details on this piece are just lovely, accented with just a little distressing!
Here’s my finished top. This was stained with General Finishes Water-Based Stain in Walnut, and sealed with High Performance Top Coat in Flat finish.

Happy Painting!
Jenni

