
Hello!
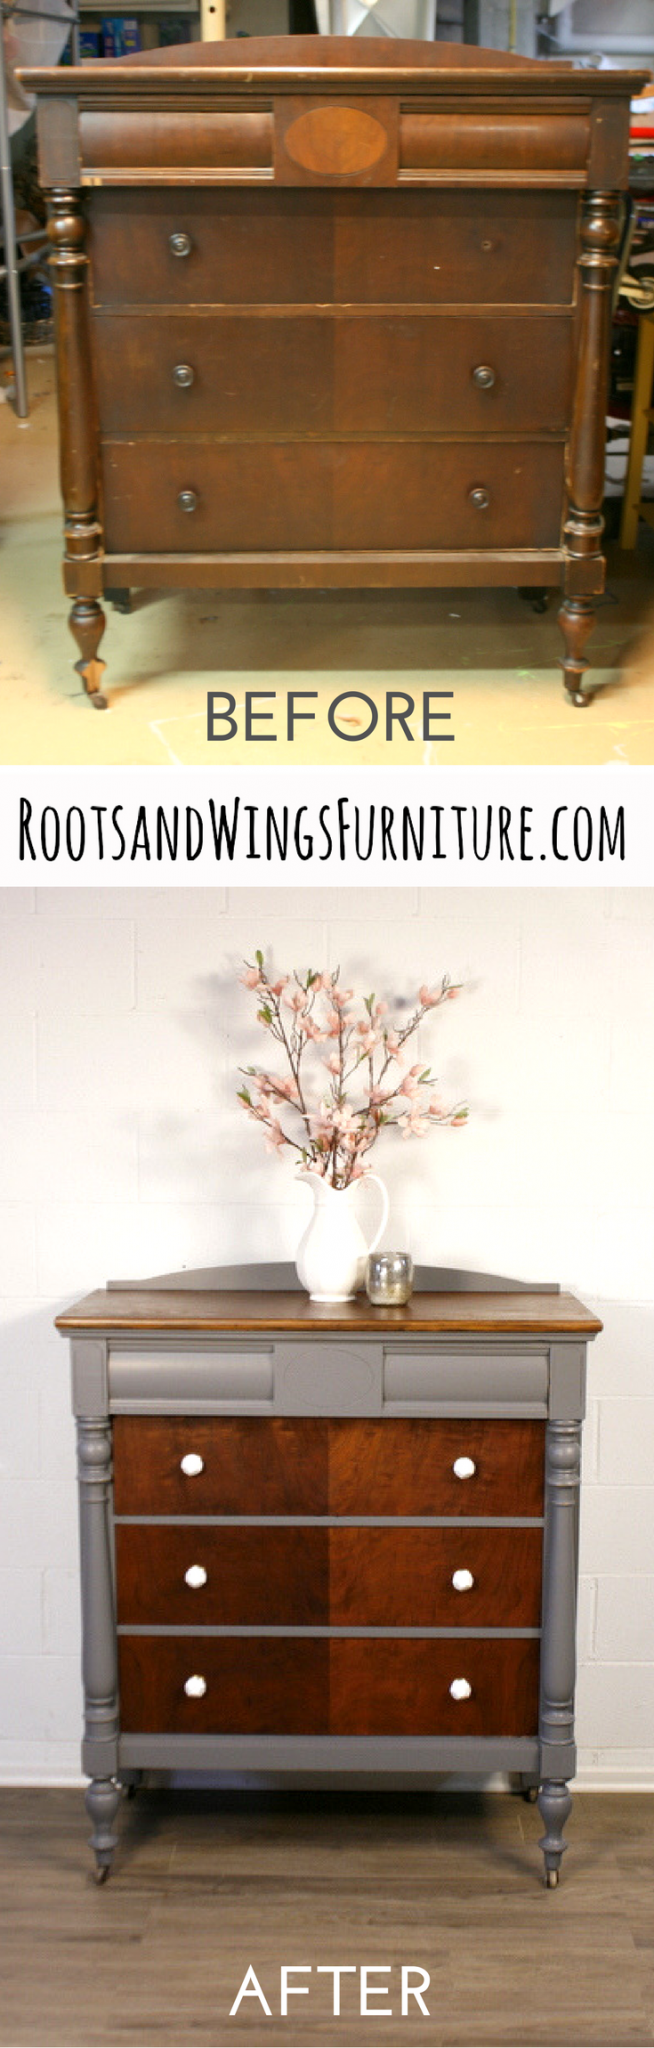
Today’s makeover is a before and after and tutorial all in one. I bought this piece over the summer at one of the ah-mazing church sales. It’s a gorgeous antique dresser with great shape, but it needed some work. I also couldn’t decide how to refinish it so it sat and sat. Here’s how it started…
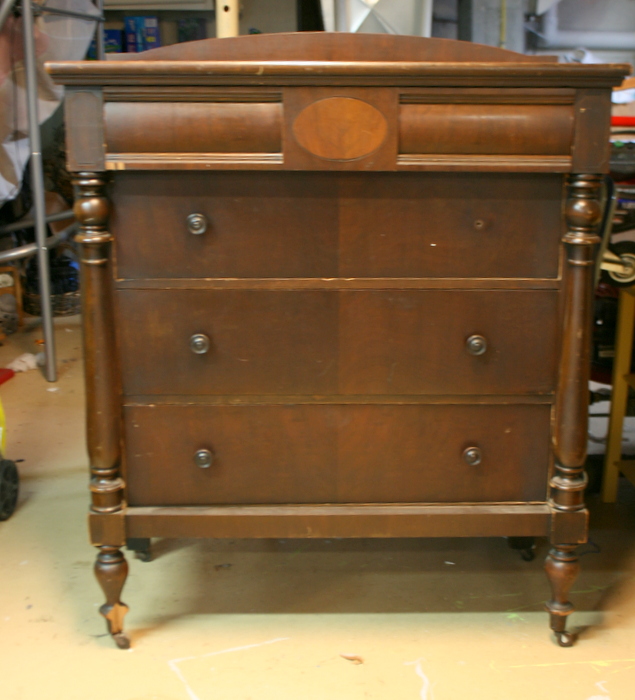
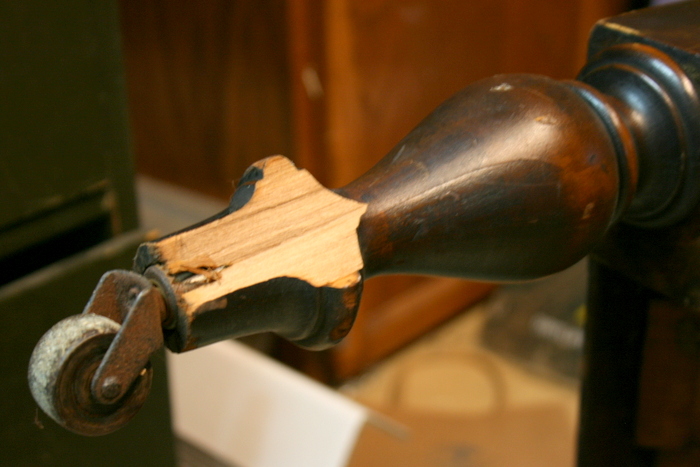
In pretty good shape except for that one broken leg and some missing veneer on the sides. Sometimes chips in molding doesn’t bother me, but if this got any worse it would be a structural issue so it must be fixed.

I wish I were smart enough to come upwith what I’m about to show you myself, but I learned this technique from Denell Shaw via Furniture Painting University, to see more of her projects, find her here.
This post contains affiliate links to help you find the products I talk about. Any affiliate earnings go to support more projects for the blog 🙂
Here’s what you’ll need for repair:
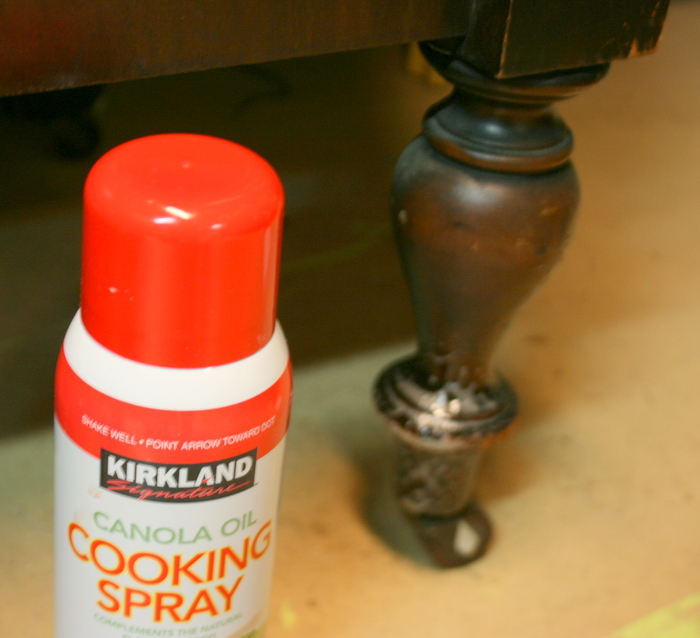
- Cooking Spray – any old cooking spray will do!
- Hot Glue Gun – everyone has one of these somewhere right?
- Hot Glue
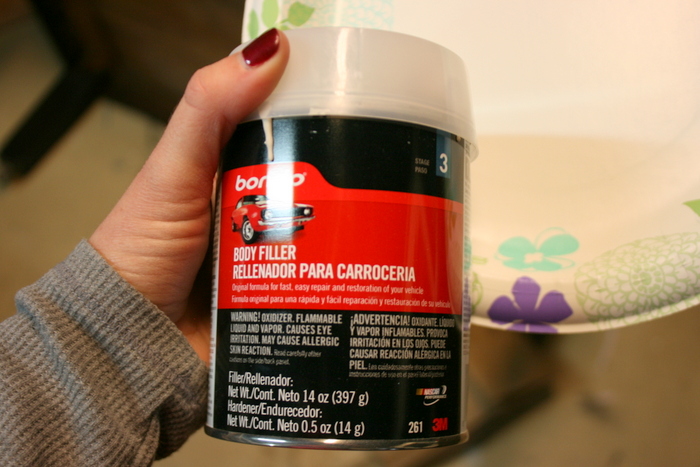
- Bondo
- Sandpaper (120-220 grit)
- Gloves
First you find a spot that will match your missing piece so you can make a molding. In this case I’m using the other foot. Spray it liberally with cooking spray.
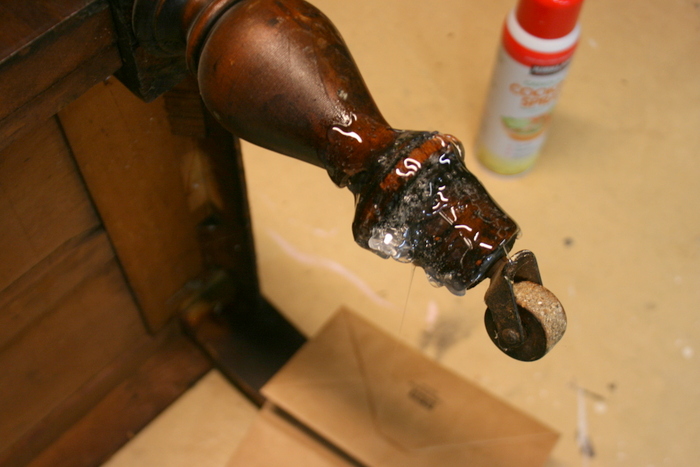
Next, fire up your hot glue gun and apply a generous amount on top of the cooking spray. I used a couple layers.
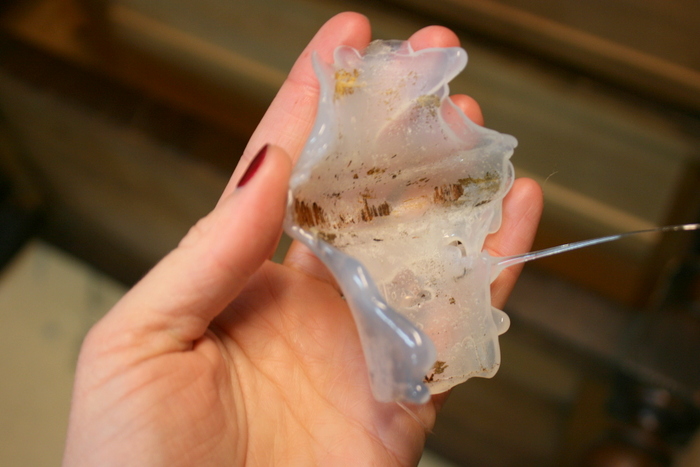
Let it dry, and then pry it off with a small screw driver.
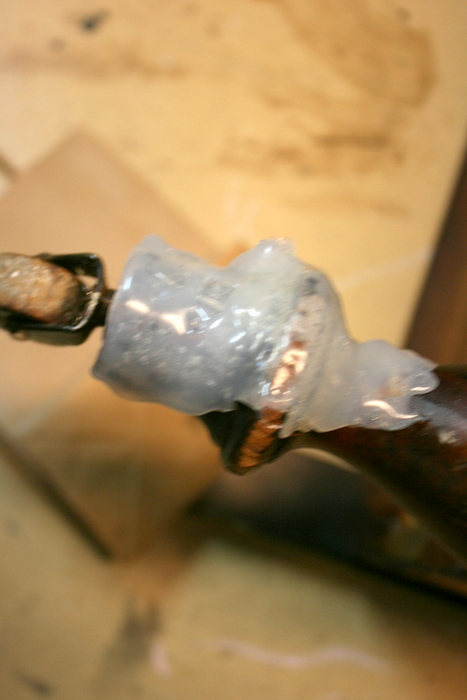
And check it out, you have a mold!
I’ve learned for larger filling jobs and wood repair that this stuff is awesome. Bondo is used for body repair on cars so it’s super sturdy and it dries quick. Note: it’s an epoxy so it smells (use proper ventilation) and it’s paintable but NOT stainable.
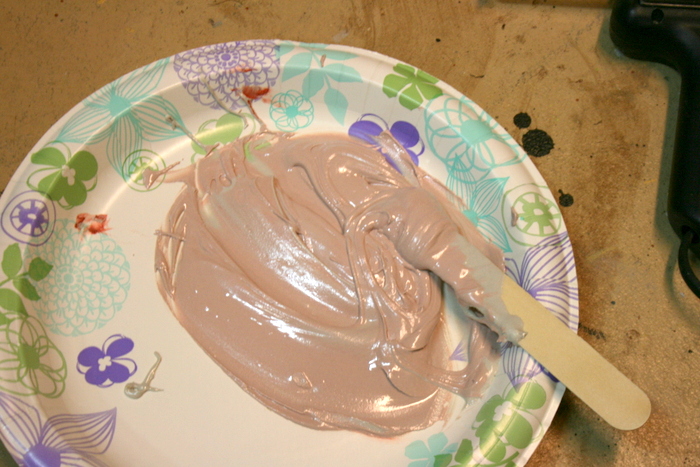
Follow the directions on the can to mix it up, I usually just mix it on a paper plate with a small stir stick. It is pink when all mixed up.
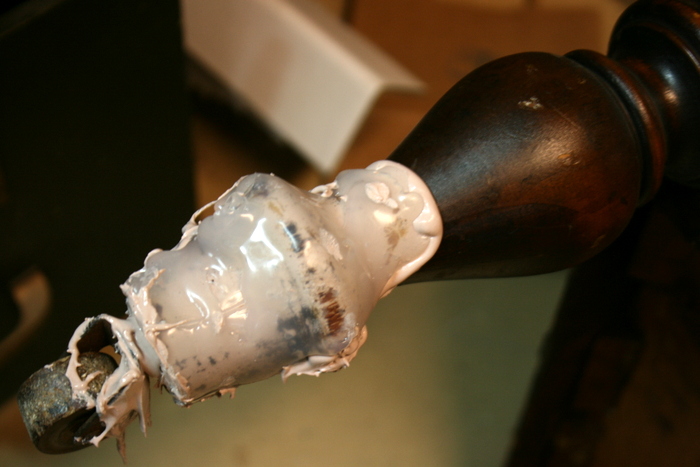
Now things are about to get messy – gloves are recommended! Using your stir stick put a blob of the Bondo into the mold and press it onto the broken area.
Wipe off as much of the excess as you can, and let it dry! It dries quickly (about 30mins) I let it sit a bit longer just to be sure it was all dry.
Peel it off and check out your work!
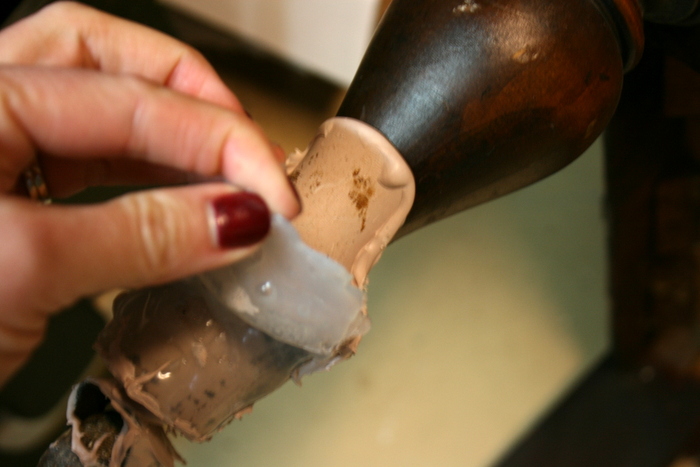
Grab your 120 grit sandpaper and start smoothing and blending in the patch.
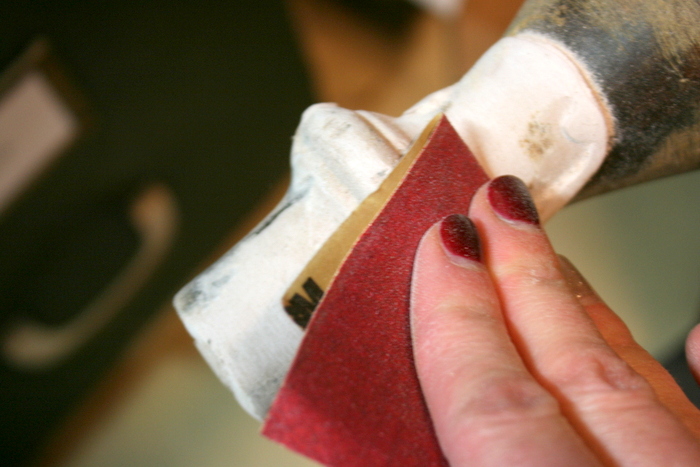
And just like that, it’s fixed! Who would have thought that auto body filler, cooking spray and hot glue could be so handy??

I also needed to remove the peeling veneer on the sides of this piece. I used my trusty method I showed you here. Once the veneer was removed I sanded the sides until they were smooth.
Now we are finally ready to finish the piece! This piece had some amazing veneerwork (on the drawer fronts and top) so I decided to go with a two-tone look. I’m glad I did – it showcases the beauty of this piece. The true beauty is in the wood – isn’t God’s creation amazing?

To refinish this piece, I used:
- General Finishes Driftwood Milk Paint
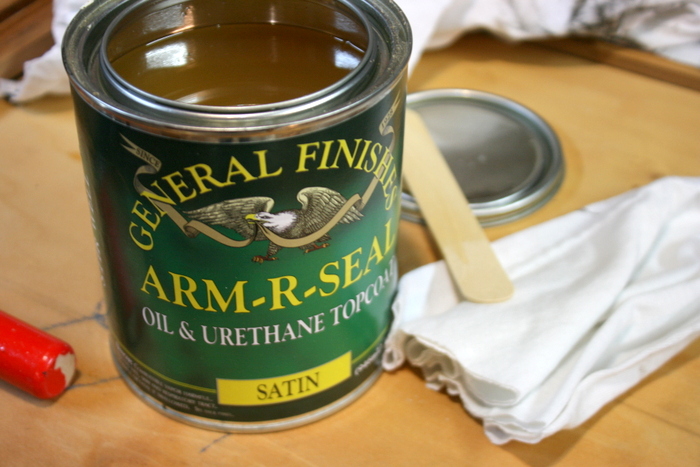
- General Finishes Arm-R-Seal
- 120 grit sandpaper
- 1/4 pad sander
- Purdy Paint Brush
- White ceramic hardware
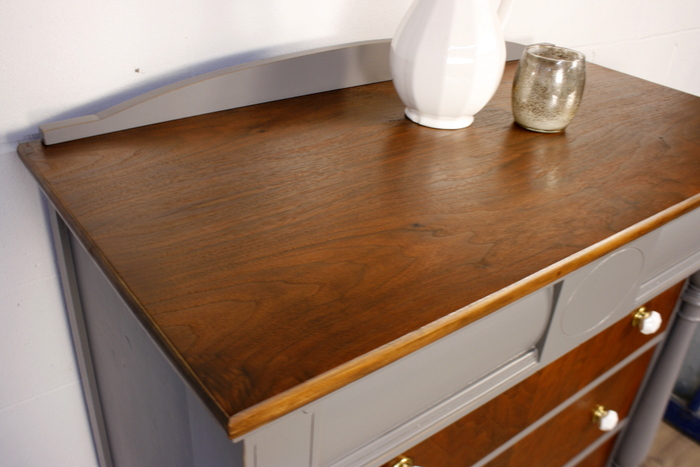
The drawers and top I sanded down to raw wood with my 1/4 pad sander and 120 grit sandpaper. I was left with pretty wood that needed a little love. I’ve been playing with a new (to me) product – Arm-R-Seal. It’s an oil and urethane topcoat so it soaks into the wood and protects it from the inside out!
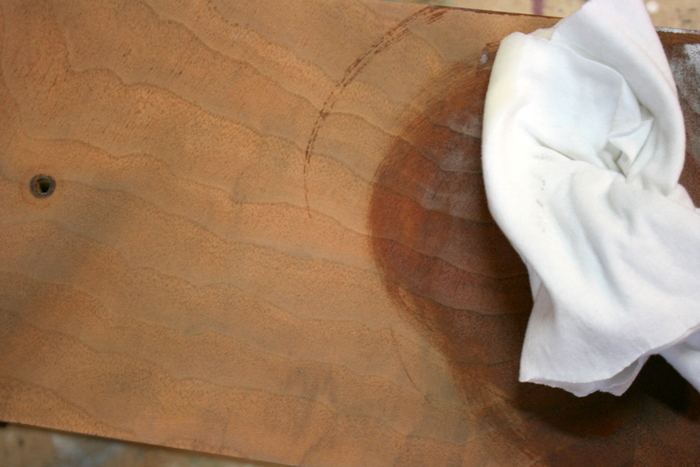
All I did to apply it was to rub it in with an old cut up t-shirt.
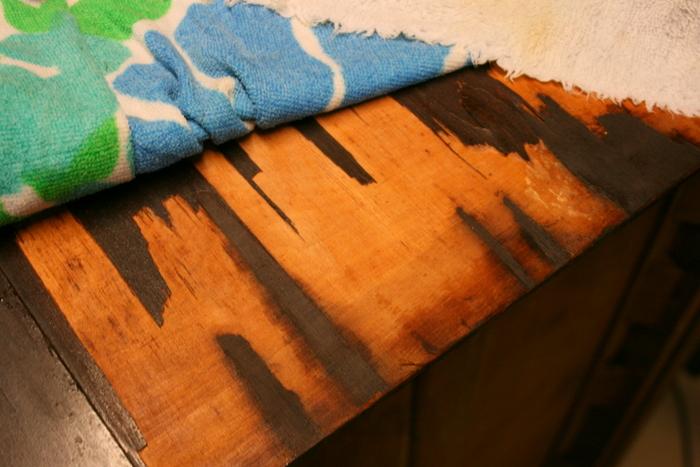
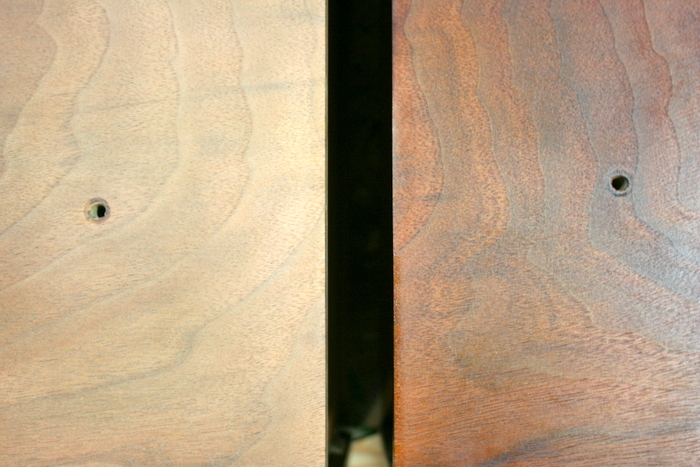
Look at the difference here – the raw wood is on the left, the sealed wood on the right. Isn’t that gorgeous? I applied 4 coats with light sanding (400 grit) between coats.
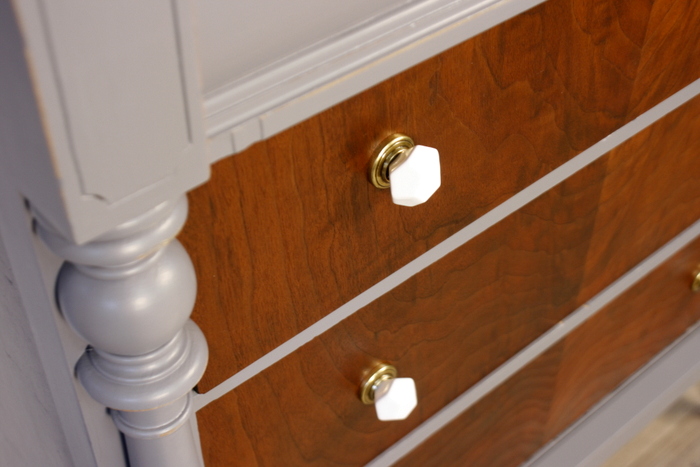
Driftwood Milk Paint compliments the wood tones just right.
Can you tell which foot was broken? You can if you look closely, but I doubt it will bother anyone.
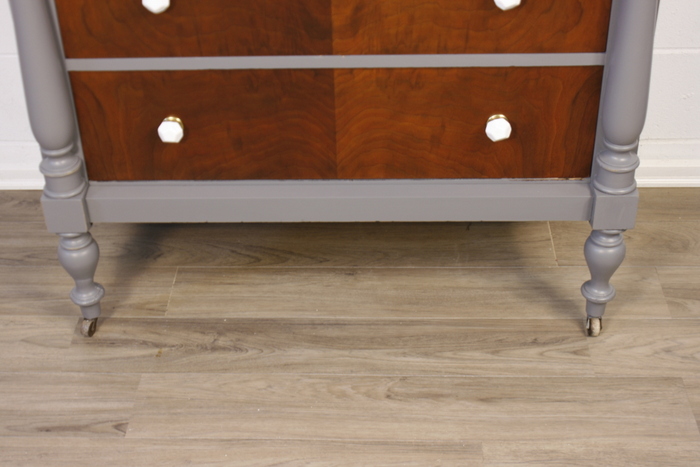
I chose these white ceramic knobs to pop off the wood.
This one was a lot of work – but so worth it, don’t you think?!

Pin to share!
Happy painting!
Jenni

