
Hello friends!
It may be still snowing here, but that doesn’t stop me from wishing for spring. The weather has been teasing us for a while now. But I decided it was time for spring inside. I needed a little mantel makeover, and I was feeling like an experiment.
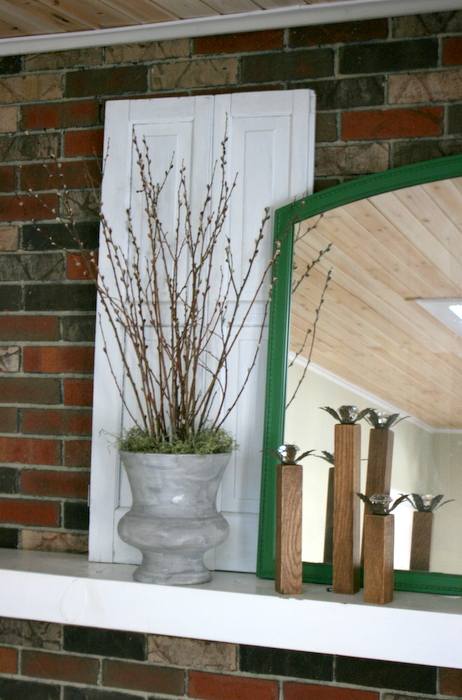
When I decorate for seasons I tend to go neutral, at least at first – this spring mantle is not full of Easter decor or pastels, it’s a neutral farmhouse look that will take me easily into summer!
This post contains affiliate links to help you find the products I’m talking about. Any affiliate income goes to support more awesome projects on the blog 🙂
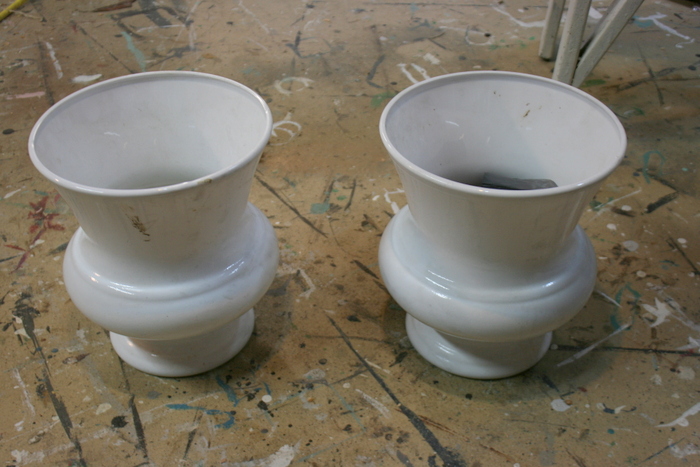
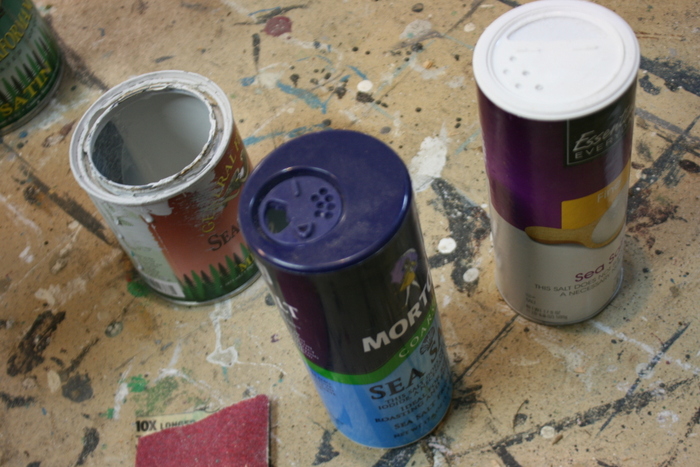
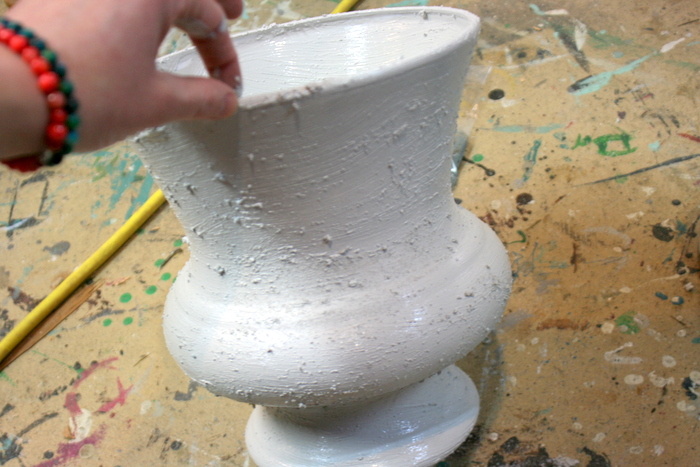
I’ve had these plastic urns for a few years now, and always thought about painting them but wasn’t sure how. Well, inspiration struck and I thought I’d go for the concrete look. My first thought was to use Saltwash (like I did on these tables) but I’m out. So I tried mixing sea salt into the paint. Sure enough, it gives just the texture I was looking for!
Here’s what I did…
I first sanded the plastic pots a bit with 80 grit sandpaper. I did this because they are shiny plastic, and while they aren’t going to get heavy use, I did want the paint to stick. Nothing extensive, just a quick sanding around the pots.

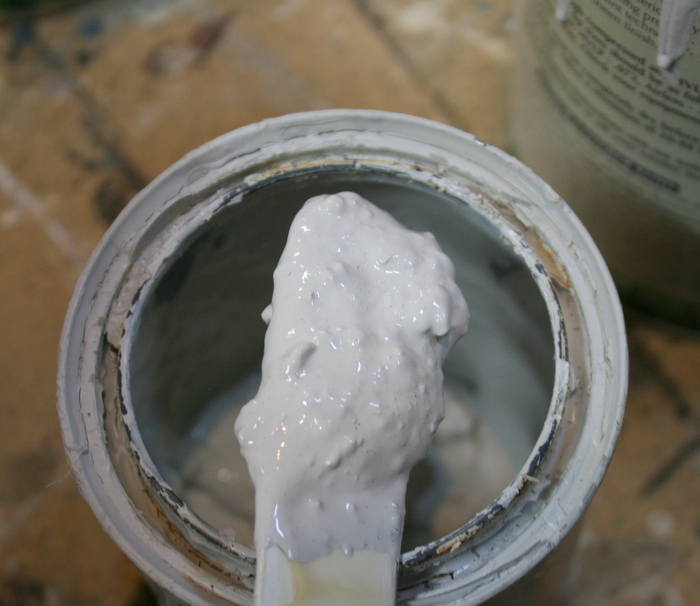
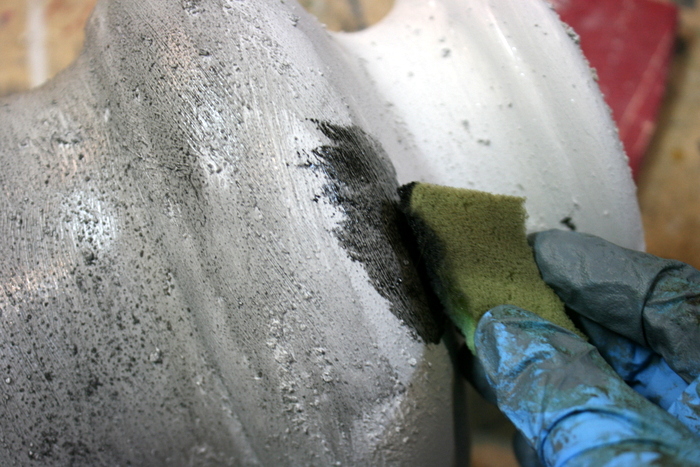
Then starting with General Finishes Seagull Gray Milk Paint, I mixed in a couple different “grits” of sea salt – I had course and fine. I just put a little of both in some paint and stirred it up. The consistency I got was about like peanut butter (the chunky kind).
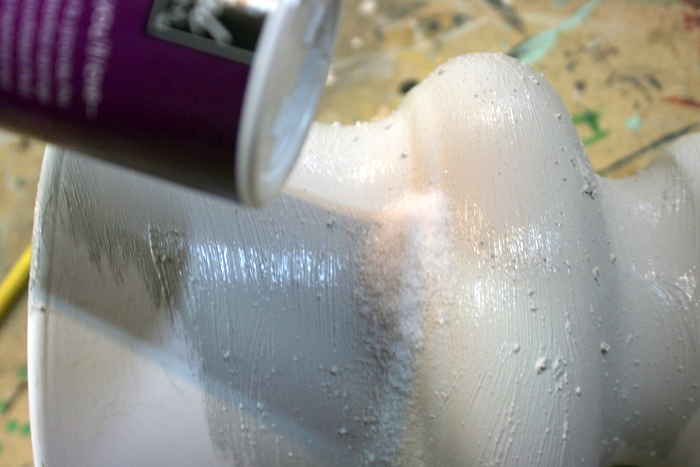
I used a chip brush and just brushed it on the pots. A few places needed some more “Grit” so I sprinkled salt directly onto the wet paint and brushed it around a bit more. Don’t forget to paint the inside lip of the pots.
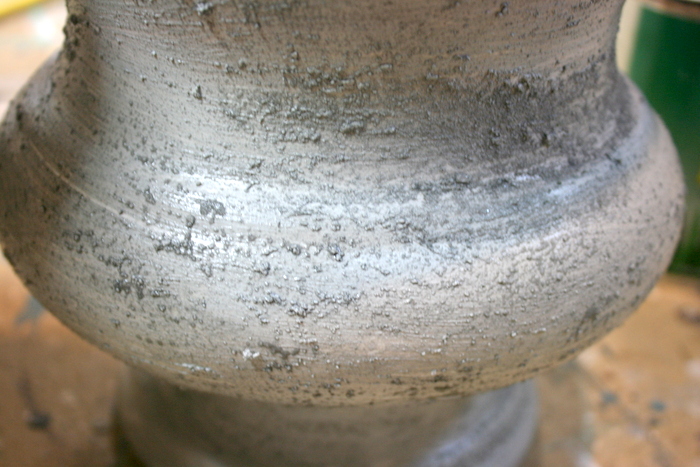
Once dry, I had this cool textured paint! To add a bit more interest, I took a piece of sponge dipped in General Finishes Pitch Black Glaze and wiped it over the entire pot. This settled in some places more than others and made this awesome finish!

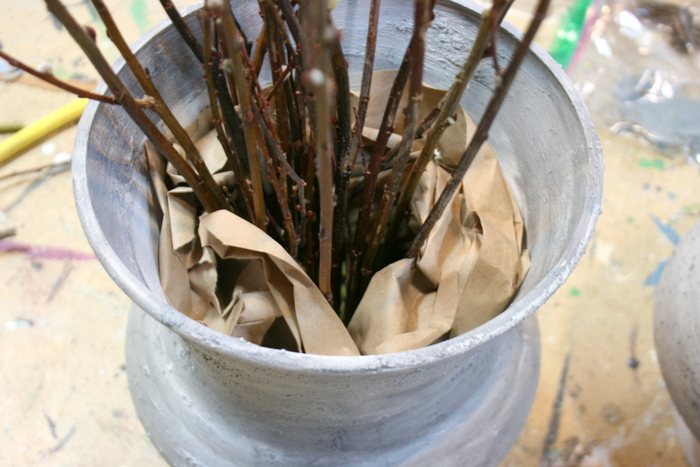
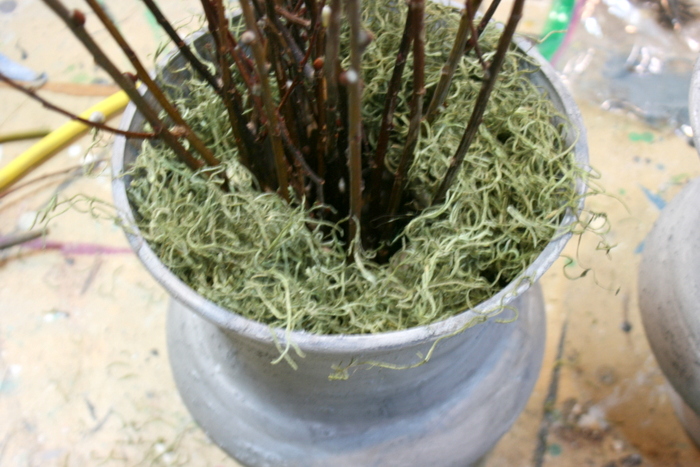
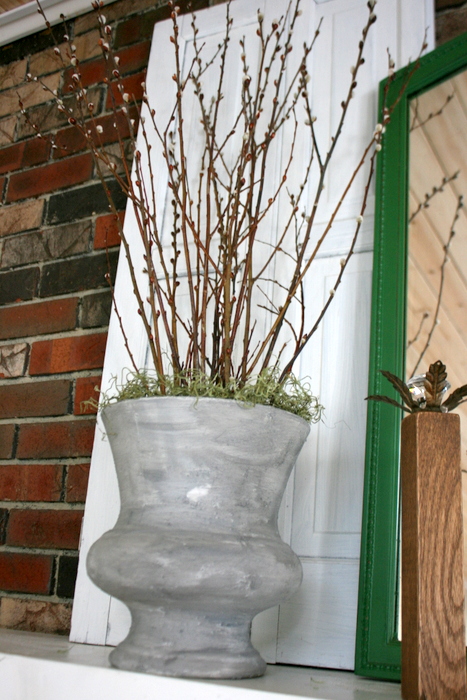
Now, to add some life. I found these pussy willow branches at the grocery store, and they were the perfect bit of texture. Here’s how to make an easy arrangement. I started with a crumpled up plastic bag in the bottom with a small piece of floral foam on top. I stuck the branches into the foam – just randomly, alternating some of the heights of the branches.
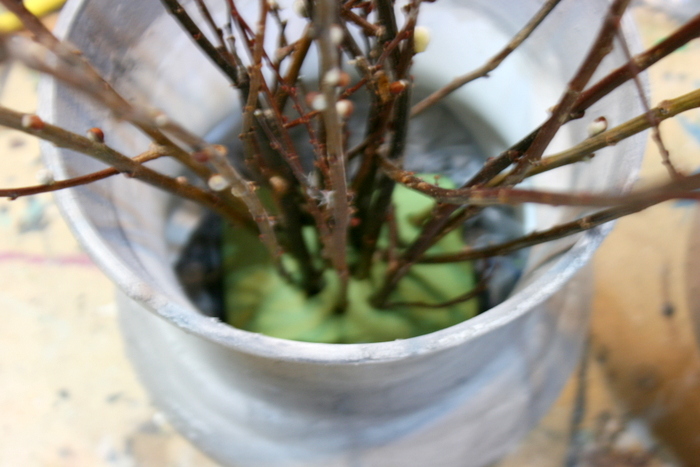
Next I took some kraft paper (a paper bag would work just as well) wrinkled it up and wrapped it around the edges – this kept the branches in the middle of the pot rather than falling to one side, next I just added loose moss to hide the paper. (side note: verdict is out… is moss or glitter messier??) And look at that, a perfect, simple arrangement.
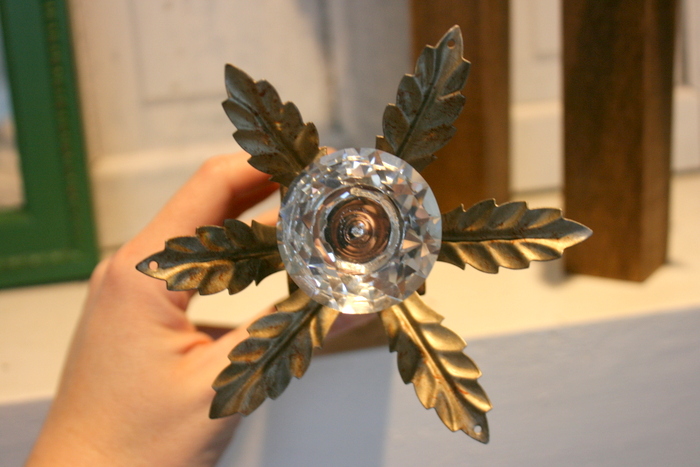
I made these cool wooden décor pieces from chandelier parts and a glass knob – they are the perfect addition to any shelf or mantle, and have just the right amount of sparkle. (Keep an eye out – there’s a giveaway coming soon on these).

Don’t forget to experiment a bit and use what you have around the house to add texture and interest in décor. I love how my faux cement urns turned out, I think this finish could go just about anywhere!
Hope I’ve given you a little neutral spring inspiration! Happy decorating!
Jenni

.jpg)
.jpg)
.jpg)
.jpg)


![]()


