UPDATE: This is the 2nd post in a 3 part series. Part 1 (building the bases) can be found HERE. Part 3, the final built-in bookshelves can be found HERE.
We left off in this post with finishing up the base of the built-in bookshelves. Now it’s time to go to the ceiling with book shelves. This will really make it look like it was always a part of this room.
This post contains affiliate links to help you find the products and tools I used in this build. Clicking any of these links pays me a small commission with at not additional cost to you. To see my full disclosure policy, click here.
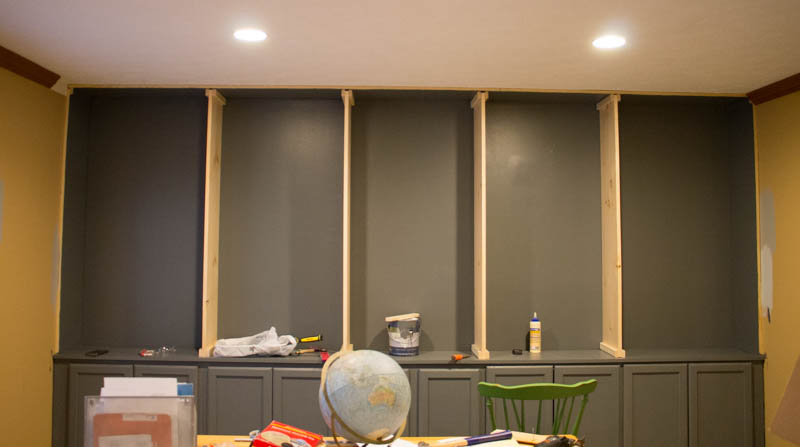
The first thing I did, was screw a 1×12 directly into the ceiling. I had trouble finding studs in the ceiling (this dang bumpy ceiling finish), but find them if you can. After we add the sides of the shelves it won’t really matter.
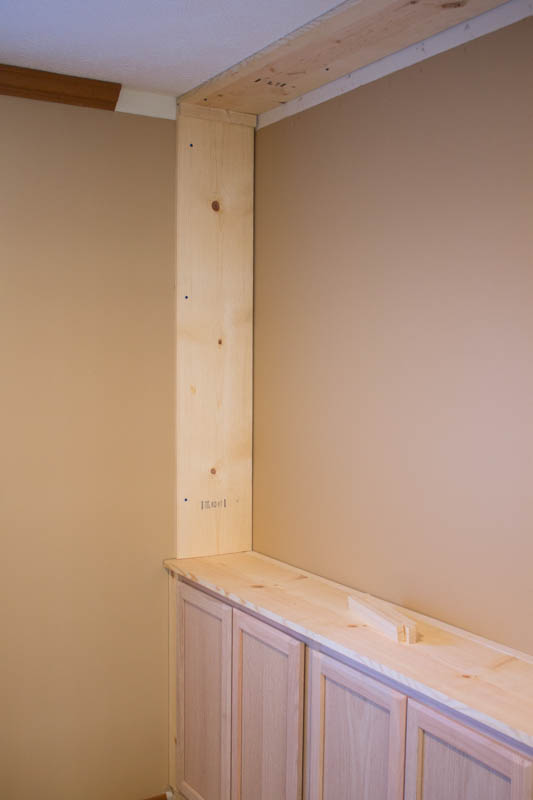
I used a 1×12 going up each side wall, screwing it into the studs of the walls on each side. I cut a bunch of 1×2’s to length and added these as cleats in the corners – using these allows you to nail into the top and sides of each shelf. I just used a little wood glue and brad-nailer to attach these.
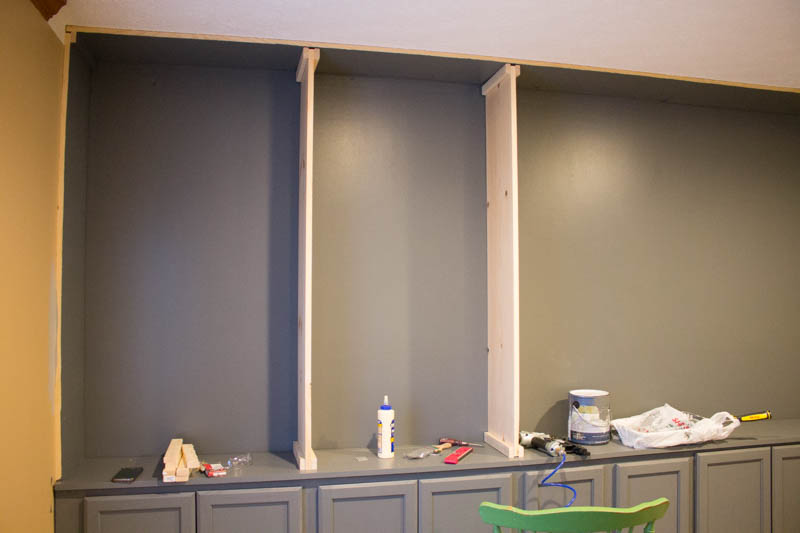
Once the top and sides of the built-in bookshelves were finished, it was time to give the back wall a coat of paint, you can do this later, but I figured it would be easier to roll a whole wall than do it cubby by cubby later. I’m using the SW color Grizzle Gray mixed in Behr Ultra Satin for the built-in bookshelves. I did the back wall and the cabinets at this point before moving on. I love this rich dark gray… it’s the same color we used in the dining room makeover as well and because these two rooms are side by side it ties them together well.
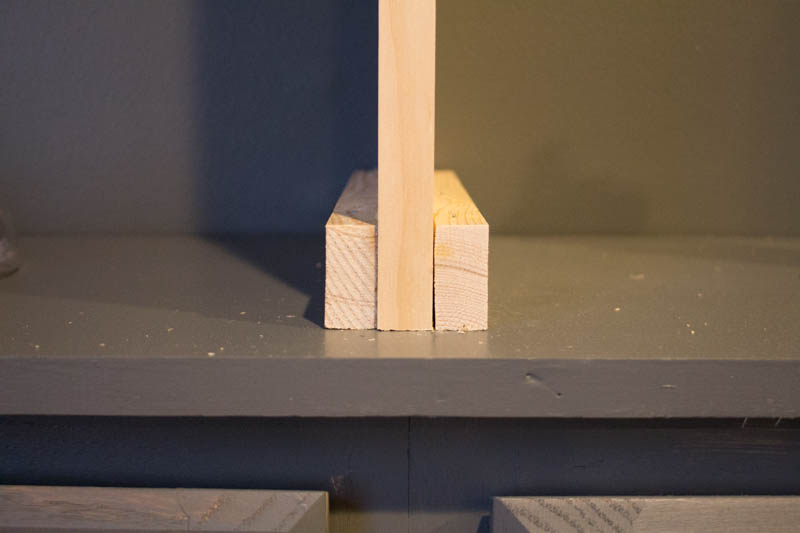
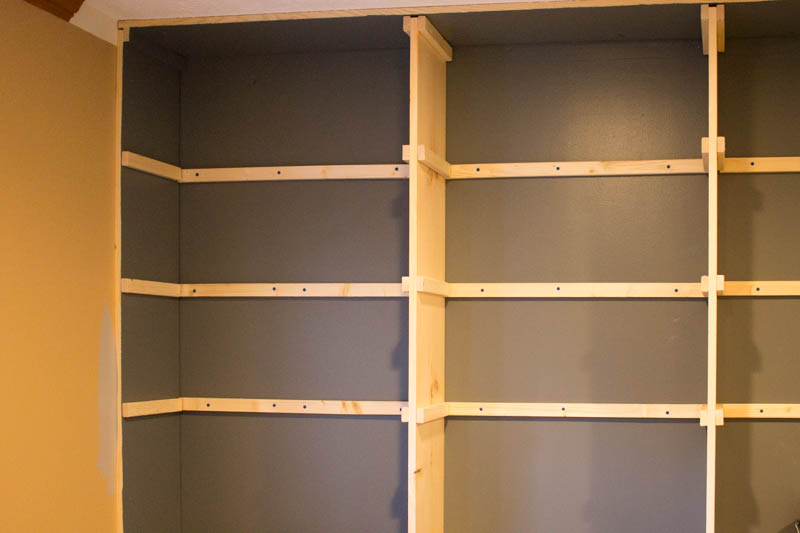
Once the paint is dry, we’ll begin to add our bookshelf “towers”. I lined each of these up the same width as the base cabinets (so each book case tower is 30″ wide) I think this gives it a cleaner more cohesive look. Again I used my cleats to anchor and hold them in place. Also make sure you have a level handy for each new piece you add!
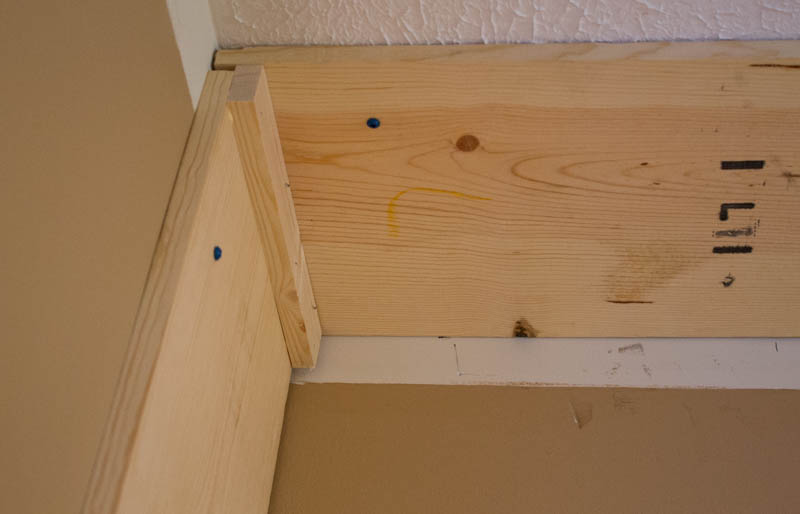
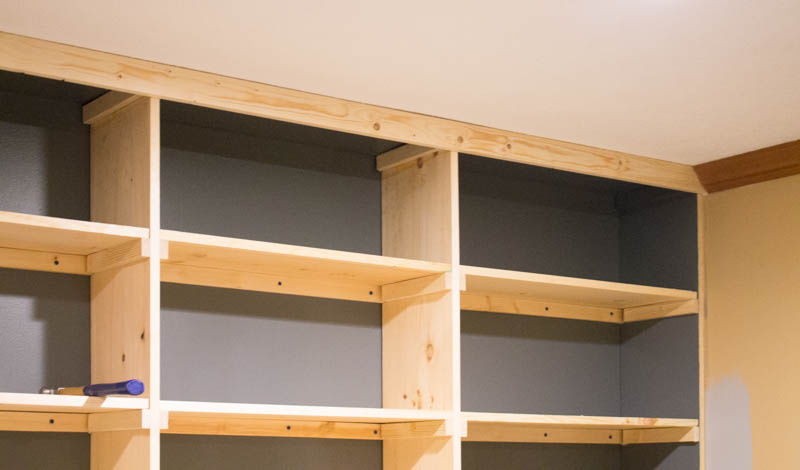
Here’s a close-up. Nails go side-ways and down securing everything in place, use a little wood glue on each piece to really make it strong. These ends will all be covered with trim, so you won’t be able to see them when the built-in bookshelves are finished.
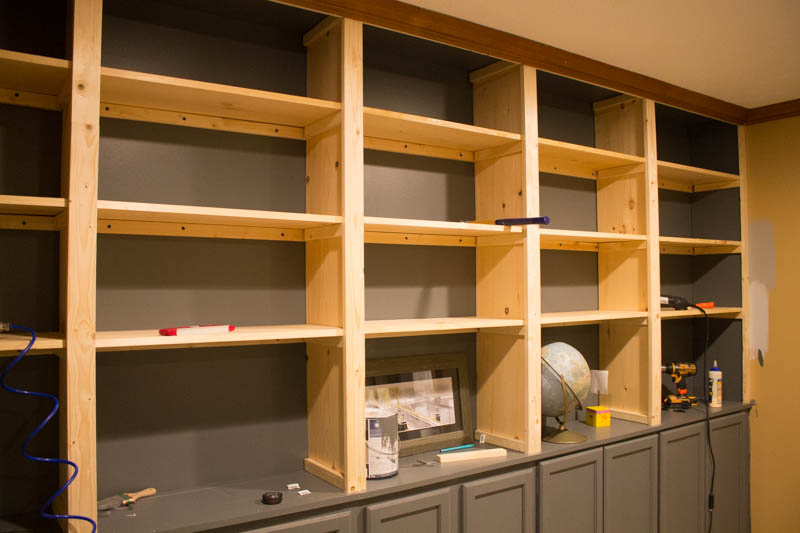
Here is where it’s beginning to take shape! You can really see how the built-in bookshelves are going to look!
Once all the sides were done, I added shelf supports all the way around each book case – keep it all level as you go. I found the studs in the back wall with my stud finder and made sure to anchor each support into the stud. This is not hard, just a little tedious. I found that it was quicker to cut a whole bunch of 1×2’s to the size I wanted them for each side support, that way you can just keep gluing and nailing them as you go.
Then it’s finally time to add your shelves! The end is in sight – can you see these built-in bookshelves coming together?!
Unlike the bookshelves at our last house, I decided I wanted a taller shelf on the bottom row for decorations, pictures, etc. (That’s why you keep seeing the globe in these photos, I kept using it as my measurement!) That’s the beauty of building these yourself. Not only do you save a ton of money, but it’s completely custom – make them whatever height you want based on what size your books/decor is.
I ended up with the bottom shelf 18.5″ high and then each other shelf 13.25″ from that. It turned out to be the perfect height for most books (you’ll see soon!).

This time for trim I just used 1×3’s – they covered all the raw edges perfectly and this gives the crown molding something to hold on to!
Quick story, on our last book shelf build that dang crown molding took us a whole year to figure out. We ended up hiring someone just to re-install the crown. So we got smart this time and took the crown off carefully and reused it since it was already cut to length. The side pieces were coped already so we just had to shorten the sides a bit. Much less stressful than last time for sure. Here’s my dorky pose to celebrate – not cutting crown molding is something to celebrate for sure!!
The trim went right down the front of each tower covering all the unfinished edges. For the sides by the walls I used 1×2’s as trim.
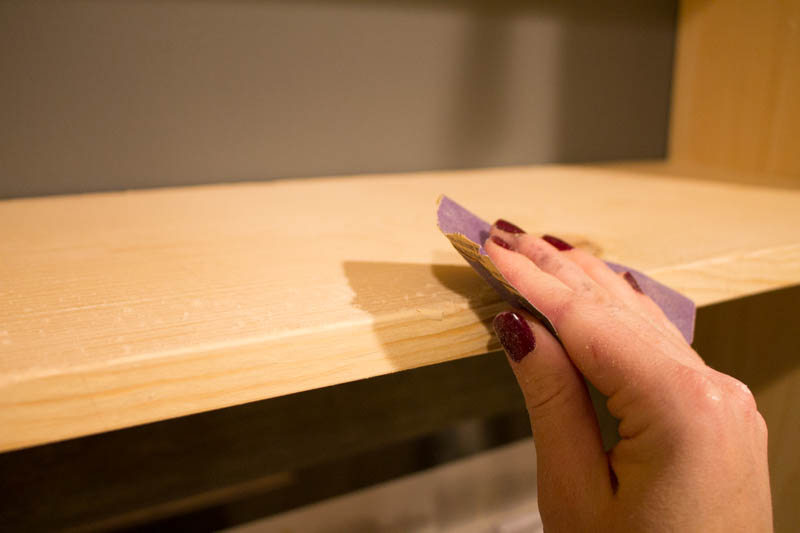
All it needed was a quick sanding to knock off any rough edges and it was ready for paint… and the final reveal. Stay tuned… UPDATE: (you can now see the final reveal here!)
Where will you build these bookshelves??
UPDATE: This is the 2nd post in a 3 part series. Part 1 (building the bases) can be found HERE. Part 3, final build in bookshelf reveal can be found HERE.
Jenni


I like your idea. Where do I find all the parts?
I found everything I needed at my local hardware store!
Nice design! And well-illustrated, too.
If you not only paint the wall, but paint the bookcase’s boards before you install them it’s a lot easier. If you are careful you will only have to fill and touch up some nail holes.
Yes, good idea!