Have you ever started a project with one outcome in mind only to have it turn out completely different? That’s the story with these tables. I did not start out intending them to have the farmhouse look, but that’s where they ended up! This barn wood finish is one to remember… it’s a good one!
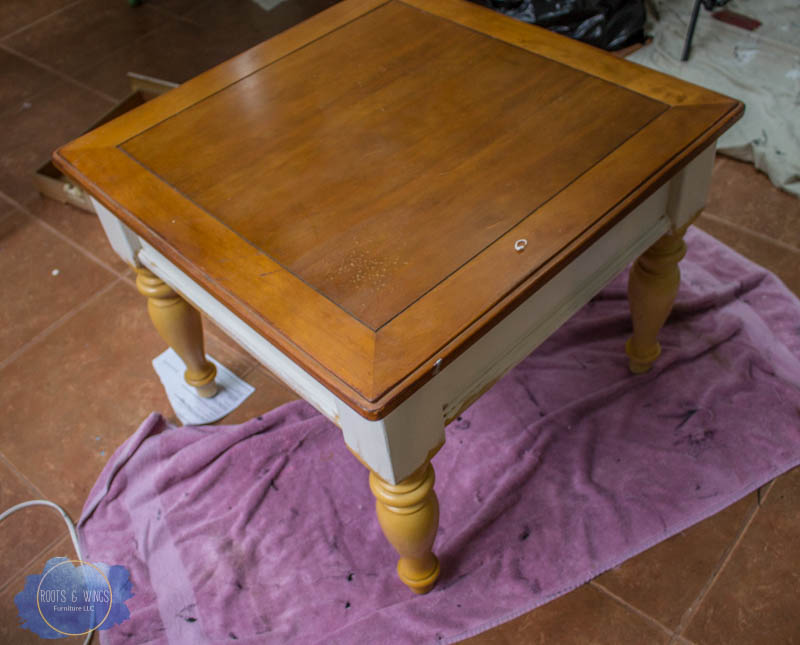
I forgot to take a “before” photo, but you can see here they were a yellow base with orange pine tops. My original intention was to do an artistic finish with multiple paint colors and a raw top.
This post contains affiliate links to help you find the products I use and recommend in this post. I get paid a small commission each time you use one of the links. To see my full disclosure policy, click here.
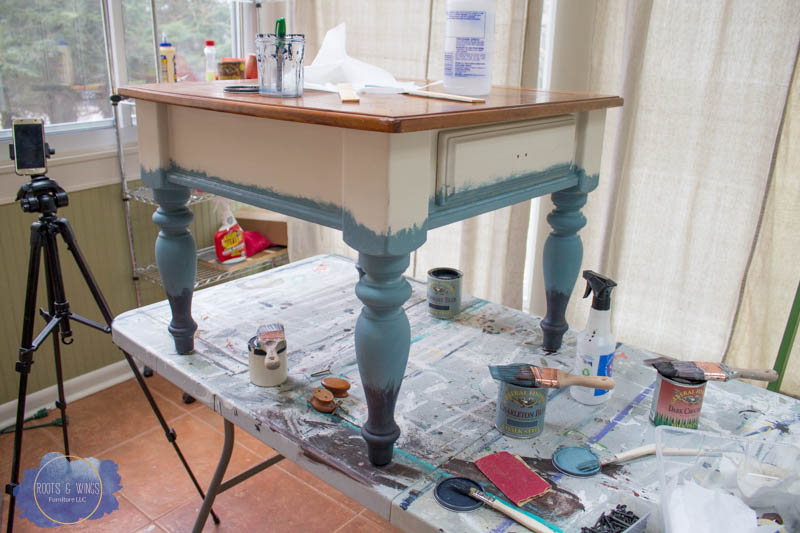
First things first, I painted the bases – they looked good so far.
Then I started sanding the tops, but I accidentally sanded through the overlay and right through to the press board – so there went the “raw wood” plan.
*Note: if you have any kind of veneer you are sanding down, be careful not to go nuts on it or you will sand right through it. My mistake was using 80 grit sandpaper on them and not paying attention!*
So next, I grabbed my Weathered Gray Water Based Wood Stain. You can apply WBWS over an existing finish, so the centers of these were not raw. I thought it would cover enough, but when dry – the centers of the tables were still orange.
Mistake #2, as I was staining the tops with gray, I thought it may be a pretty “glaze” over the paint – NOPE. It just looked dirty. Boo.
So back to square one with the design plan.
If you aren’t flexible when being creative, you will break.
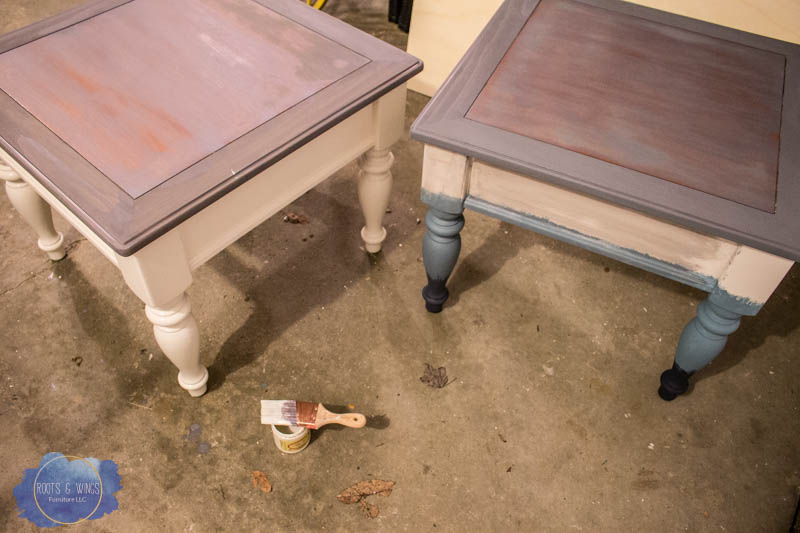
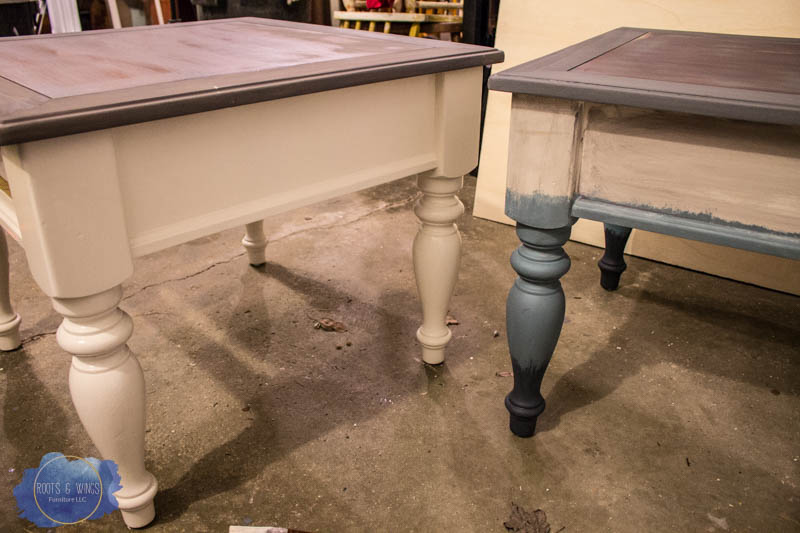
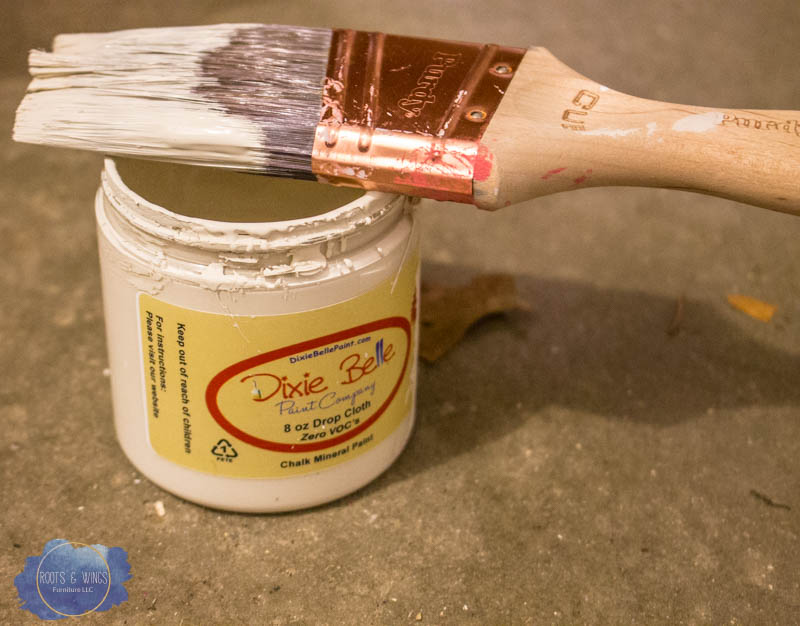
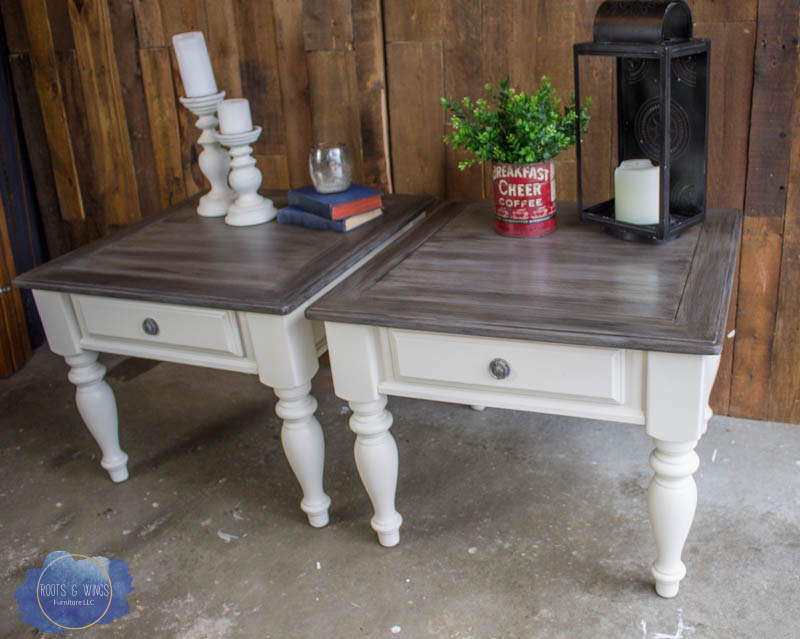
I was really loving the creamy white on these tables – the chunky turned legs make them look so farmhouse-y to me. So instead of repainting my layered finish, I decided to make them completely white. This color is Dixie Belle Drop Cloth, a perfect color to go with the gray “barn wood” top.
This was all from a little sample can (8 oz) of Dixie Belle Chalk Paint. Impressively, the little can covered the bases of both of these tables, twice.
This is a true chalk mineral paint, with a very chalky finish when it dries. It’s nice and thick though and covers very well. It has more texture to it than General Finishes Milk Paint, which is what I almost always use. It was a fun paint to play with. The color is “Drop Cloth” and it’s a gorgeous warm white.
Back to the tops. I added a layer of Walnut stain and painted the centers with a layer of Driftwood Milk Paint to get them all the same color gray. After a second layer of Walnut stain, they were starting to come together.
I have a full tutorial on my faux barn wood finish for you here. You can take anything from a piece of raw wood, to a piece of furniture that already had a finish on it and make it look like gray or brown barn wood with my technique. And it’s easy! I promise.
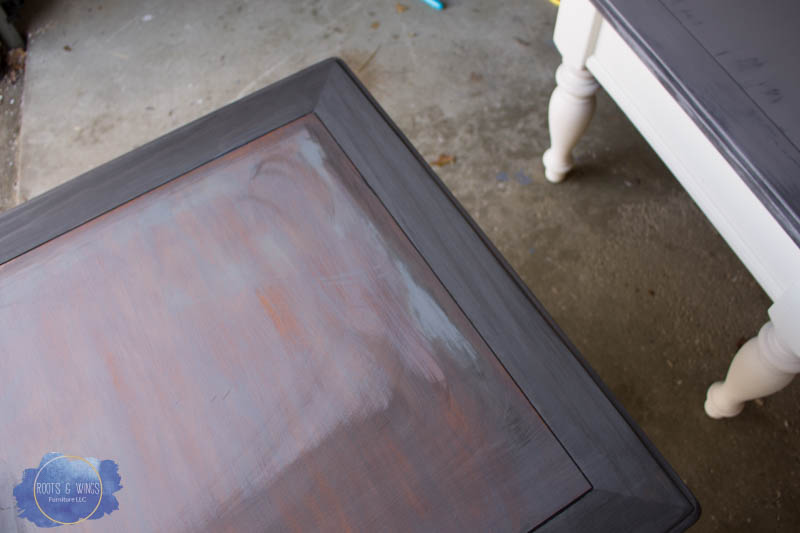

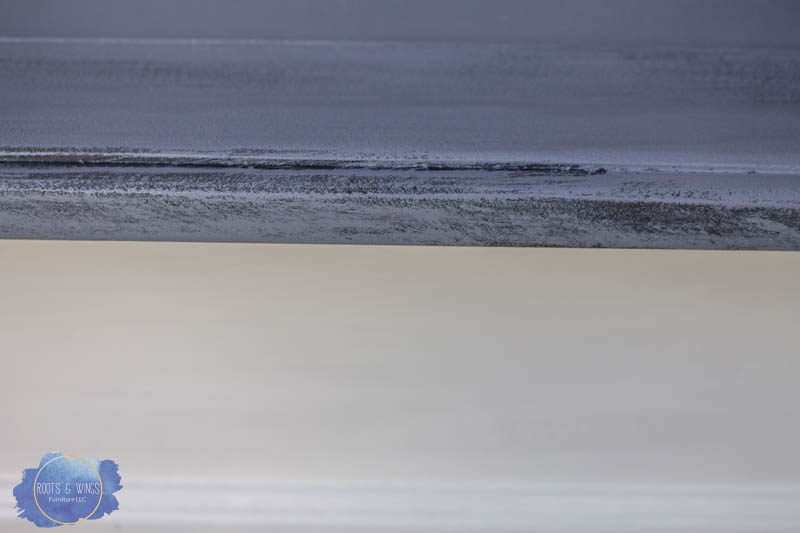
After adding some layers I was getting some really nice looking texture. This is all on a smooth wood surface, but you can use your brushes to get this layered, texture for an authentic look!
[convertkit form=948541]
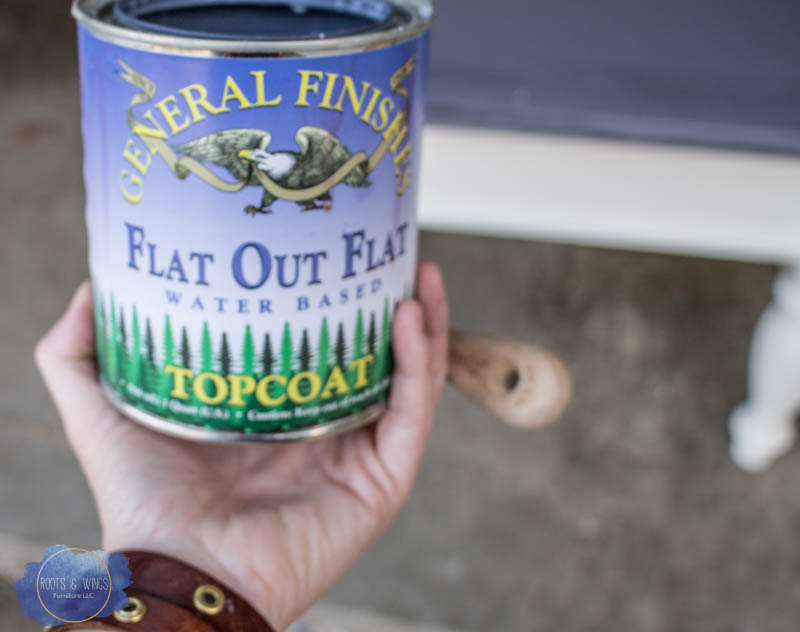
Over top of both the barn wood top and the chalk mineral paint base I decided to use Flat Out Flat Top Coat. This is my choice over any chalk painted surface. It goes on easily with a brush, and keeps the matte finish while smoothing out the chalk paint and sealing it all at the same time.
On a casual top like the barn wood finish I didn’t want it to be shiny, but needed the final layer of protection, so this worked well for that also!
Here they are all finished up with the knobs that got their own makeover in the last post.
Quite a difference from the yellow and orange they started as, don’t you think?? I love how simple and clean the base is with this really interesting multi-layer top.

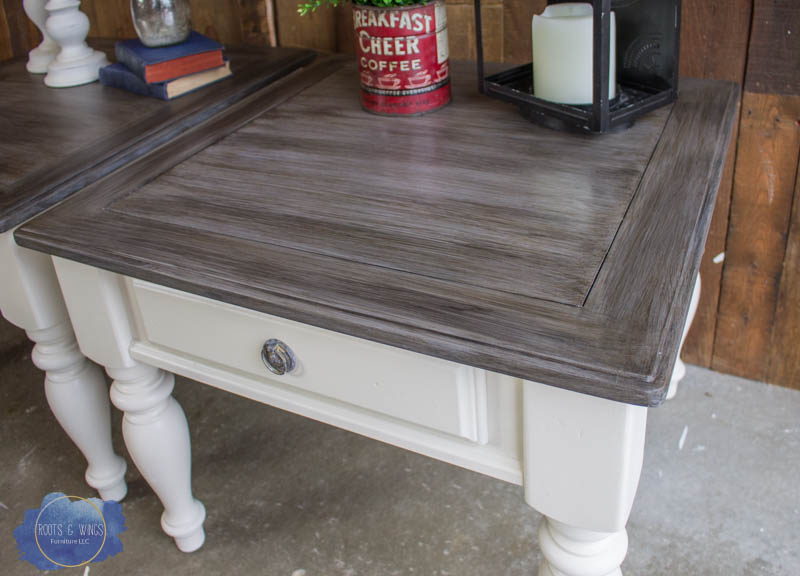
Here’s a close up – you can see the layers of colors here. It really raises the bar on these tables and makes them so much more relevant!
Faux barn wood is the way to go!!

I hope you love this makeover as much as I do – click here for the FREE tutorial video. As much as I wanted to burn these tables in the middle of the process, I sure do love how they turned out!!
Push through on your next project – you’ve got this!
Jenni


Jenni, I love the tables! Thanks for reminding us that everyone has something or three things in my case that you want to take out and burn! I’ll go back to those things and suffer through what ever I gave to do to finish those dang things. I met you at the booth conference and was going to take your class but there was also another one I thought would be better that wasn’t. I am a big fan of yours. I hope I get a chance to meet you again.
Hi Cathy!! Awe, you are sweet. I’m sure we’ll get to meet again!!
Projects like this are tough, but they feel really good when they are done!!! Keep at it girl, you’ve got this!!
Love the tables!!!!!!
Thank you!
Do you let each layer dry before painting on the next coat?!
Yes! Sure do!
What did you use to put on the stain? And did you sand between layers?
Hi Misty!
I sealed the final look with General Finishes High Performance Topcoat. I didn’t sand between layers on this finish!
I’ve been exploring for a little for any high-quality articles or weblog posts on this sort of house . Exploring in Yahoo I ultimately stumbled upon this site. Reading this information So i’m happy to convey that I’ve a very just right uncanny feeling I came upon just what I needed. I so much for sure will make certain to do not put out of your mind this site and give it a look regularly.
Glad to have you!
I just used Dixie Belle paint for the first time (usually use General Finishes) and really hate how it feels…super chaulky! 🙁 can i use GF High performance top coat? Will it smooth it out? Live all of your videos!
Hi Denise! Some people love the chalky feel, some don’t. To smooth it out, lightly sand with 400 grit sandpaper and seal with topcoat. High Performance topcoat does great over DB! Hope that helps!!
Do you feel like you even needed to do the weathered grey water based stain?
Yes, I do think each layer added texture and depth that contributed to the final look. Could you do it with another stain or color instead – probably so!
Can you do this over a dark stained pine table? This is the look I’m going for but it’s a dark brown stain.
Yes! You sure can! The base color is gray so you can cover most of your dark stain with that!
Hi jenni! Thanks for this post. I am attempting this on my hand me down coffee table and 2 end tables. I never buy exactly same products that I see listed in blogs like yours but I’m so in love with this project I bought every single product you recommend. Not to mention I love and have worked with general finishes before so this is encouraging! Thank you!
You are welcome! Yes, I understand about products. I really do love General Finishes products though and have been using them for many years!! Good luck on your tables, I’d love to see how they turn out!
Where do you find the Dixie belle paint please. I’ve never heard of it
There are retailers all over the US – you can also purchase it online: https://dixiebellepaint.com?aff=177
Hi I love your work. By chance where you got that tripod stand you have your phone mounted on in the picture? I really need one of those to use when I am doing my work to I can video. Thank you.
Thank you! I found it on amazon – something like this is all it is: https://www.amazon.com/Vastar-Universal-Smartphone-Horizontal-Adjustable/dp/B01L3B5PBI/ref=sr_1_3?crid=23DAYBKX4RT4H&keywords=phone+tripod+mount&qid=1574258335&sprefix=phone+tripo%2Caps%2C155&sr=8-3
Hope that works for you!