Looking for a unique accent wall that won’t break the bank? I’ve got an idea for you! This faux shiplap wall was easy, inexpensive and really fun to do. This started out the makeover for my daughter’s room. My son got a barn wood wall, which we love, but this room I wanted to be bright, clean and a great backdrop to a wall full of girly accessories.
How to Create a Faux Shiplap Wall
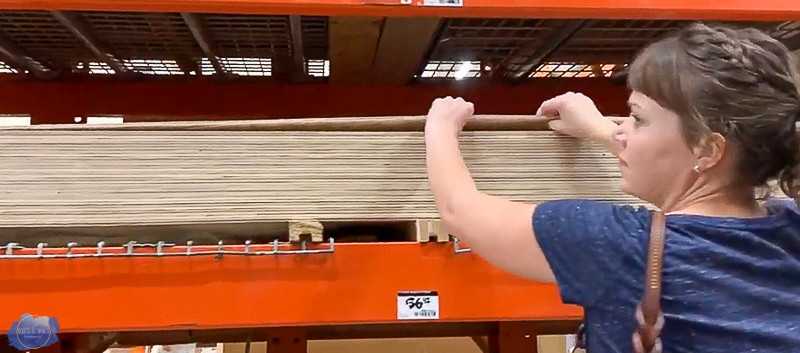
I started by heading to my favorite hardware store (the one with bright orange shelves). I grabbed three 4×8 sheets of 1/4″ lauan plywood and found the nice guy in the wood section to ask if they would rip it down for me. He kindly agreed, and used the panel saw to cut the sheets into 6″ wide planks. *My store didn’t charge me for these cuts, but just know some will*.
This post contains affiliate links to help you find the tools and supplies I use for this project. Purchasing from any of these links pays me a small commission. Thank you for your support! To see my full disclosure policy, click here.
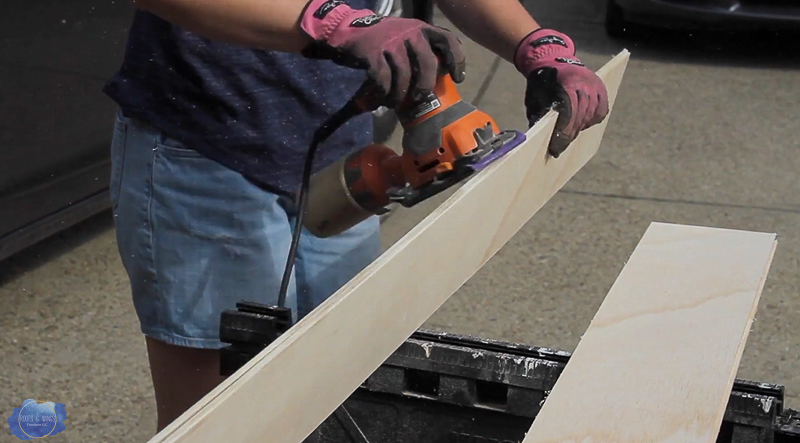
When I got the planks home, I used my pad sander to smooth the edges out just a bit. The plywood can be a bit splintery, so gloves are a really good choice here (trust me, I speak from experience). I used 120 grit sandpaper, and sanded 2 planks at a time. It’s quick, just a minute or two on each plank, but this really makes a big difference in your finished product!
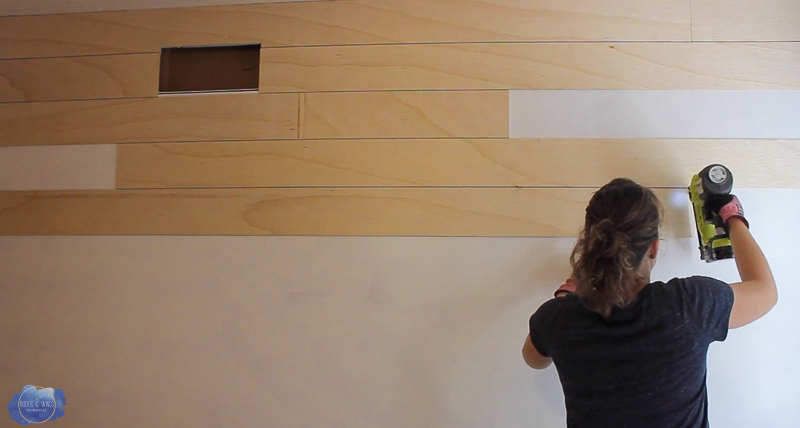
Once that step was done, I started nailing them to the wall with my favorite brad nailer. The wall was purple to start, so I did cover it with just one coat of white paint before installing the planks. I didn’t want purple peeking through each board. This was a bit easier than the barn wood wall, because you aren’t trying to vary the size of the planks. You don’t want the seams to line up, but you are just trying to cover the wall with the longest pieces you can, so it really looks like shiplap. No glue needed! Just a few brad nails was all it took to get the planks on the wall.
I used my jigsaw to cut out the spaces for the return vent and the outlets. The new outlet sat right on top of one of the planks so I also didn’t need to use electrical box spacers (like I had to for this wall).
PS – at this point, I’ve now linked to 2 other posts with wood on the walls, clearly I like a good wood wall 😂
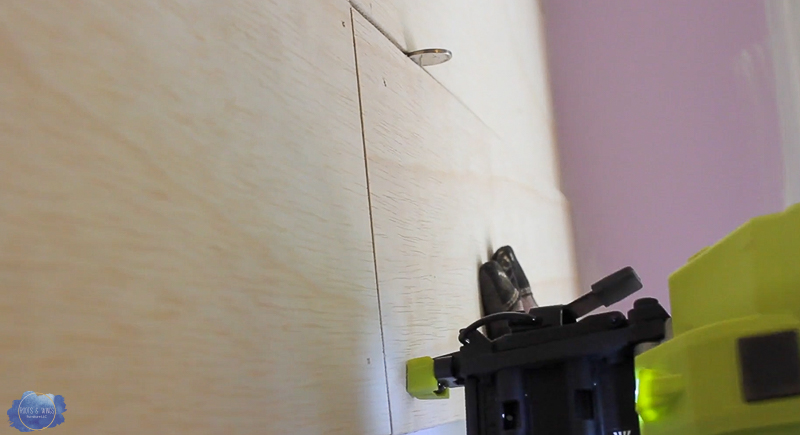
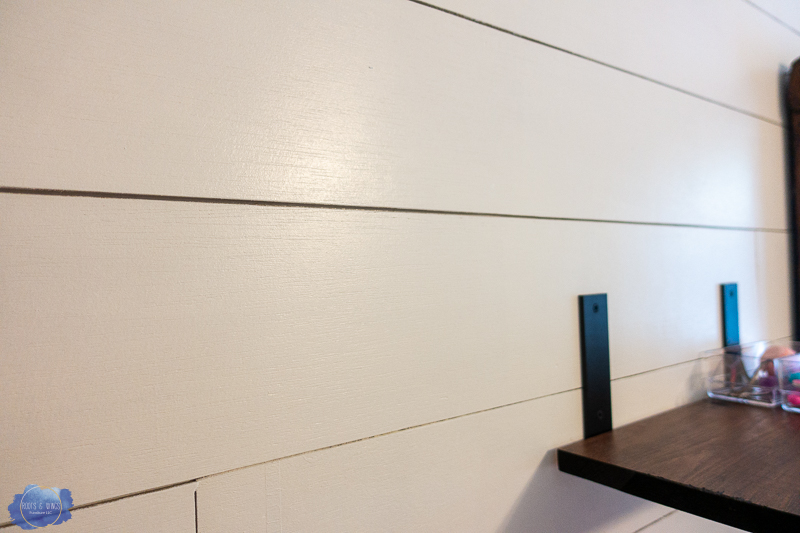
To space out the boards I used a nickel. It was just the right width to create a gap – not too big to see through, but not so small that you don’t get the shadow effect of the planks. This is what really makes it look like shiplap!
Once the boards were all up on the wall, I used just a tiny bit of spackle to fill the nail holes, and caulk along the seams on the ends of the walls. I added a strip of quarter round to the edges to finish off the edges. This is completely optional, but I did think it gave the edges a nice finish.
Here’s the whole step by step process for you:
The walls took two coats of paint and primer in one. I used white semi gloss paint straight off the shelf. The second coat is really where the magic happens and the wall just comes to life. It’s clean, white, and has so much character!
We hung the mirror I refinished in this video. It was the perfect big statement piece for the center of the wall. The contrast of the dark stain against the white wall is just so good. I’ve been looking for the perfect spot for this mirror for so long, I’m so happy to have finally found it!
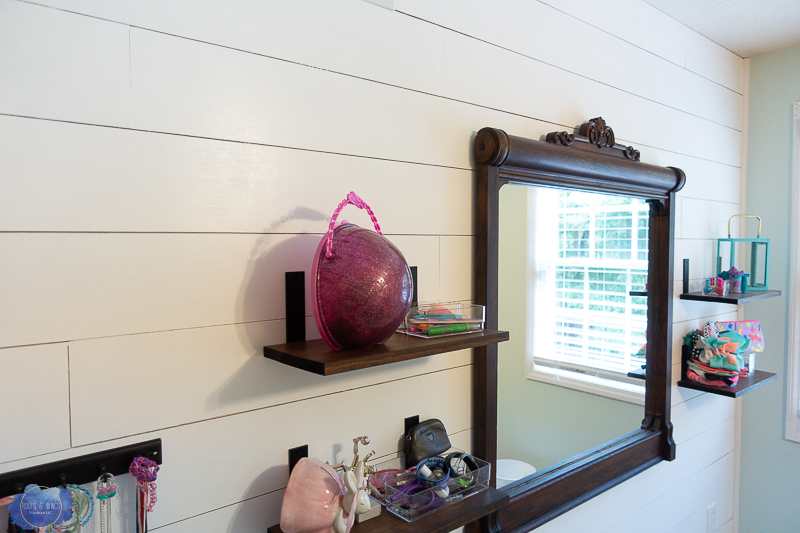
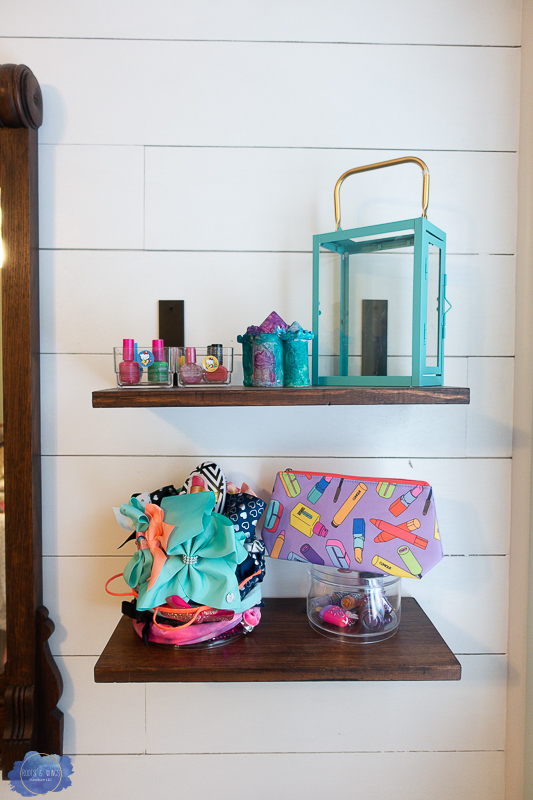
We hung simple shelves with these black brackets. This is the perfect spot for my daughter to get ready in the morning. She loved being able to organize all the clear containers, and keeping all these supplies organized means the rest of her room stays cleaner too 😉
Oh I just love how this came out. It was a project that was really easy, quick and came in at under $100! Not too bad for a statement wall. I’m definitely thinking about where else I can use this faux shiplap technique (maybe the hallway?!).
Where will you use it in your home?!
I hope you enjoyed this project, stay tuned for more! Until next time,
Jenni

