Hey there!
I just re-made my basic furniture painting tutorial for you. I’ve learned new tips and tricks and wanted to incorporate into a video for you.
This is the basic tutorial, so it comes before any of the videos from the tutorial series last summer (glazing, pearl effects, color washing, etc.).
Affiliate links are included in this post to help you find what you need! These are products I have tested and used myself or something comparable.
Let’s talk for just a second about the difference between Milk Paint and Chalk Paint.
Chalk Paint: There are lots of different brands – they are all just about the same – chalk paint dries to a very flat finish – so flat that it must be sealed. The usual sealer is a wax. You can get several different looks using chalk paint but the waxing part can be tricky. The claim with chalk paint is you don’t have to do any prep – just start painting – I think this is a little risky but works sometimes.
Milk Paint: There are two kinds of milk paint – there is a milk paint powder that actually has milk powder in it – you have to mix it with water and it gives a chippy finish. Then there is General Finishes Milk Paint – which is actually an acrylic paint. It already comes mixed in a can. There is a bit of prep (watch the video to see), but it only takes a few minutes! My two favorite things about GF Milk Paint is that there is no sealer required – its durable all by itself! And, it’s an indoor/outdoor paint, so you can use it in so many different ways.
Without further ado, here is the tutorial:
Materials Needed:
- 220 Grit Sandpaper
- 120 Grit Sandpaper
- Denatured Alcohol
- Spray Bottle
- Water
- Paper Towels
- General Finishes Milk Paint
- Purdy XL Cub
- Plastic Baggie
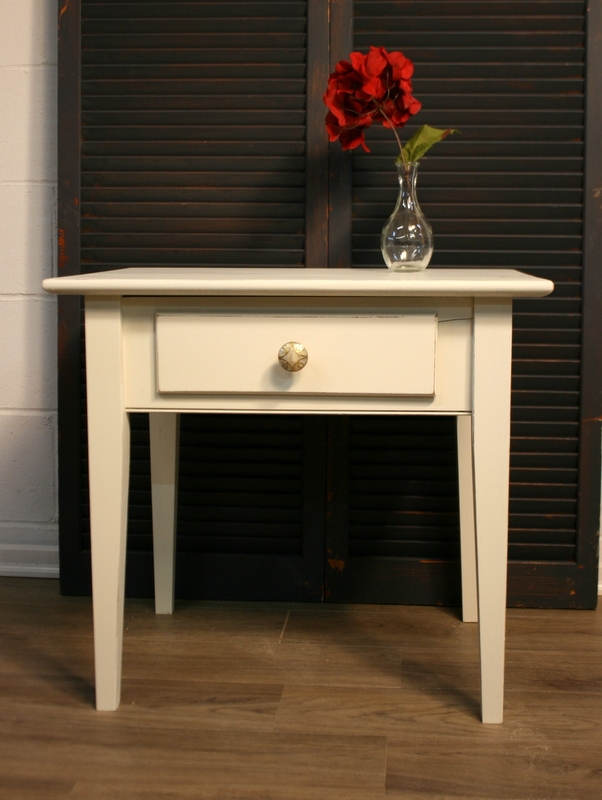
What project are you going to conquer first? I’d love to see your results!
Pin to share!
Happy Painting,
Jenni

