
The fun continues this week with the DIY portion of our Master Closet Makeover! This of course was my favorite portion of the makeover. In fact I spent an entire day building in my closet, and I was quite happy about it! I found an idea online for a laundry basket dresser, which I thought was a brilliant and classy way to hide dirty laundry! I didn’t want a freestanding one in my closet though, I wanted a built in, at the back of the closet, somewhat hidden away.
There’s nothing hard about this build. It’s just one step at a time. I won’t give you specific measurements, but more the how of what I did so you can customize this to your own space. I used a combination of new wood, and scrap wood I had taken out of the closet when we took down the shelves/supports. I also first painted the closet – what a difference that makes! I painted the trim white (you can see my post all about painting oak trim white here) and the walls were painted in Revere Pewter (my new favorite wall color).
This post contains affiliate links to help you find the products and tools I recommend. Using these links costs you no extra and pays me a small commission. To see my full disclosure policy, click here.
Let’s get started!
DIY Laundry Basket Dresser
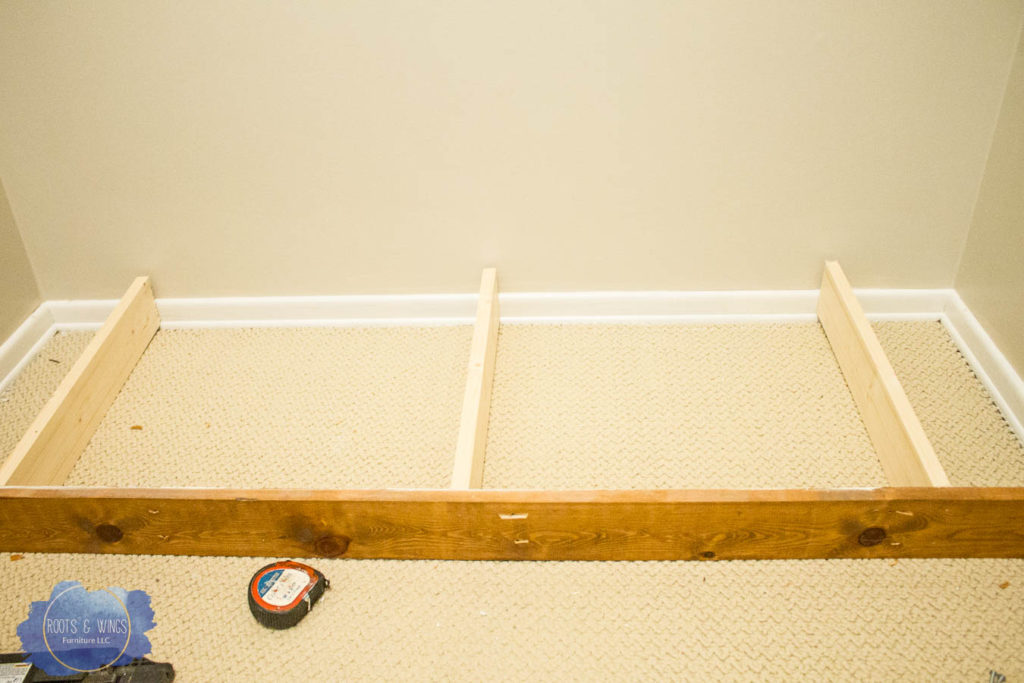
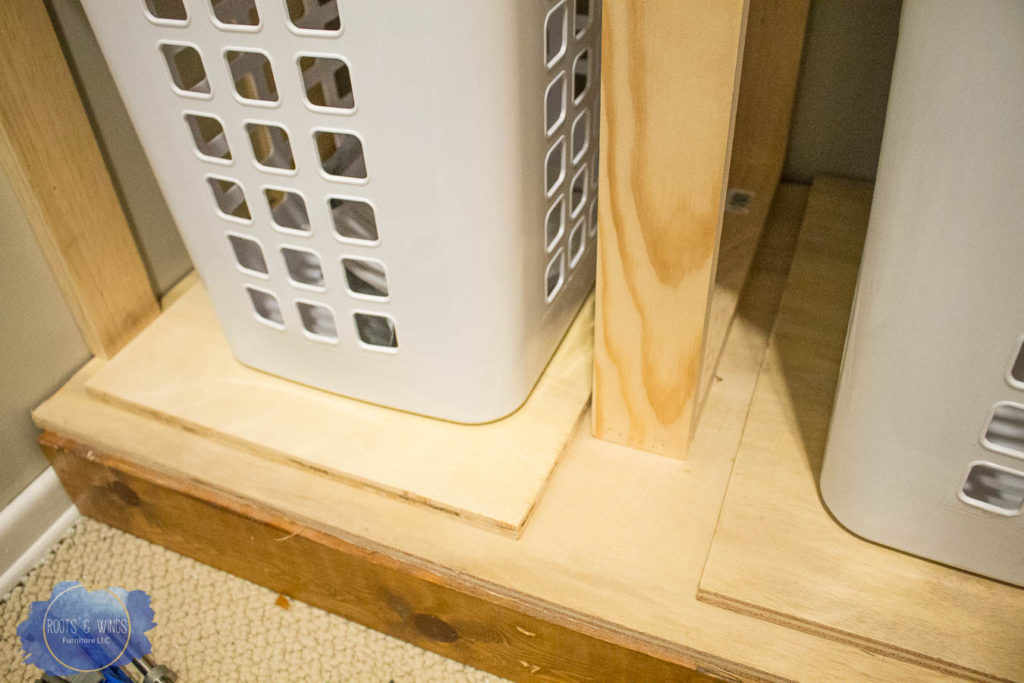
First build your base. I cut a 1×4 to the width of the closet, and a few center supports going to the back wall. This base was not attached to the wall, just laid out as a foundation. Then cut a piece of plywood to make the bottom of the laundry basket dresser, I used 1/2″ plywood and just cut it to size.
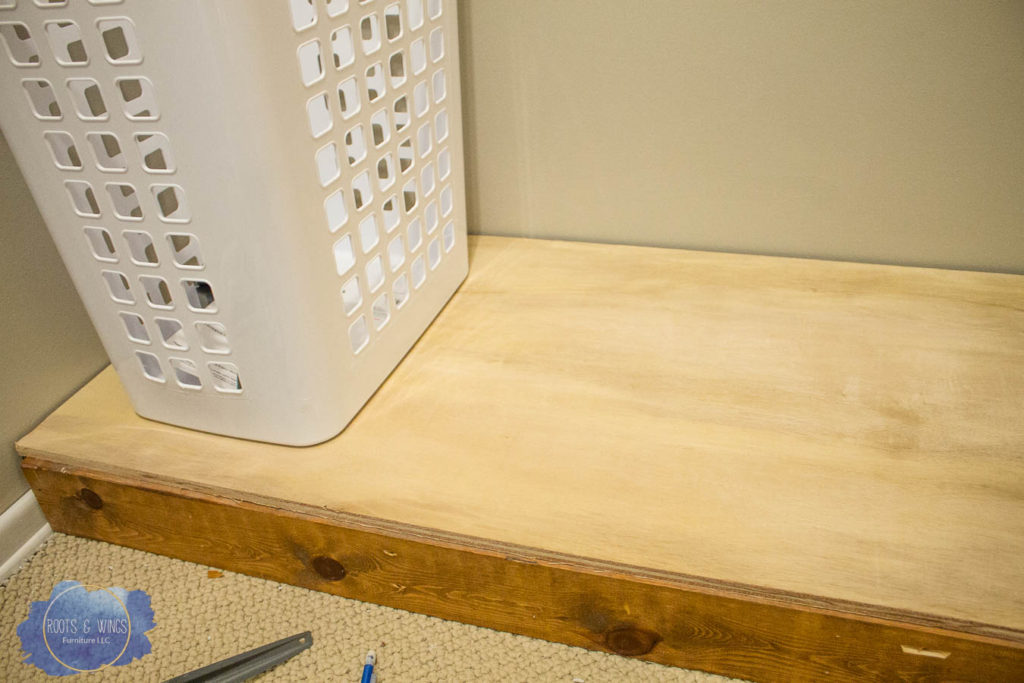
Next, place your baskets where you want them. I chose these tall baskets from Target for the build, they are a pretty standard size so I figured if one of them breaks one day (can that even happen?!) it would be easy to find a replacement.
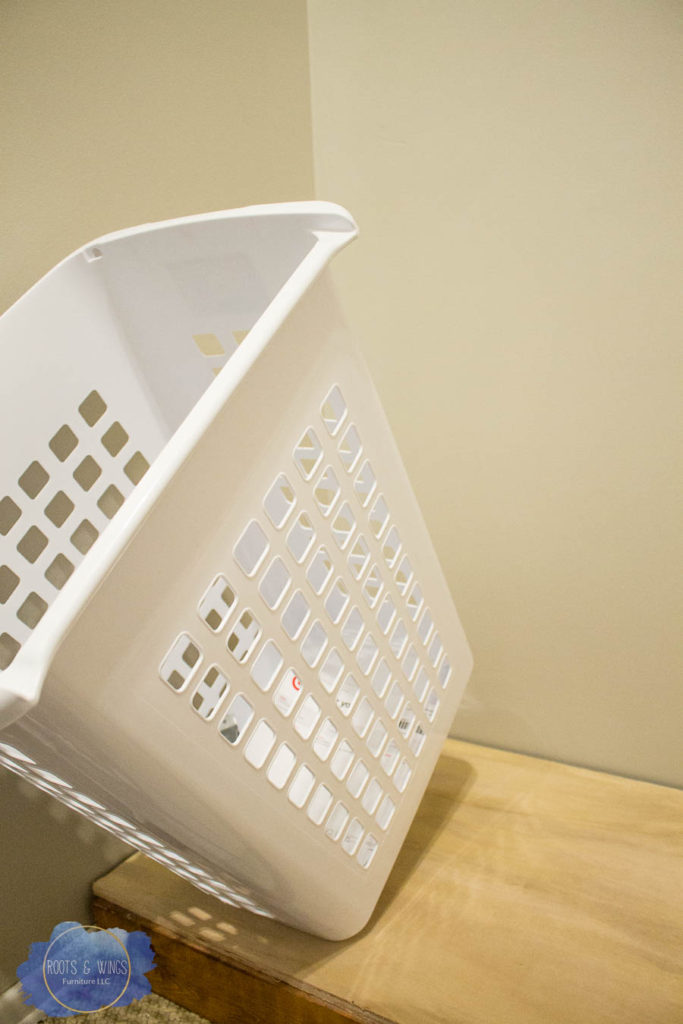
To find the height of your cabinet, place the laundry basket where you want it and tip it upward. Mark the highest place the basket will reach when tipped (the photo makes more sense).
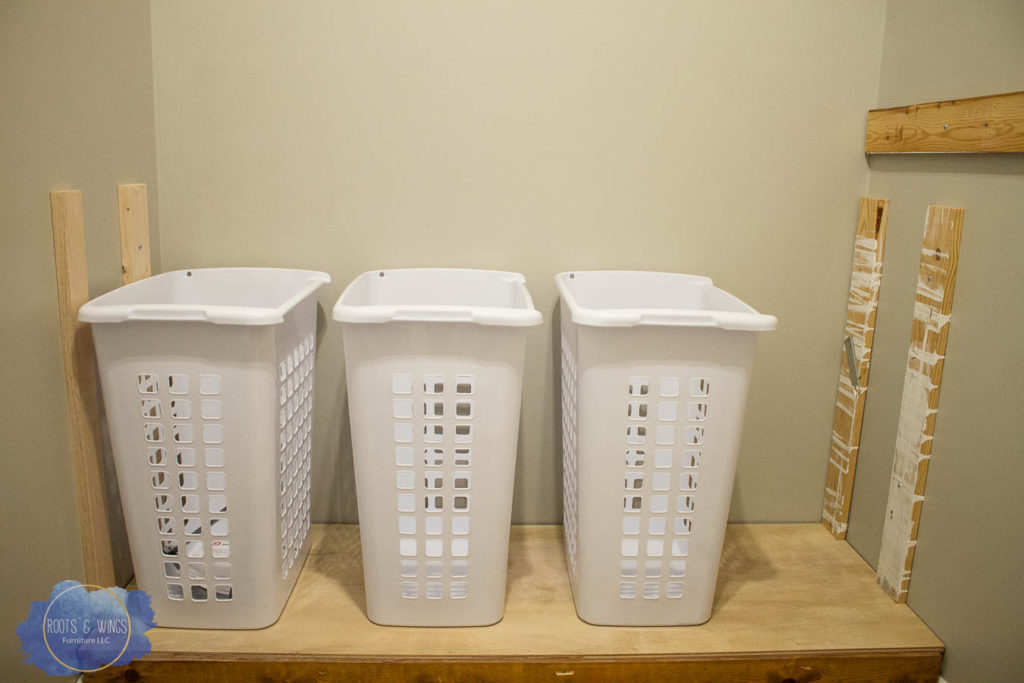
Once you find your height, cut 2x4s to this length and attach to the wall – I attached them to studs in the side walls with 2.5″ screws. These are my favorite building screws. I used scrap wood for this (hence the crazy paint) because these won’t be seen in the final build.
I also cut supports to go between the baskets out of 1x4s. These were attached to the base with brad nails and glue.
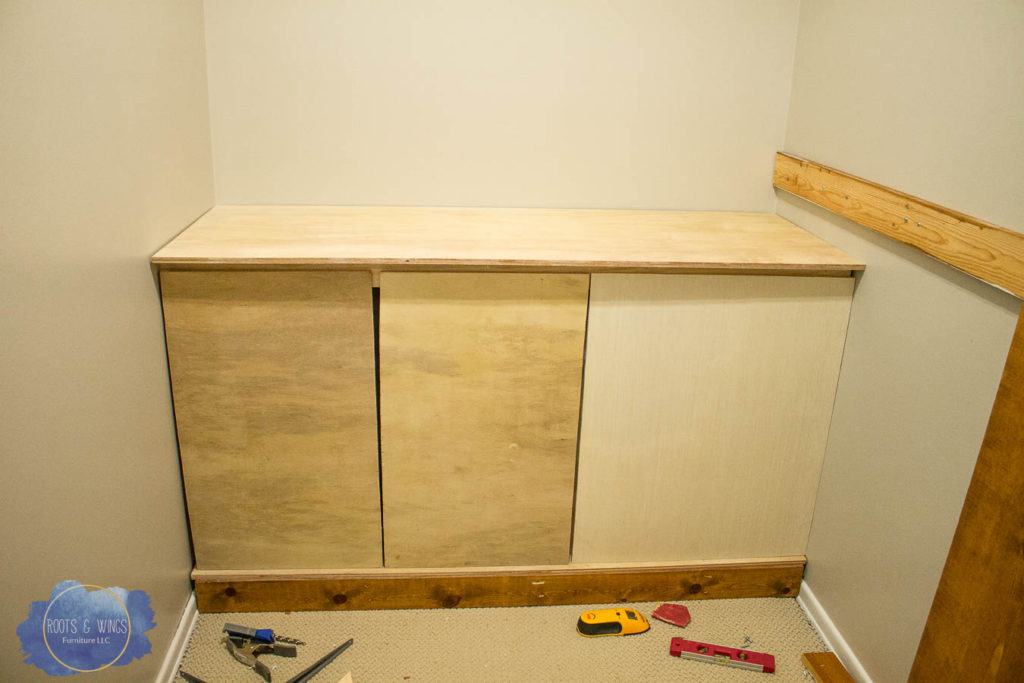
Once the braces were all attached, I cut a plywood top for the laundry basket dresser and attached it to each of the braces that were sticking up and along the wall with my brad nailer.
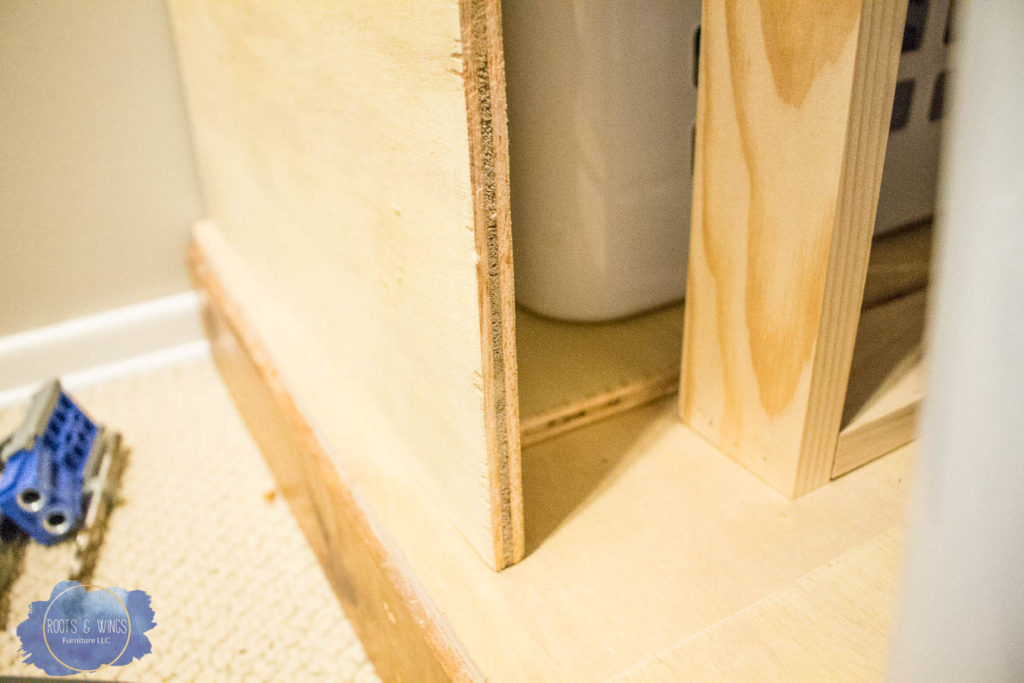
Then to start to build each “laundry basket cubbie” cut a piece of plywood to that will sit underneath the laundry basket and between each support. Don’t attach this to anything! (If this doesn’t make sense watch the video at the bottom at this post!!)
Cut your cabinet fronts to size – mine were not all equally sized based on the layout of my closet – and attach to the base “cubbie” piece with a bead of glue and nails. So you will have an “L” shape cabinet built around each laundry basket.
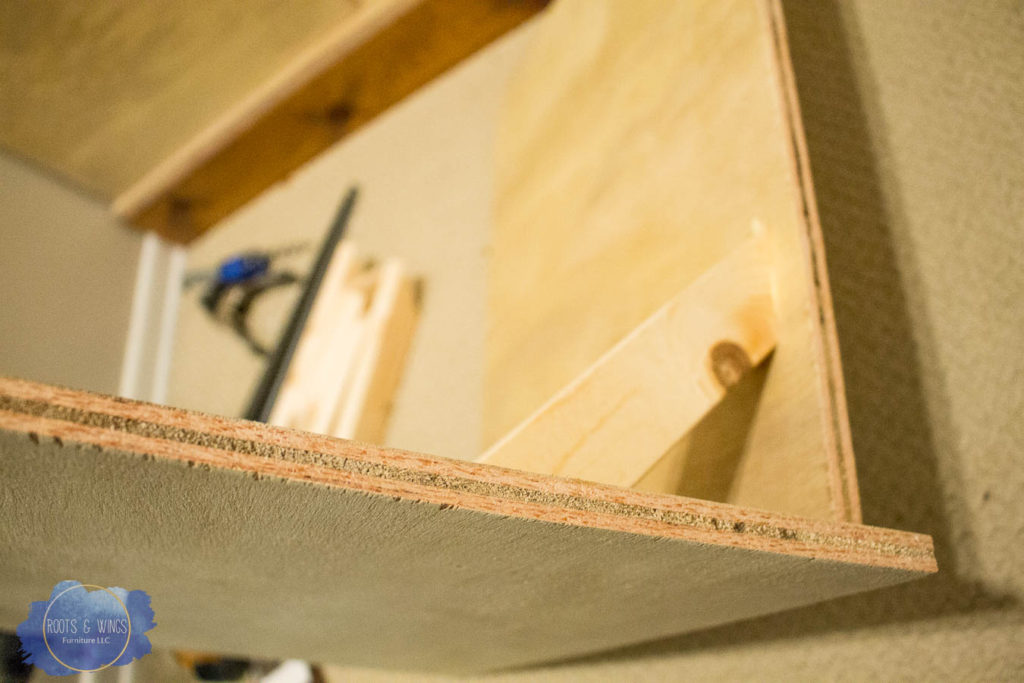
To strengthen this, cut a short piece of 1×2 with 45 degree angles and attach to each side with glue and nails. Make sure these stay out of the way of the baskets. Once these are in place you can now tip each of your laundry basket cubbies and they will move as a whole unit without hardware!
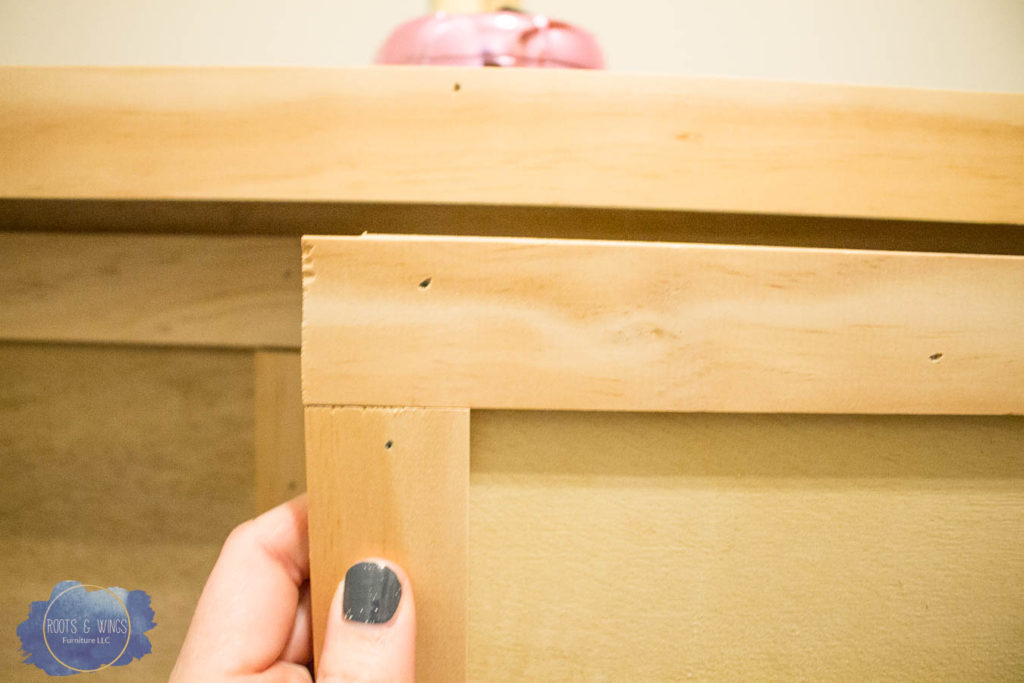
Now that each cabinet section is built, I added a brace piece underneath the top of the laundry basket dresser. This gives a lip for the “cubbie” to push into as well as hides the inside of the cabinet.
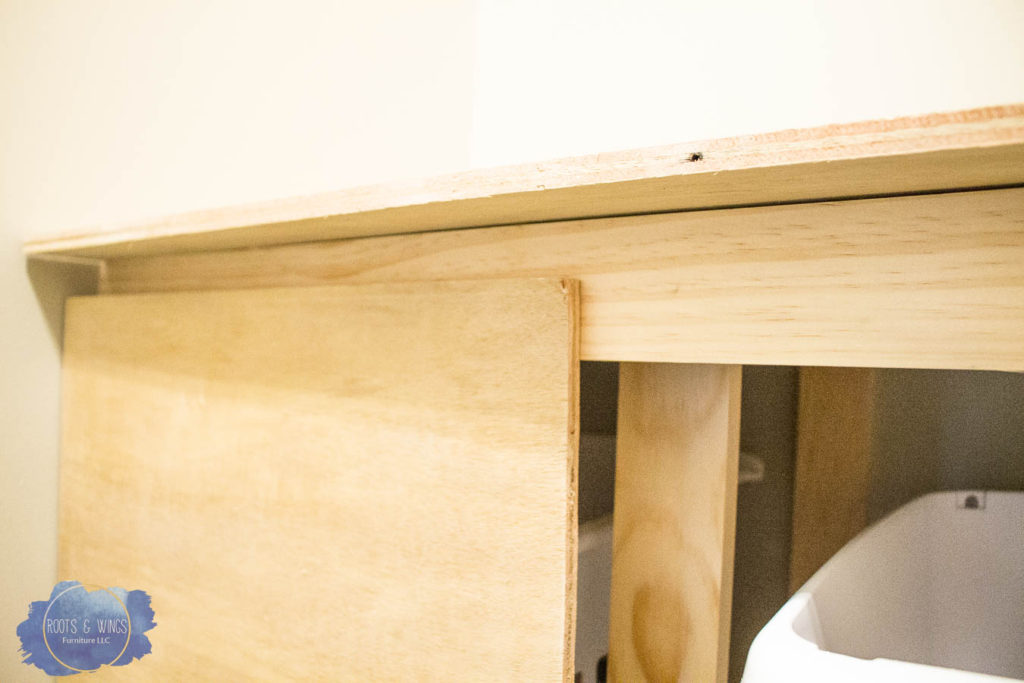
Here’s what it looks like at this point. It’s pretty rough with all the different wood tones and plywood edges. So now it’s time for trim. Trim work makes all the difference in a finished piece!!
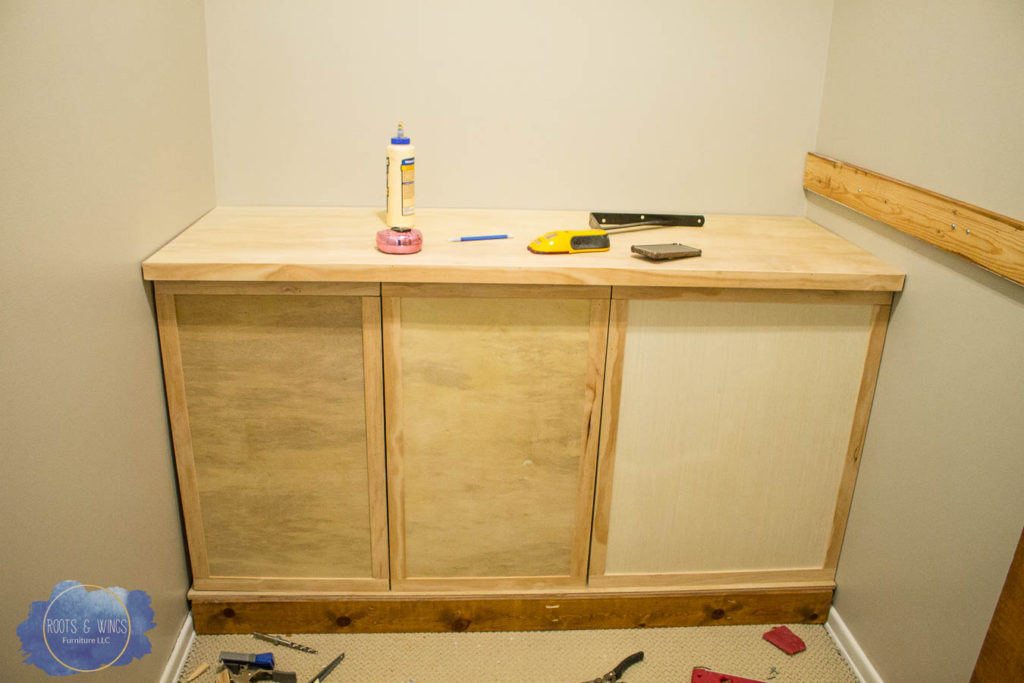
My favorite trim to use is 1.5″ lattice. It gives it that simple modern finished edge and is really easy (and cheap) to use! I trimmed out each of the cabinet boxes and the top lip to make it look like a beefier top was on this piece.
See what a difference trim makes? I attached it all with glue and brad nails.
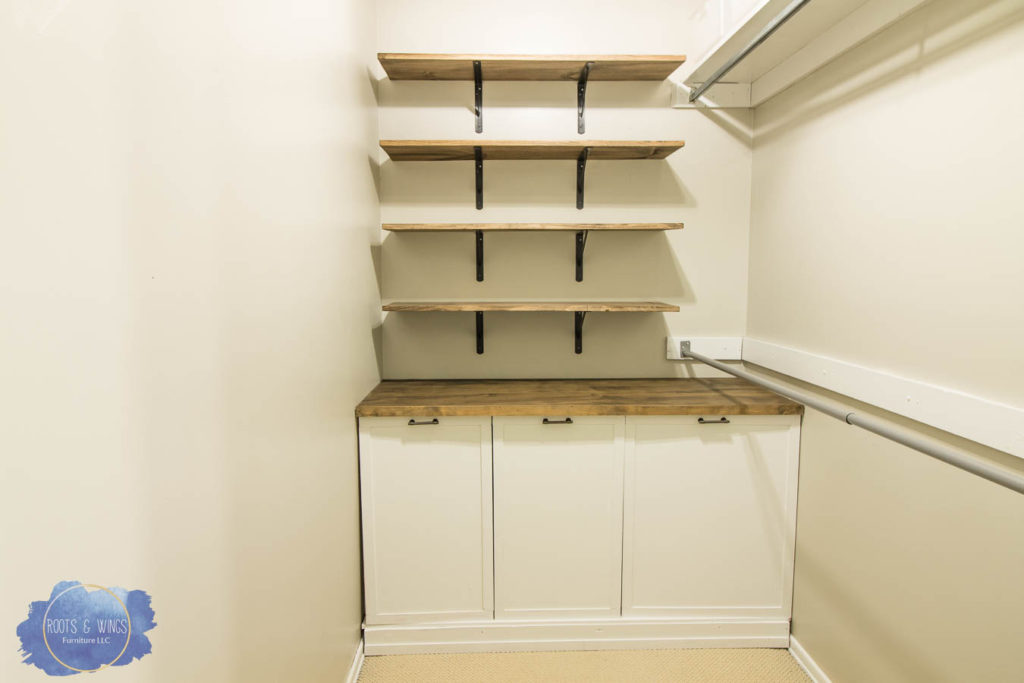
When it’s all finished it looks like this!! I used my favorite 50/50 mix of water based wood stain (half Antique Oak half Walnut. The base cabinets were painted the same white as my trim (I used Behr Alkyd Paint in Glacial Mist), I did fill in the nail holes with caulk as well to finish it off a bit. I used these pulls for hardware, they match the pulls I have on my bathroom vanity, they are simple and industrial.
Isn’t it amazing!? I love this part of the closet so much – it my absolute favorite!! It hides all the dirty laundry away, but still makes it super easy to open a cabinet and grab a basket and take it down to the laundry room. If I were a little better organized, I would sort my laundry as I put it into the baskets and save the step of sorting laundry as well.
The wood for this laundry basket dresser cost somewhere right around $150-200 this would of course depend on how big you made your unit and what kind of scrap would you had on hand to use. Still, for a custom built in piece, I’d say that’s not too bad!
Here’s the video that shows the build section and how each component works together. Also check out this post to see how to build the built-in shelves for storage.
I hope you are inspired to build something awesome today! It’s such a joy to be able to make something useful and beautiful with your hands!
Until next time,
Jenni


Trackbacks/Pingbacks