
Hey there!
I’ve told you before that right after Christmas I get this crazy project energy. I’m not sure why I think that while the kids are off school and the house is in after Christmas chaos it’s a good idea to start a project, but I do. Sometimes when you get that project energy you just have to run with it!
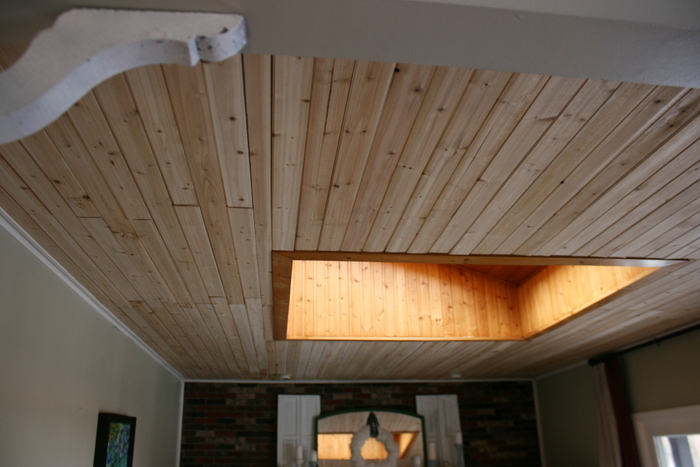
This project started months ago when I found cedar planks on clearance at Lowes. I bought 10 packs and stashed them in the garage. Then I sat and stared at this lovely textured ceiling for 6 months.
This post contains affiliate links to help you find products I refer to in this post. All affiliate proceeds go to help support more fun projects 🙂

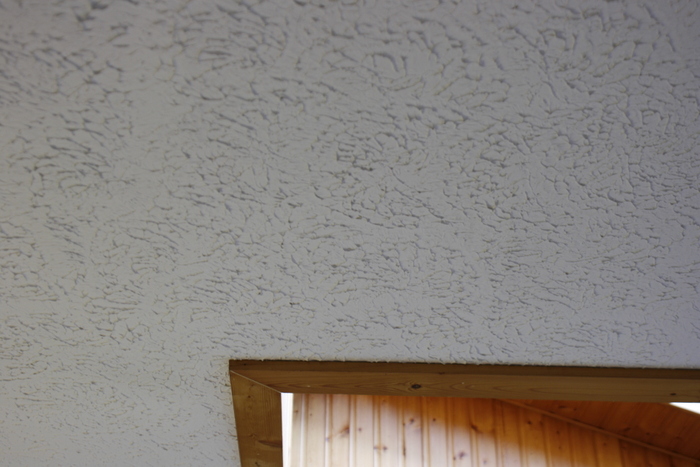
Truly, what were they thinking?
Side note, my youngest daughter said during this, “Mommy, I know why you are covering the ceiling, so my balloons don’t pop” – haha! That’s right, that texture is sharp enough to pop her balloons (literally) – so she loves how the ceiling turned out.
I started by cutting some planks in half and then alternating them as I put them up. I didn’t even take down the existing trim, but just butted the cedar up against it.

Each plank got a bit of Liquid Nails and was nailed in with 2″ brad nails.
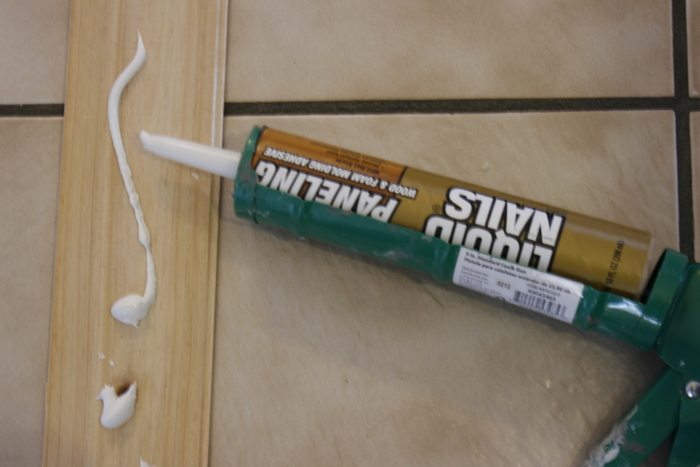
It was an easy process, but what took the longest was how many trips I took to the hardware store – I’ve learned you should always buy WAY MORE than you think you need of any supply and then return the extra later.
And in case you need a little encouragement, I posted this video during this project. Follow me on Facebook because I usually show sneak peaks and fun tips there.
Here is the link to the Caulk Gun I recommended in the video (it has bad reviews online – but I LOVED the one I bought, and it didn’t break!)
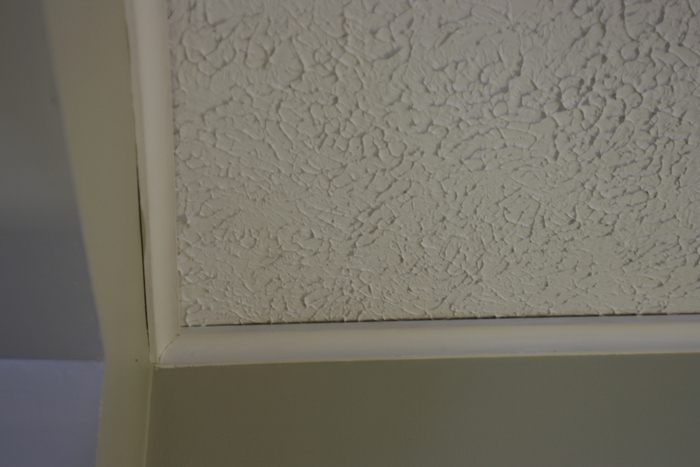
I bought a little 2″ piece of trim and ran that along the edge. I liked how it beefed up the trim that was already there and covers any gaps.
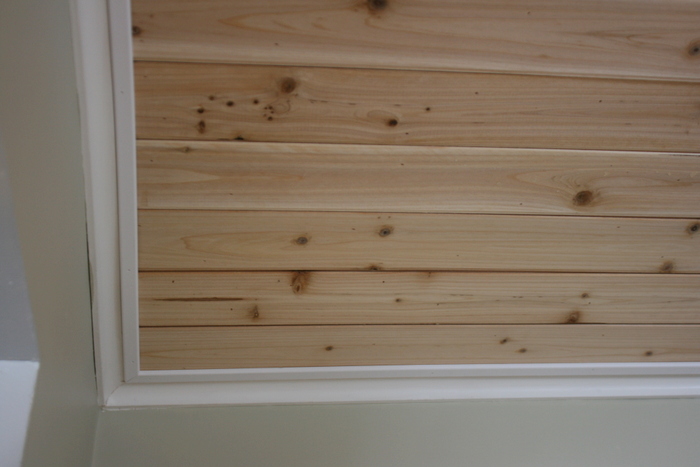
Look how much better this looks! I’m so happy with it!
Is it perfect? Nope. But it looks about a million times better. And, balloons won’t pop on a sharp ceiling anymore either, so there’s that.
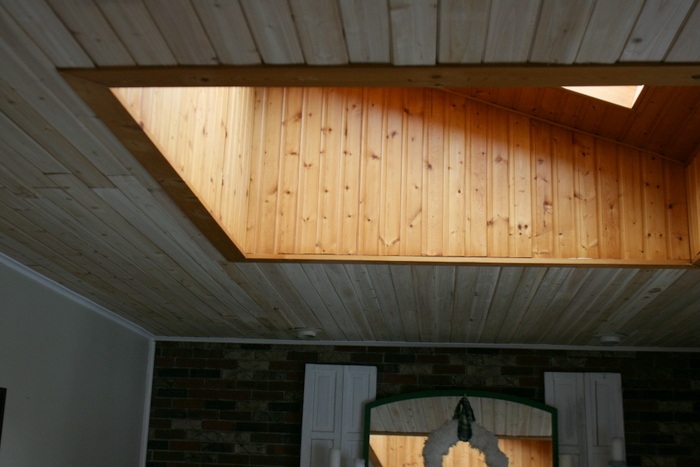
Here’s what’s left to do… I’m going to either paint/whitewash the skylight, add trim around the skylight and caulk around the edges. I also have a few living room decor items I’m going to switch up – I’m saving that for my “reward” when I get the ceiling finished!
Progress… it feels so good.
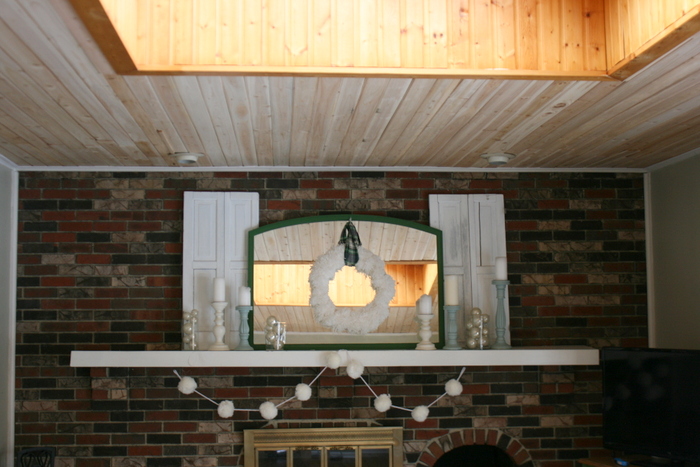
And just because… check out my winter mantle decor. I kept out some of my vintage white Christmas balls, added candles and puffy pom-poms. It’s a happy nod to winter.
Happy DIY-ing!
Jenni

