We are chugging along room by room here in the house, and exciting news – I only have 3 more rooms to paint!! I think I’m going to throw a party when I’m done painting all this oak trim white.
This time it’s my son’s room. I told each kid we needed to do a summer purge, and along with that we could do a room makeover. Well, this is the first one – and I am beat. But, when we were planning his room I immediately thought of doing an accent wood wall… you should know my now, I love a good wood accent wall!
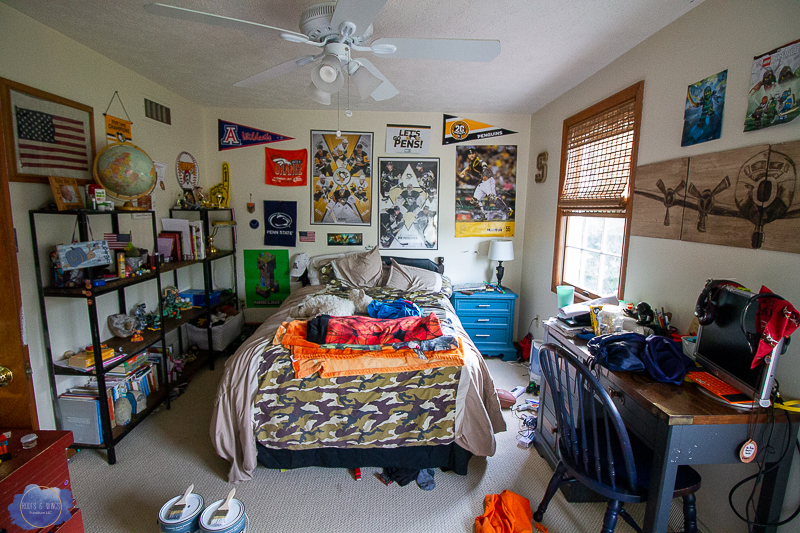
This is how we started. You can see he is not at all afraid to hang things on his walls – and this my friends is “clean” in his book. So we needed to make this space awesome – a place he’d like to hang out in, and perhaps be inspired to keep clean (is this dreaming?!). This room I’m going to call a “tween boy makeover” it really just has a nice masculine feel to it that I hope will grow with him into his teen years.
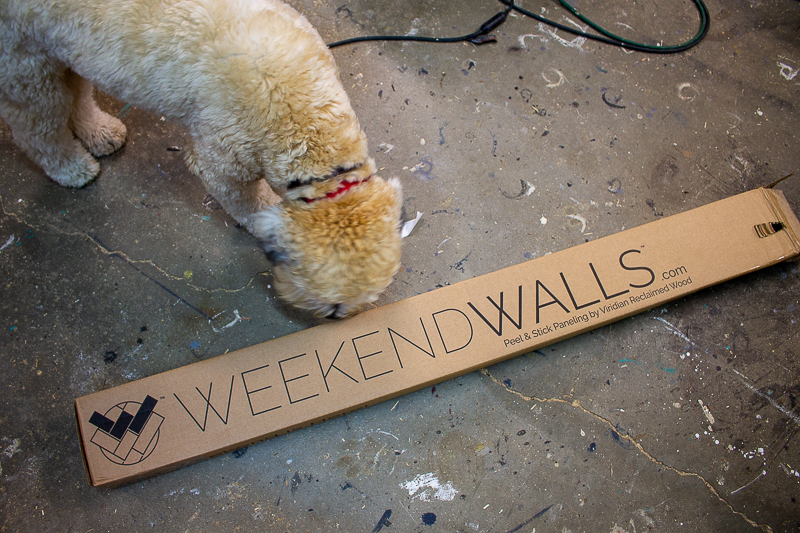
I enlisted the help of Weekend Walls for this project. They are a sponsor for this post (and video). To see my full disclosure policy click here. Wait until you see the amazing wood strips they created.
Here’s how the box arrived. I was honestly surprised, I imagined I’d be getting a hard to move pallet of wood, but nope, they come in these little boxes.
The backs of each planks have suuupppeeerrrr sticky strips – these suckers aren’t going anywhere! They also covered each knot or crack with black paper, this was a small detail I really loved, because over time if a knot falls out, or there’s a crack in the board, you won’t have wall peeking through! This also means you don’t have to paint the wall behind the boards… time saver!
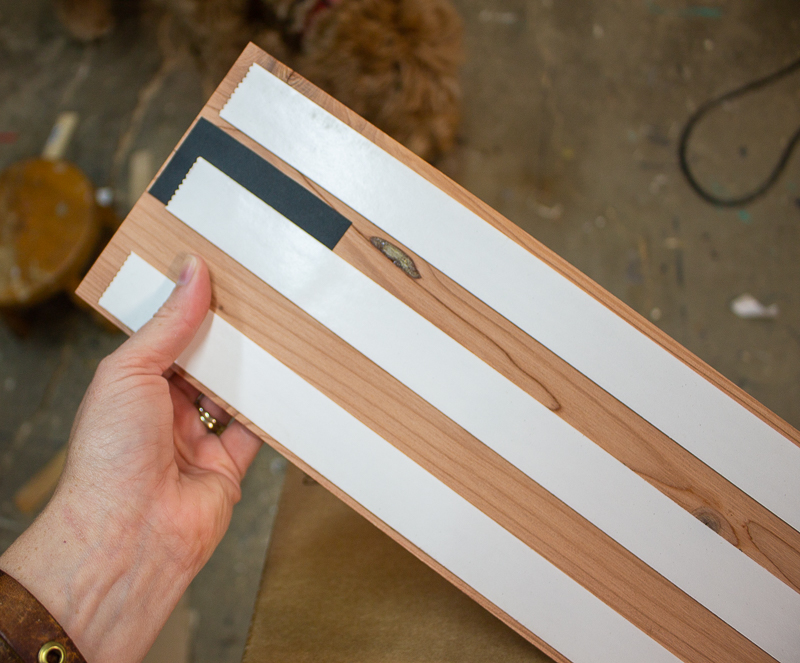
The wood is nice and thin, lightweight and easy to work with – and yes, it is real wood! They are reclaimed redwood fence posts that are cleaned up and cut down into wood strips so this is literally the easiest project I’ve done all year. The hardest part was getting the paper to peel off the tape on the back. 🙂

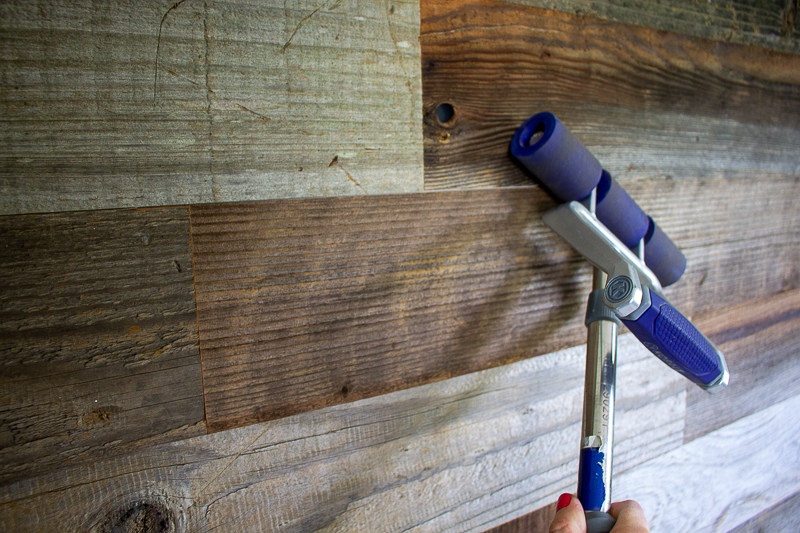
Here’s how easy this project is to complete:
Look at all that color and texture, I just love how this came out. You do need a j-roller (or any kind of roller that has a little weight to it) to press everything down nice and tight to the wall. After doing this, I had no boards come up, no need for the nail gun at all!
When we hung the headboard door (did you see last week’s project?!), this is how it all came together! Ahhh… isn’t that so good?! My son was so excited about it. While the texture is definitely there, it’s not so rough that you’re going to get splinters or anything when you touch it.
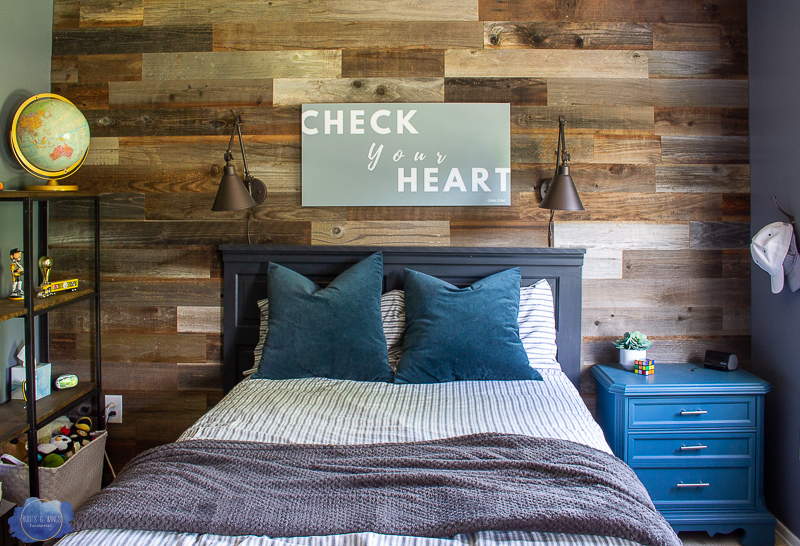
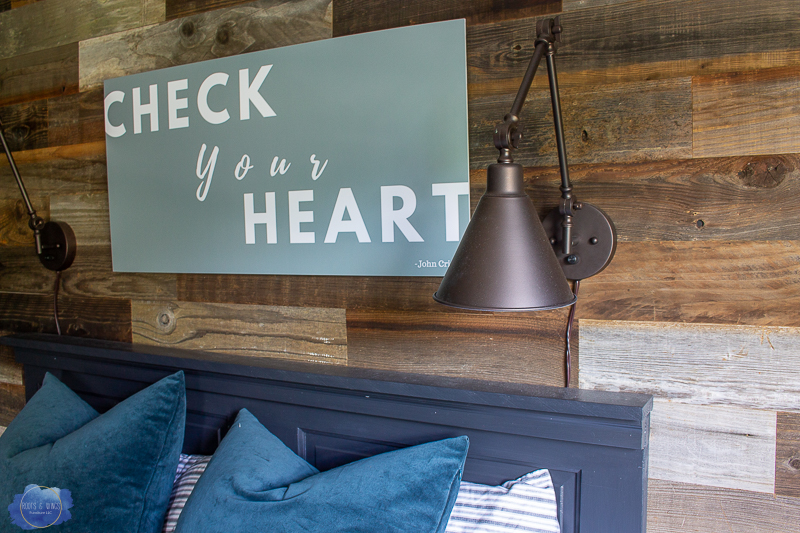
We had this sign custom made at Eleven Eleven Gifts (thanks for getting that stuck in my head John Crist), and hung some reading lamps on each side of the bed. Pro tip – check out Open Box from Lamps Plus for some great deals on really pretty lighting options!
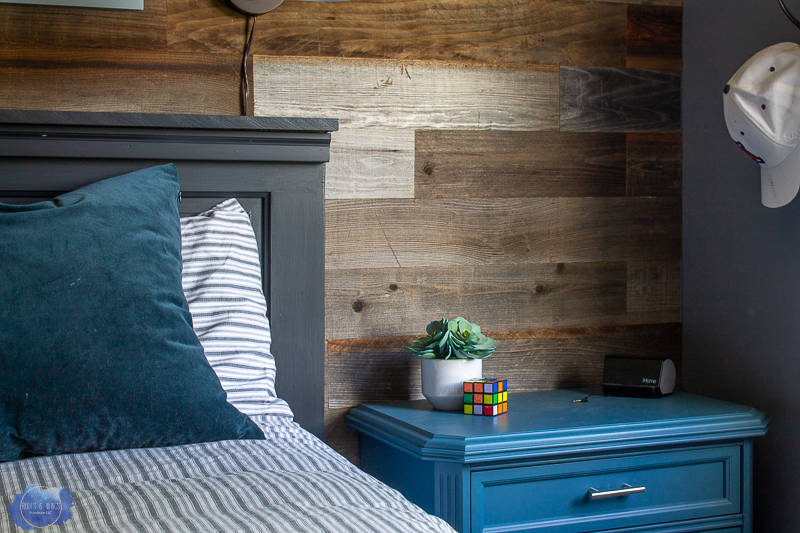
His nightstand was painted in the new General Finishes Color – Blue Moon, it’s a really nice dusty blue that goes really well with the wood tones and the blue/gray we painted the walls (Behr Liquid Mercury).
One more time, rustic wood strips for the win…
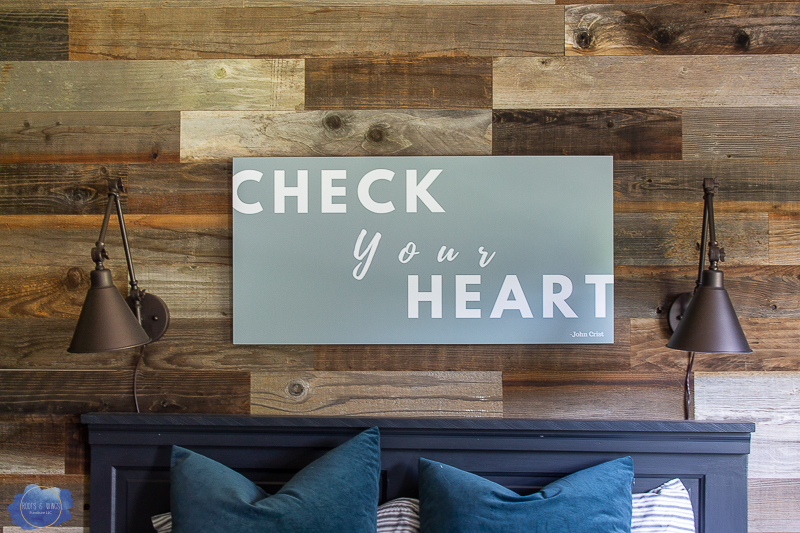
If you are looking for instant character for your walls, I couldn’t recommend Weekend Walls highly enough. This was the “Natural” option, although they do have other colors. Use code ROOTSANDWALLS for 10% off your order!
We have a bit more work to finish in his room, I’ll show you next week…
Until then, what do you think about this wall??!
Jenni


Your son’s room turned out great! I would like to use these on the walls of our hunting cabin. Since it gets pretty hot in there during the summer, do you think they would melt off the wall?
Hi Darla!
I really don’t think so! I had to move one of the planks I accidentally put in the wrong spot and it was seriously stuck on there – that was before I had even rolled it. I think the adhesive is really made to stick and stay. They would look fantastic in a hunting cabin!
Wow, Jenni. The room looks great! What a cool product!
Go Pens! Lol!
That wood wall just adds so much character to the room. Beautiful job!
Go Pens is right!! Thank you so much, I love it!
Jenni, I love it! It looks amazing and super easy to do!
Hi Colleen!! Thank you so much!
Your wall is beautiful! Perfect for a teenager. I also like the upgrade with the lights and headboard. You did a fabulous job.
Thank you, I love how it came out!!
Hi Jenni. Room looks great. Could you please tell me exactly where you got the wood strips with the sticky back as I think these would be great in my grandsons room. Thank you
Yes, you can find them right here: https://weekendwalls.com/ they are fantastic and so easy to use!!