Hello friends!
Kitchen progress continues in this neck of the woods. I’m doing my best to take this makeover one step at a time so I don’t get overwhelmed… kitchens are a beast to makeover (especially DIY style).
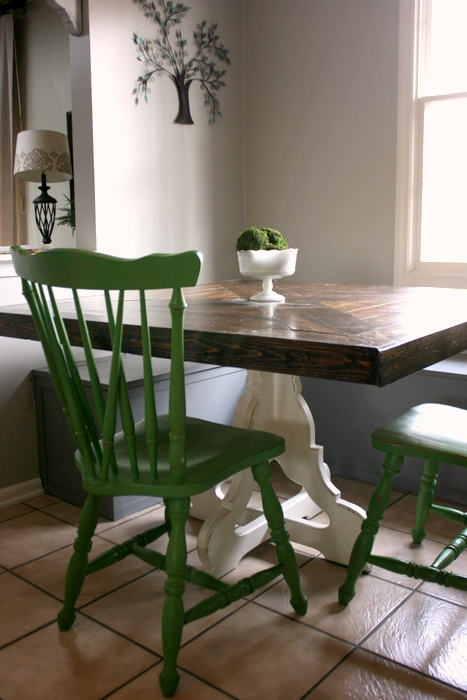
I finished up the banquette in the dinette (say that 5 times fast) this week, and wanted to show you how I did it. This was one of those projects that was surprisingly simple. I’ve wanted to do this built-in seating in this corner for a while now, and now I wonder why I waited so long.
This banquette was built for around $150, 2 afternoons of work, and adds a lot of extra storage, space and seating. Ready to see what I did?
This post contains a few affiliate links to help you find the products I’m talking about. Any affiliate income goes to fund more awesome blog projects!
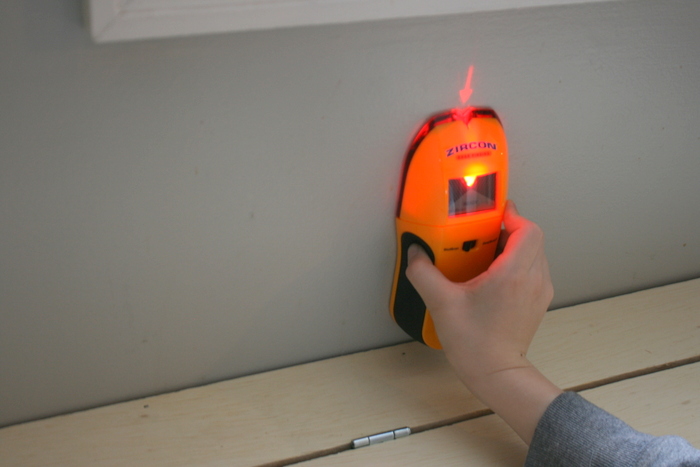
1. Find your studs and mark them along the wall. This little tool was very helpful (so was my son who thinks this is the latest and greatest thing).
2. Figure out your bench size and cut your pieces. I’m doing a 42″ round table here, so I wanted one side of my banquette to be 48″ L, the other was limited by a vent, so was a little shorter on the side under the window.
Standard seat height is 18″, I’m using 3/4″ plywood, so all my pieces needed to be cut at 17.25″.
Standard seat depth is about 15″, this is my other dimension. This allows for lots of storage without a big footprint.
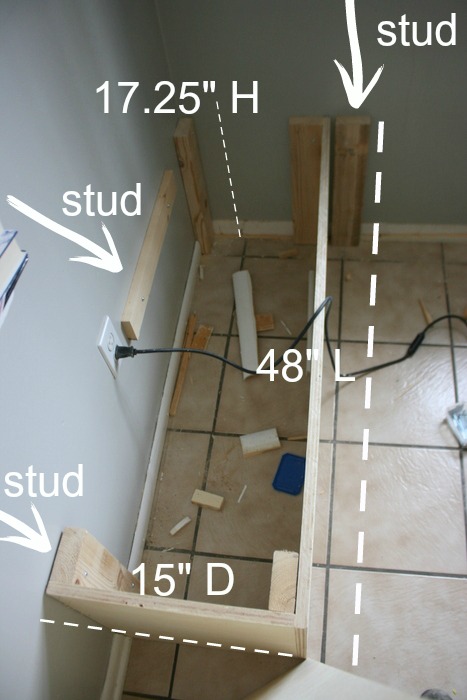
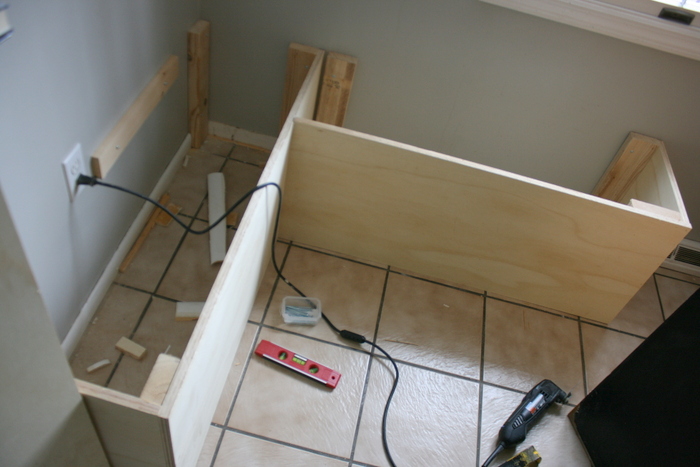
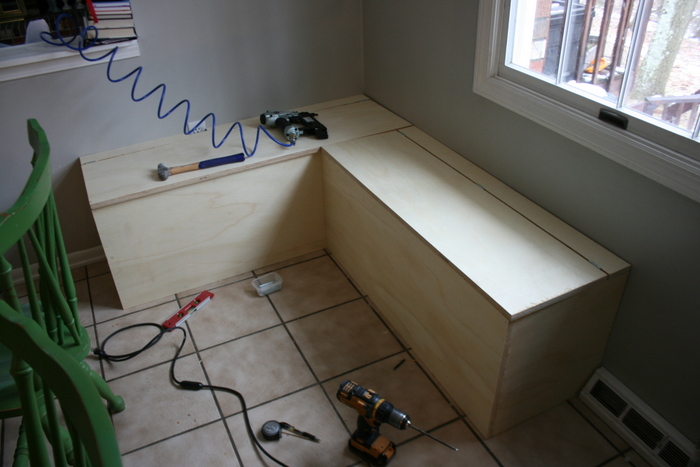
3. Screw your 2×4 supports into the studs on the wall, then begin building out from there. I secured the 3/4″ plywood to the studs using my brad nail gun (I rarely do a project without this tool). You will need one cleat along the back of the bench – this was just a piece of scrap wood I screwed into the stud.
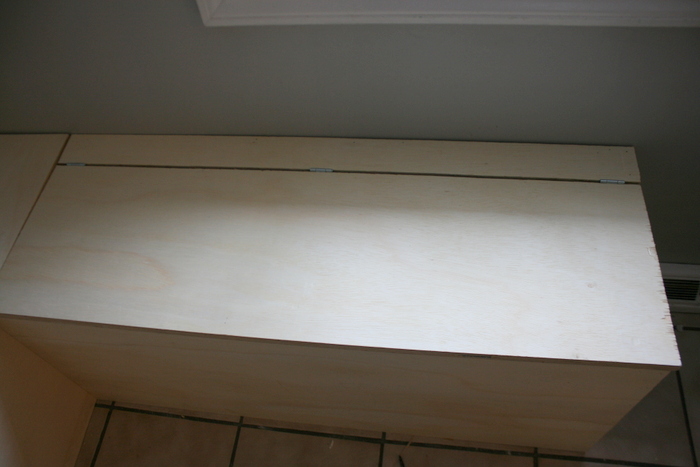
4. Once the bases were built I measured for the top. I wanted mine to have hinges so I cut a 3″ strip down the back and attached hinges.
If you don’t need extra storage, you would simply nail the entire top to the base along the edges.
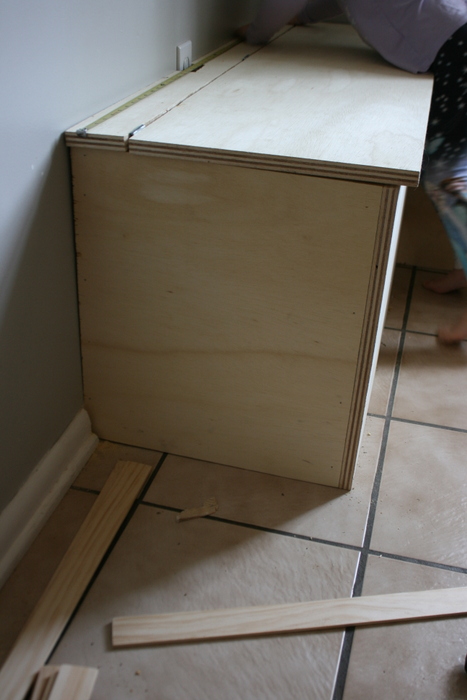
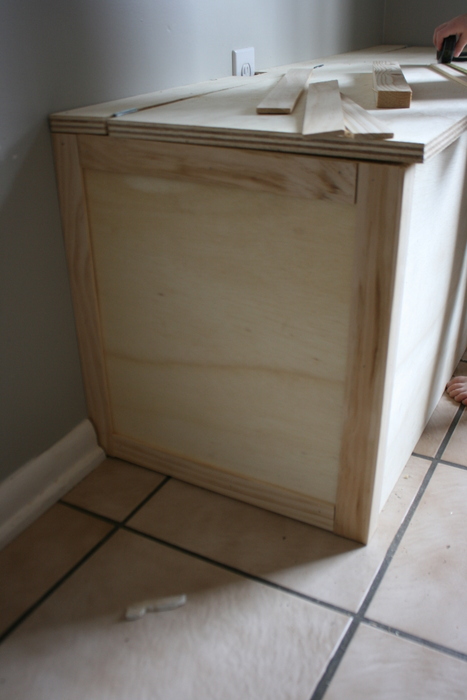
5. Trimming the edges makes all the difference for a finished look. I like to use 1/4″ lattice for trim, it’s easy to use and work with. I just kept the design simple and made a box. Then I filled in any nail holes or gaps with Bondo.
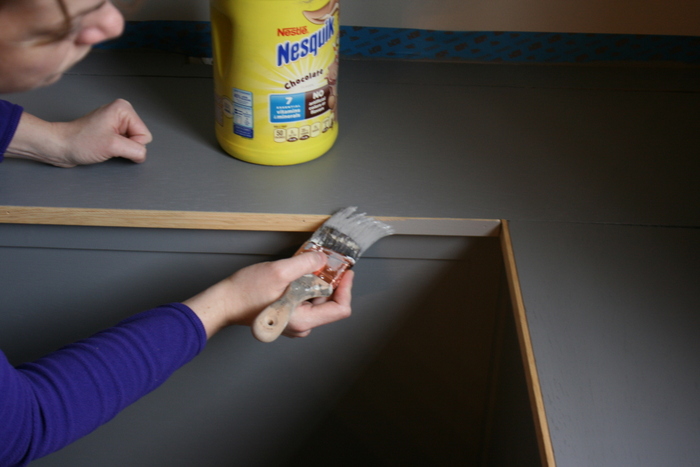
6. Once the building is finished, now comes the fun part – painting! I mixed a custom color using General Finishes Driftwood and Snow White Milk Paint (this will also be my cabinet color!!). Here’s a little video to show you what I did.
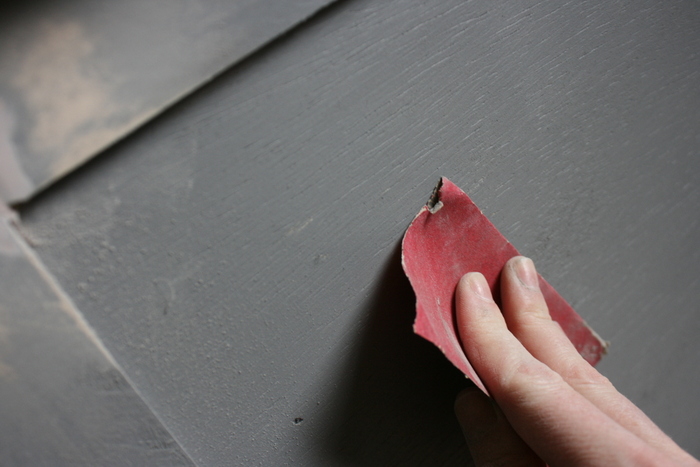
7. The first coat gave really good coverage, but when you are painting over raw wood, it will sometimes dry a little rough. I just quickly ran some 220 grit sand paper over the whole bench to knock down any grain. Then painted a second coat!
I will also be sealing this with High Performance Top Coat in Flat finish to give me a little more wipe-ability and to match the cabinets!
8. Step back and admire your work! Yay! It’s not perfect, but I built it, and I’m pretty proud of that! Now the table can be pushed back into that corner a little closer which gives us more space!
I *may* add cushions at some point, but the first dinner we ate sitting at the bench there were little spaghetti finger prints all over it – so to save this momma’s sanity, it may just be wipe-able painted wood for this season of life 😉

Next up, that table needs a little work – let me tell you square tables are killer on the thighs, I’m always running into it!
Stay tuned for more projects coming your way soon! And if you build yourself some built in seating – send me a picture, I’d love to see it!!

Happy Building!
Jenni

.jpg)
.jpg)
.jpg)
.jpg)


