Hello friends!
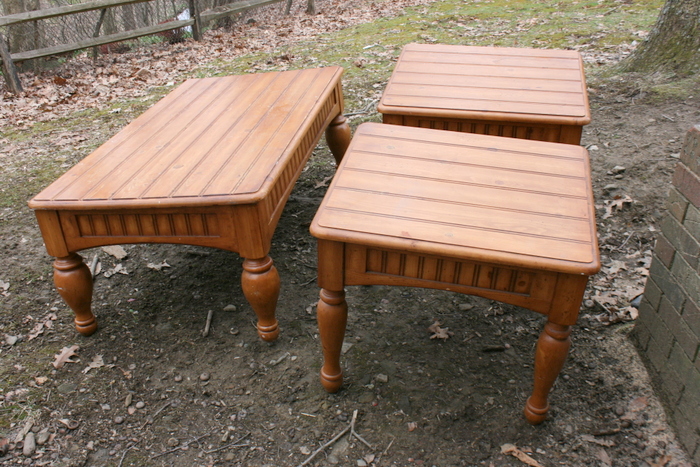
I’m super excited to share this makeover with you. I picked these pieces up on Sunday, and they are already finished! Finding matching sets like this is tough, so I snatched them up quick. They started as this orange pine finish – not too pretty.
This post contains affiliate products to help you find the products I recommend. Any proceeds that come from affiliate sales go to support more awesome projects 🙂
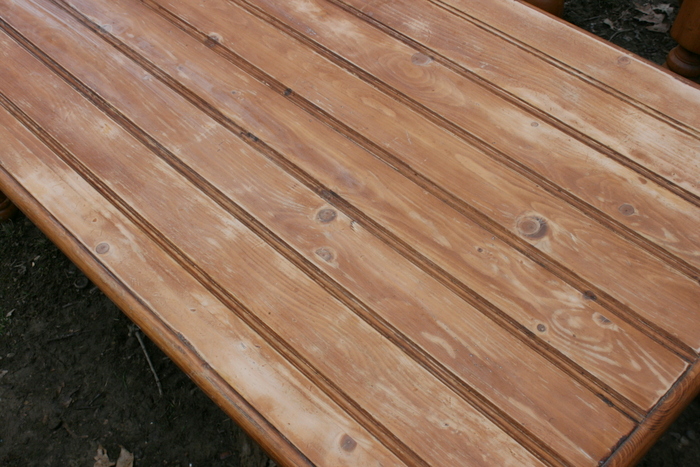
I scuff sanded with my palm sander this time. This could easily be done by hand, I just wanted to get it done quickly. I used 220 grit sand paper and just went all over the tops.

After sanding I sprayed these with 50/50 water and denatured alcohol mix, and wiped it down with paper towels. This does the job of cleaning and dusting at the same time.
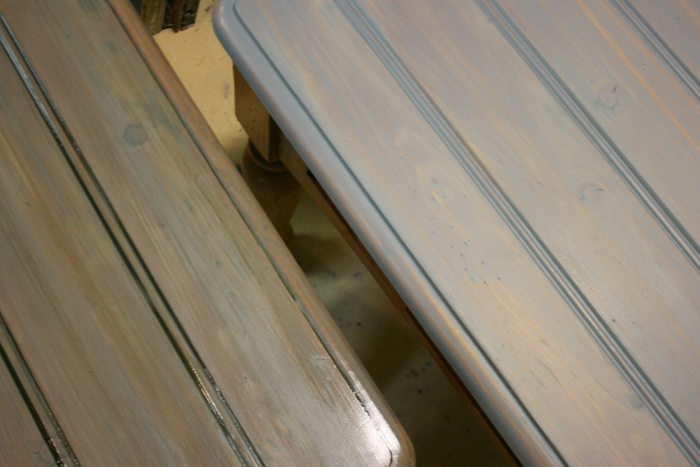
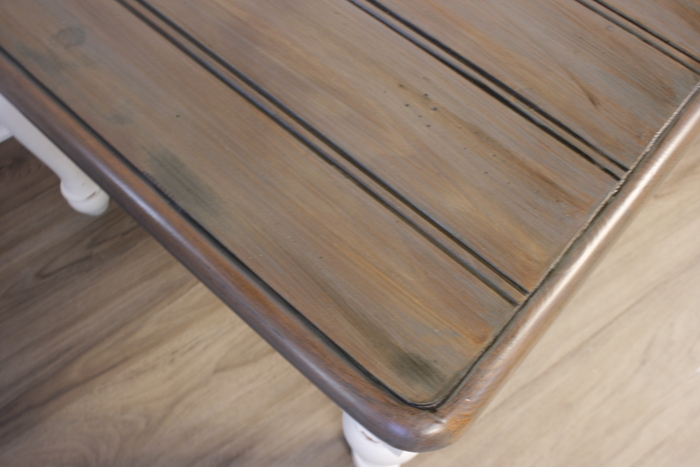
This is how they look when they are all sanded and wiped down. Notice, there are some places that are down to raw wood, some places that aren’t. For what I’m going to show you that is OKAY!
Next up, I applied a coat of General Finishes Weathered Gray Water Based Stain. I just applied it with a chip brush and wiped the excess off with a cotton rag.
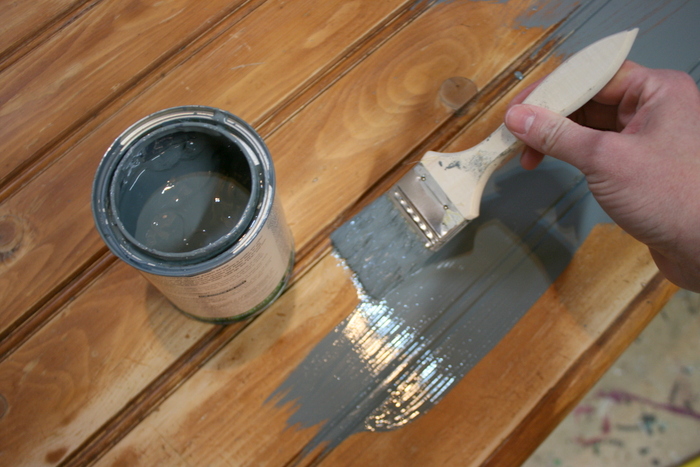
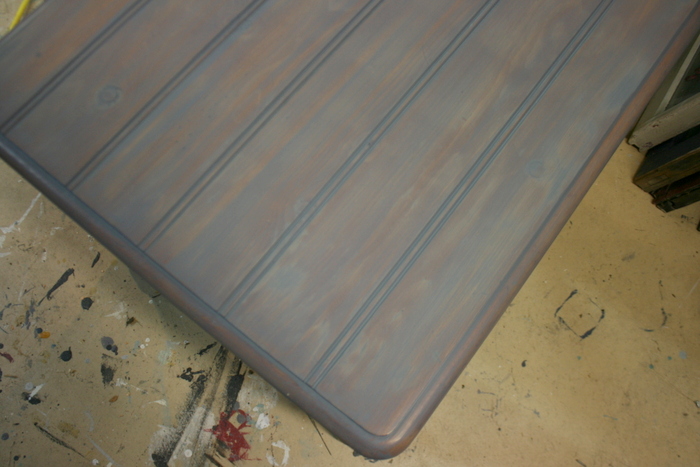
Here’s how it looks when dry. It’s really gray, so I wanted to tone it down a bit with some brown tones.
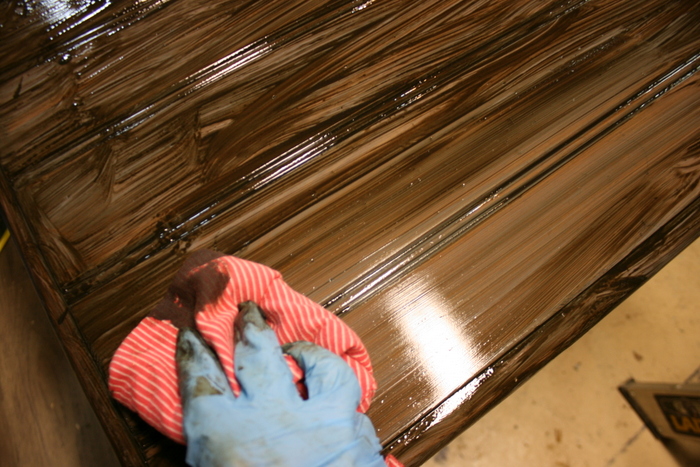
I found the perfect color stain – 50/50 mix of General Finishes Walnut & General Finishes Antique Oak Water Based Stain.
I mixed some up in a can, then applied this over top of the gray. Again using a chip brush and wiping back the excess with a cotton rag.

You can see the difference here the brown adds, it tones down the gray and adds some contrast in the grooves.
A word of caution – learn from my mistakes…
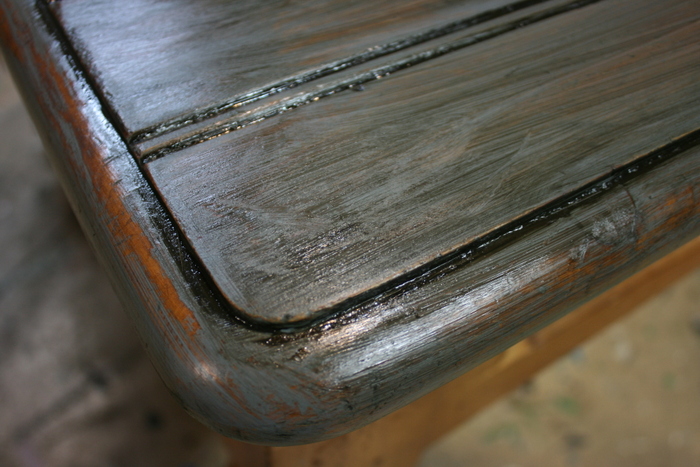
I started applying the brown stain coat before the gray was all the way dry (let each coat dry at least 4 hours), and it started distressing the layer underneath. Sometimes that can give a really neat effect, but in this case it’s NOT what I wanted.
I let it all dry and then went back over those spots with gray and then brown.
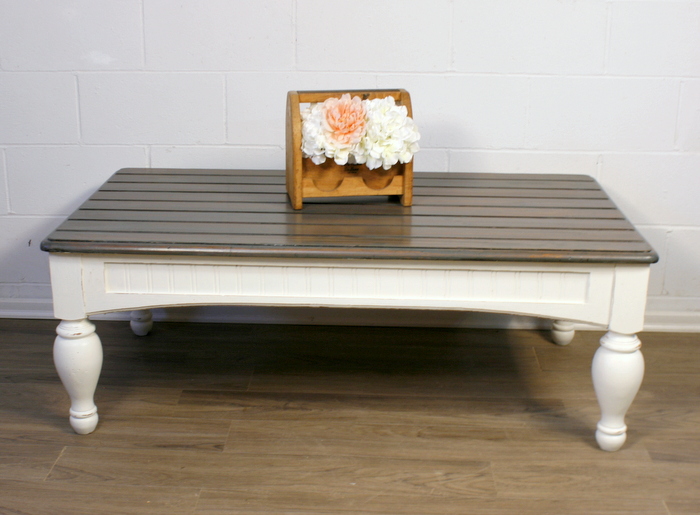
Once all the layers were dry, I sealed these with 3 coats of High Performance Top Coat in Flat finish.
I LOVE the look of this finish, and it was very easy to achieve! Mix stains, play with layers, colors and textures – you never know what you might create!
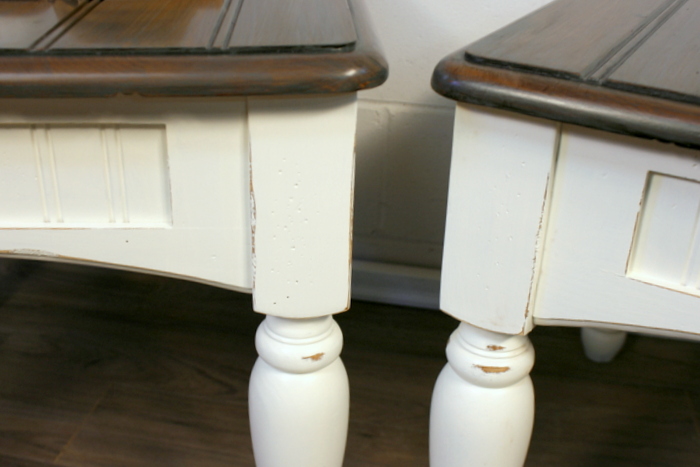
The bases of these were painted in a mix of 50/50 Antique White & Snow White Milk Paint. I just pour half and half in a container and mix it by hand with a stir stick. It makes the perfect white – not too creamy, not too bright. It covers better than pure white too!!
I distressed the edges just a bit – enough to show the details – but not enough so you see any orange peeking through!
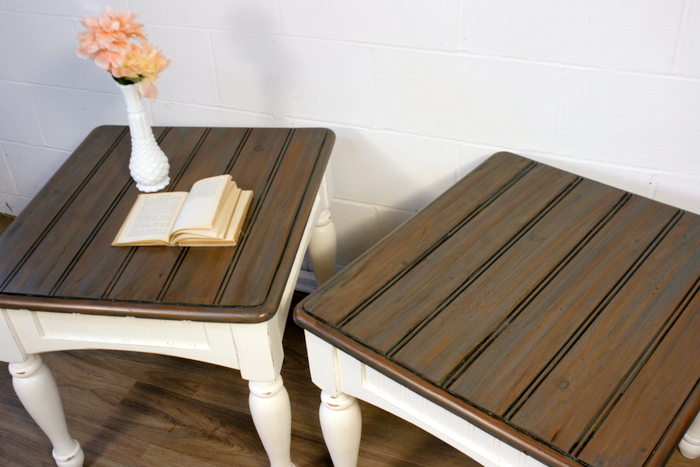
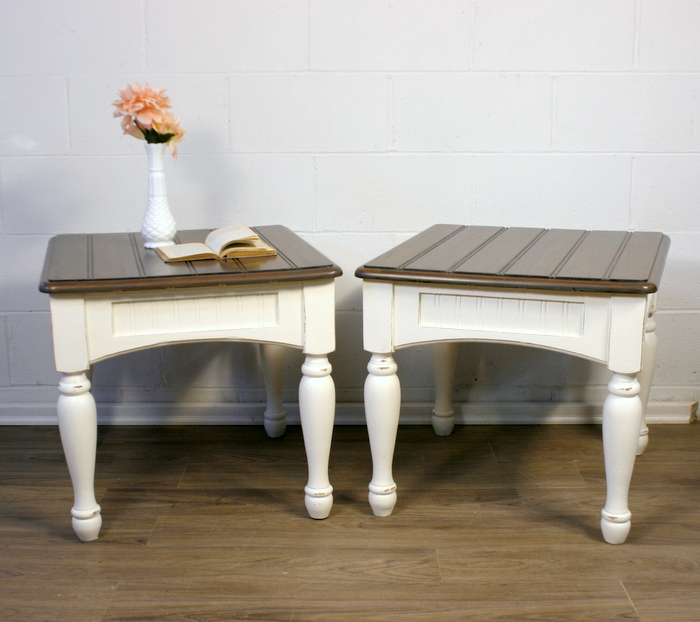
This set is currently available in the shop here. I’d keep these if I had a place for them, I can’t wait to see who they go home with.

Thanks for stopping by!!
Jenni

.jpg)
.jpg)
.jpg)
.jpg)


