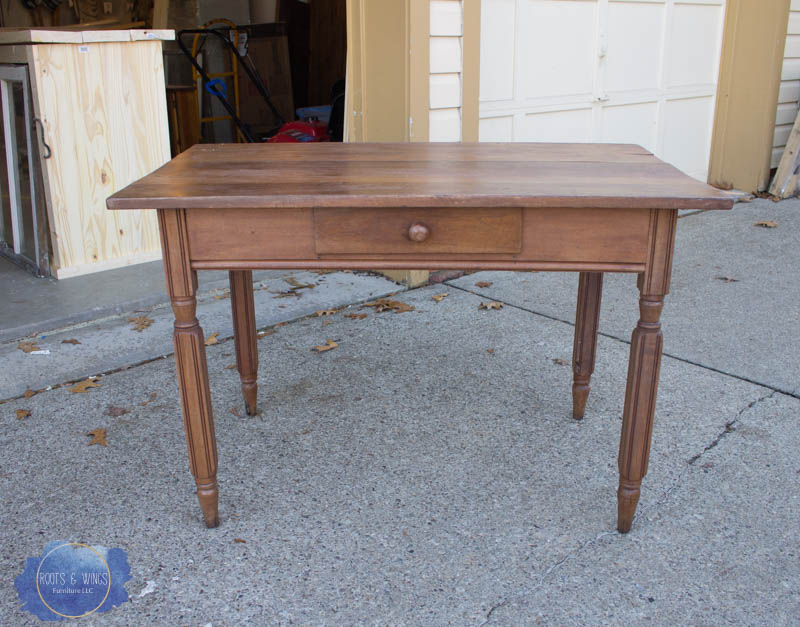
I found this very old, very brown table at a consignment store recently and knew it would be a fun and quick makeover!
This post contains affiliate links to help you find the supplies I’m showing you. Affiliate links don’t cost you anything to use, are just a matter of convenience. To see my full disclosure policy, click here.
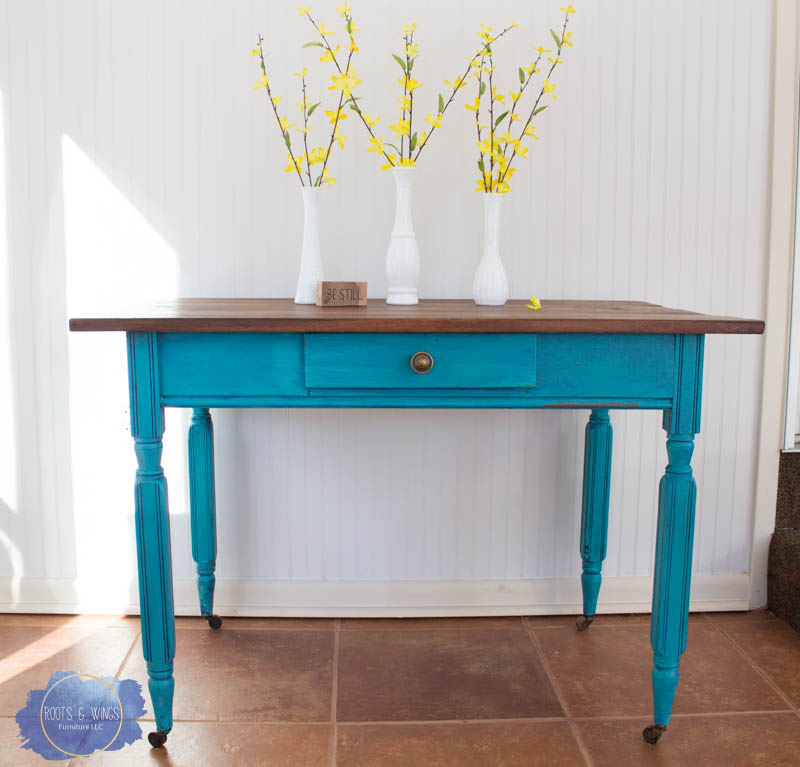
I added some color to the piece by painting the base of it in General Finishes Patina Green with a wash of Coastal Blue – it’s the most gorgeous color, a bright blue/green. To see a complete tutorial on color washing, check out this post.
The top had so much character in the wood, I didn’t want to sand it down completely and loose it all. So I opted to lightly sand the top by hand with 120 grit sandpaper and oil the top with Miss Mustard Seed’s Hemp Oil. It re-hydrates the wood and brings it back to life without erasing all of it’s history.
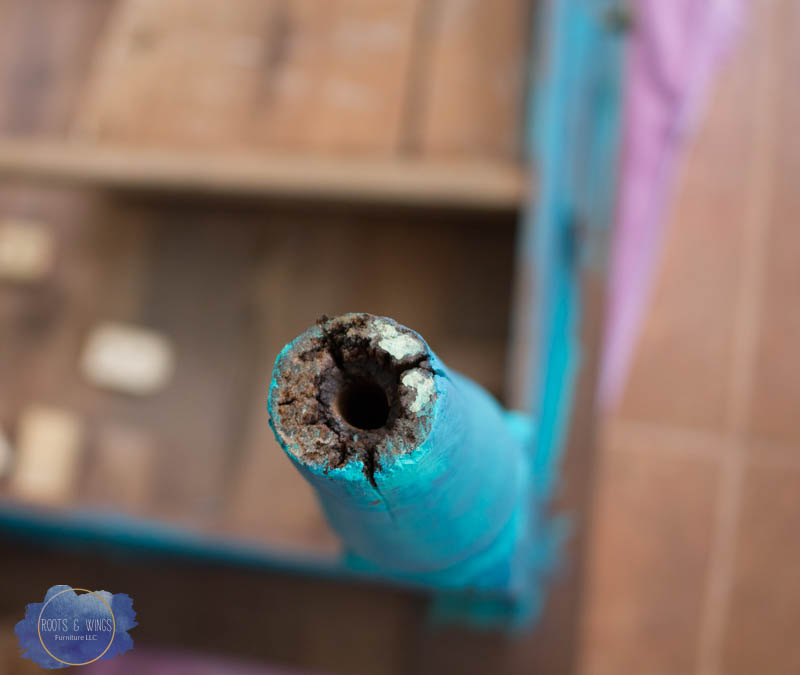
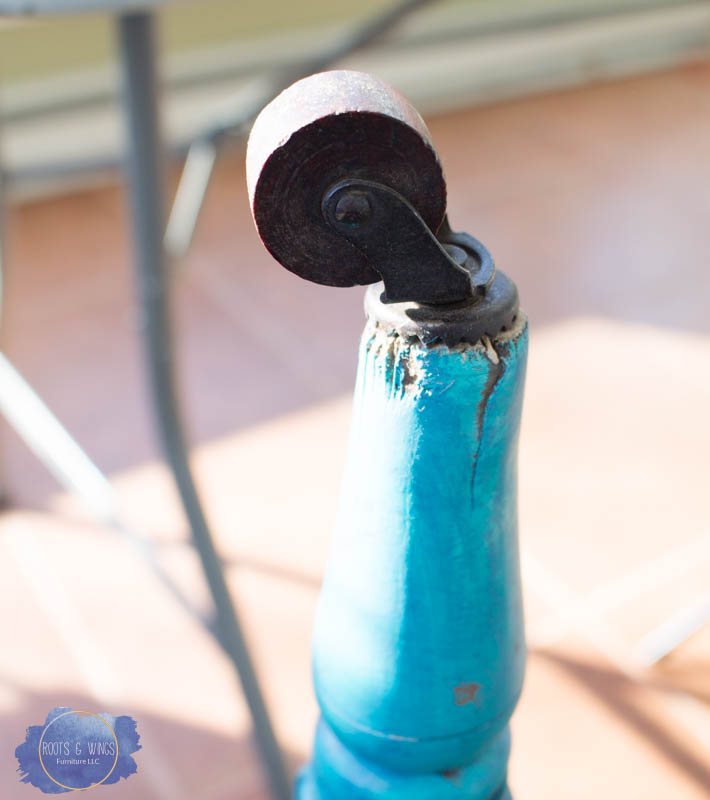
One thing that was not so beautiful on this piece were the broken caster feet. I sometimes will just remove casters, but it would make this table an awkward height – so they must be fixed!
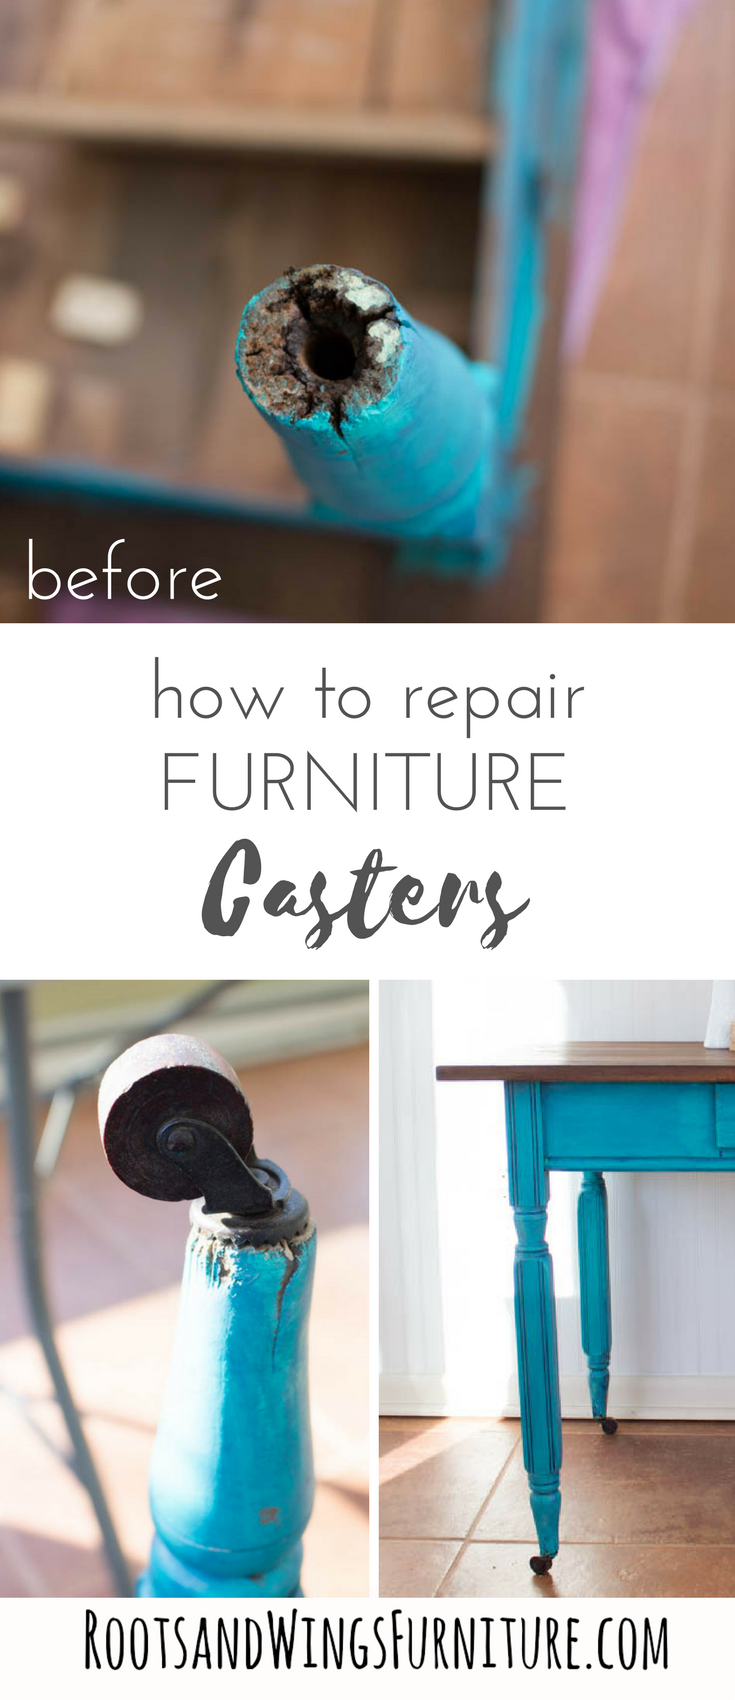
Many older pieces have casters on the feet. They add such charm and character to a piece. But if the piece has moved around a lot, sometimes the casters will wear out and either crack the legs of the piece or wear the caster holes too big. Here’s how to repair broken casters.
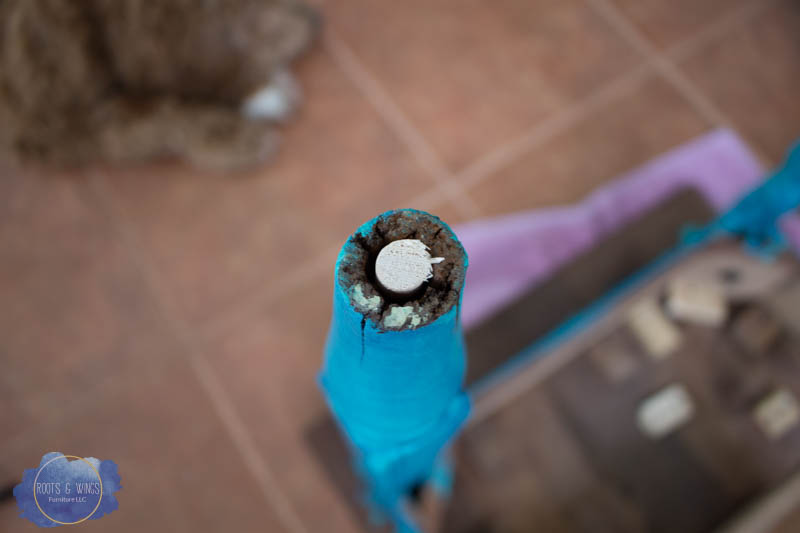
Turn the piece over, remove any existing feet/hardware, and clean out the holes.
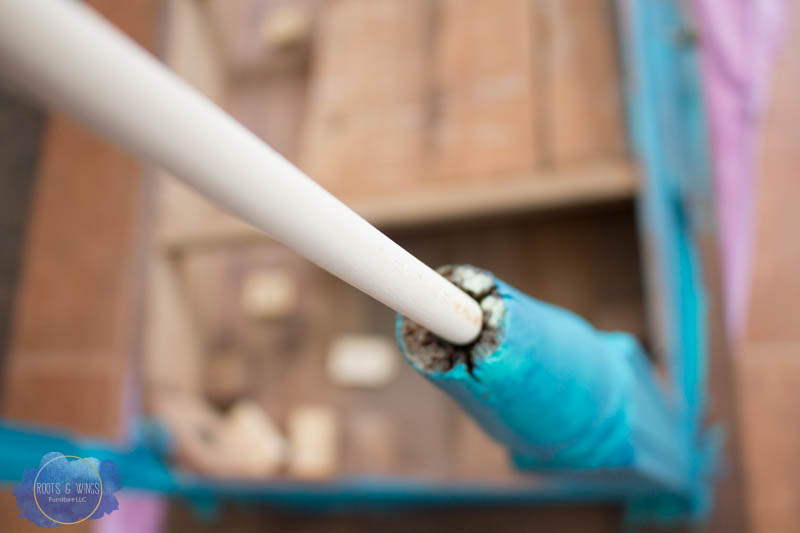
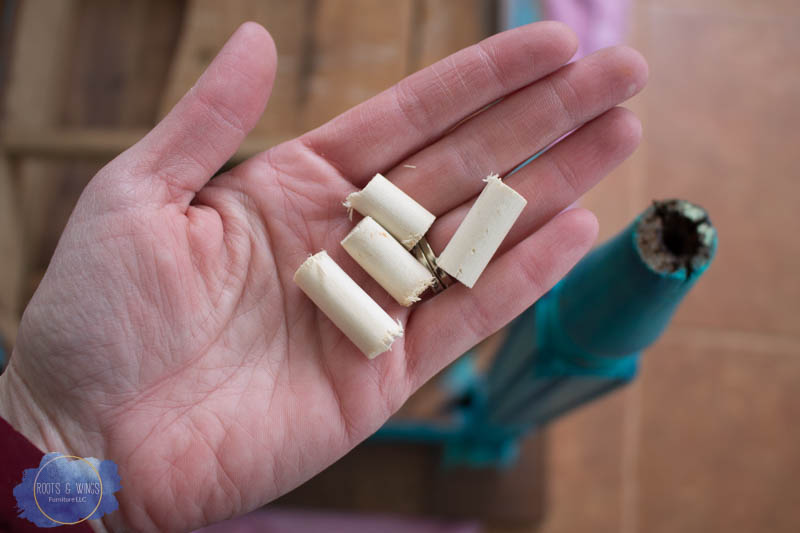
Get a wood dowel rod that is the size of the existing hole (or a bit smaller), measure the depth of the hole and cut the pieces.
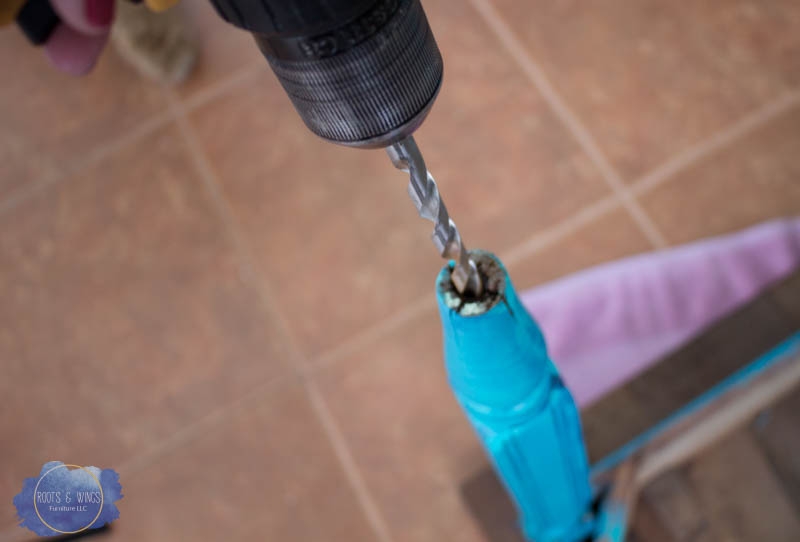
If you need to drill out your holes a little wider, or deeper, do so now.
Put a dab of wood glue on the dowel pieces and pop them in the holes, making sure they are as flush as possible with the base of the feet.
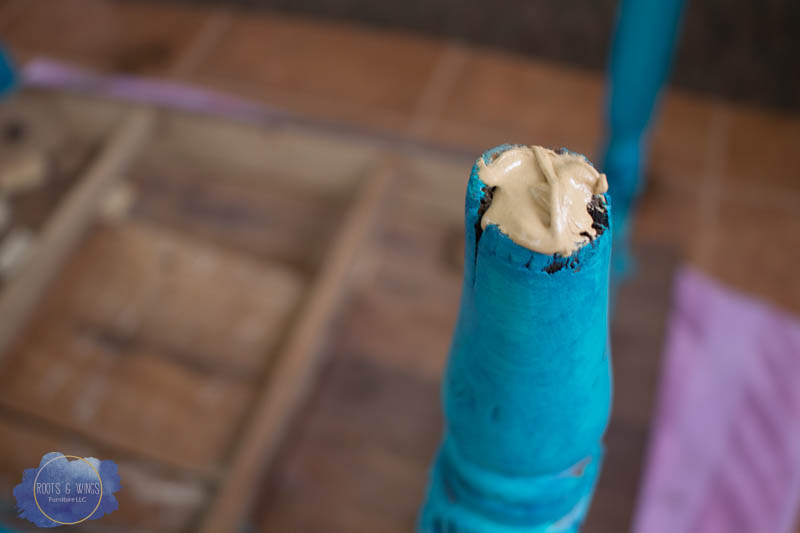
Mix up some wood filler (my new favorite wood filler is Bondo Wood Filler – you must mix it before use). The wood filler I was using dried very quickly, so I only had to wait about 15-30 minutes before I was ready to sand. When applying wood filler, always add MORE than you need in the space, so make sure it fills in the space around the dowel rod and into any cracks there may be on the feet.
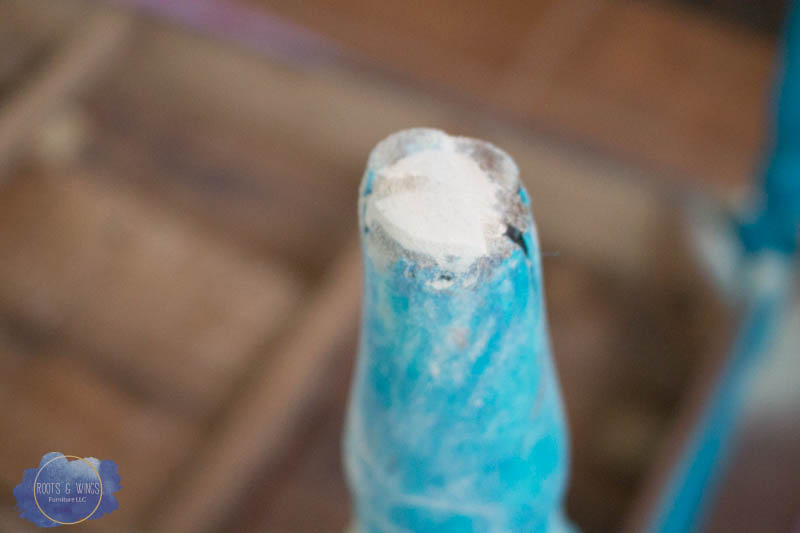
Once it’s dry, grab some sandpaper, and sand it smooth. I used 120 grit sandpaper by hand, but you could also use your pad sander here.

If you didn’t want to add new casters, but just wanted to repair and reinforce the feet, you are finished now. If you are adding new casters, continue on!
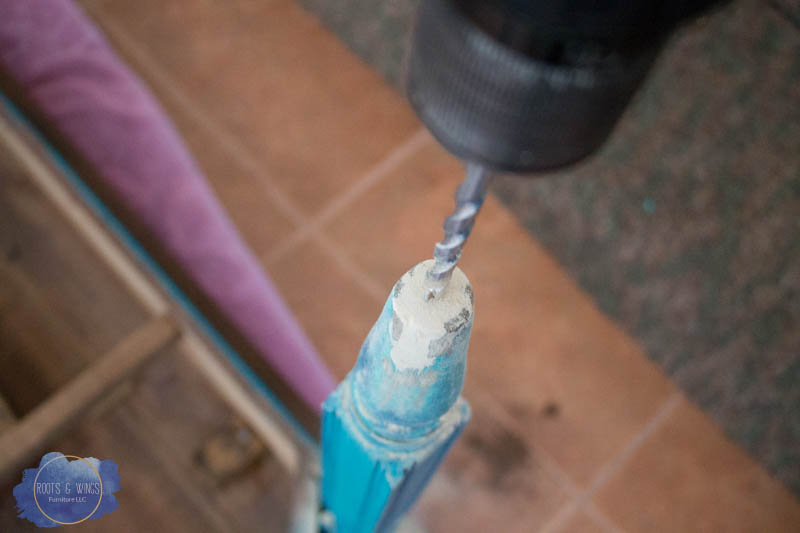
This next part is important… you are going to need two drill bits. One needs to be smaller than the size of the hole you need. YOU MUST DRILL A SMALL PILOT HOLE FIRST. If you don’t you’ll crack your feet again, and be back at square one (trust me, I speak from experience!). Once you have a smaller hole than you need, grab the proper size for your new caster wheels and drill that hole.
Pop in your new wheels (most old style casters have two parts so put the anchor in first, then the wheel). I had these old casters in my stash, so I didn’t have to buy brand new ones, but they are available if you need them.
A little repair, paint and oil make this piece like new (well, almost). Next time you see a set of broken casters, don’t fear – you can fix it!

Until next time,
Jenni


Your table is lovely! I’m refinishing my granny’s old kitchen table and found your blog when looking for inspiration. Your casters look to be the same as mine, and I’m wondering if you cleaned them at all before you put them on? Mine look to be wooden wheels with a (possibly?) ceramic center and metal attachments. Do you have any recommendations for how to clean the rust without damaging the wooden piece? Thanks for any advice you can give!
🙂 Angie
I would recommend using some hemp oil and a tooth brush (or steel brush if you need a little more grit). The hemp oil will oil the metal and the wood wheels and help it work better. If they are too worn, you can purchase new wood wheels (I think the best source is either Amazon or Rockler). Hope that helps!!