Has your cast iron garden bench seen better days? Ours sure had. It was on it’s last legs and either destined for the trash (where I found it in the first place) or a full makeover. I actually googled “garden bench replacement slats” thinking I could just buy some new slats. Harder to find than you may think. But when I took a look at what we were dealing with, it seemed this was a perfect DIY project!

Our bench was rotten, the boards, the screws, the whole thing was a mess. So we took it all apart. I had the help of the whole crew for this project, but it was a great thing to work on on a nice afternoon. We just took all the pieces apart and set the cast iron aside. What I didn’t do here, but what you should do is to measure each of the pieces you take off. They are probably NOT ALL THE SAME SIZE. Learn from my mistakes (more on that in a minute).
This post contains affiliate links to help you find the supplies and products I used. Purchasing through these links pays me a small commission but costs you no extra. Thank you for your support! You can see my full disclosure policy here.
What I used…
- 1×3 cedar boards
- 1×2 cedar boards
- Sandpaper (120 grit)
- Water Based Wood Stain
- Exterior Sealer
- Rust Primer
- Glossy Black Spray Paint
- Spray Paint Nozzle

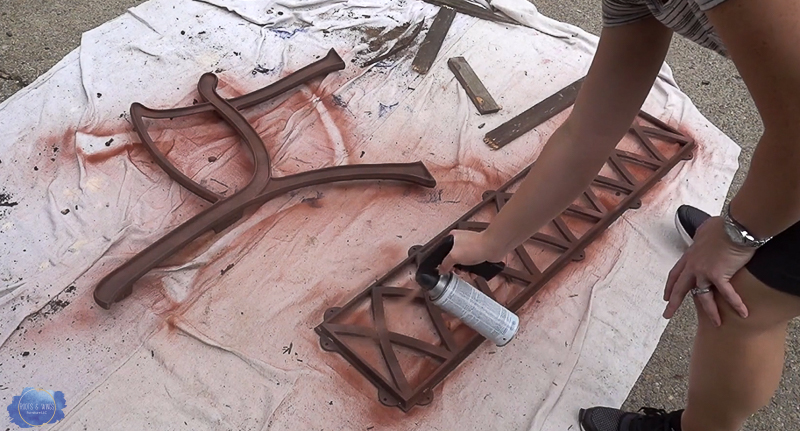
Once the bench is all taken apart, we scrubbed the iron with a wire brush to get most of the rust off. Then we started with some rust primer, and then a good coat of glossy black spray paint. Immediately this was looking a whole lot better.
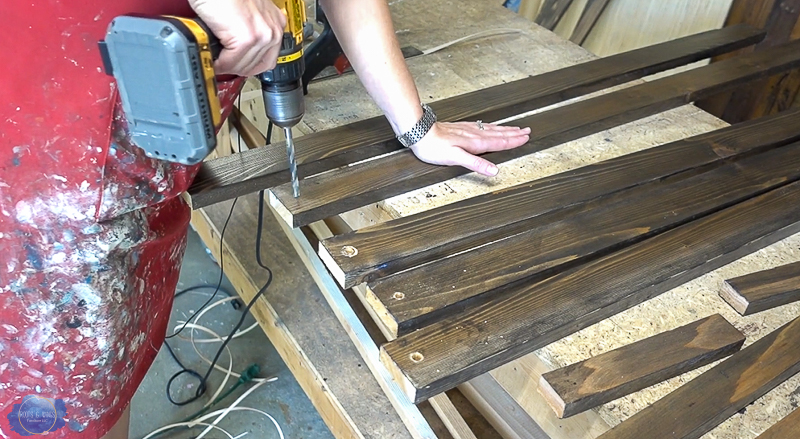
Once the metal parts were all fresh and clean, I set to work on the slats themselves. Making replacement slats I realized was just as easy as cutting some wood to the right size. Then I could customize the stain (or paint) color to be whatever I wanted it to be. Watch the video to see mistake #1 and 2 that I made regarding the slats! And find out a really clever way to get that pesky spray paint off your fingers!
I used cedar 1×3’s for the bench slats and 1×2’s for the back wood frame. Cedar is a great option for outdoor use (and it smells so good in your shop!). I also built some cedar shutters last year that were another easy building project.
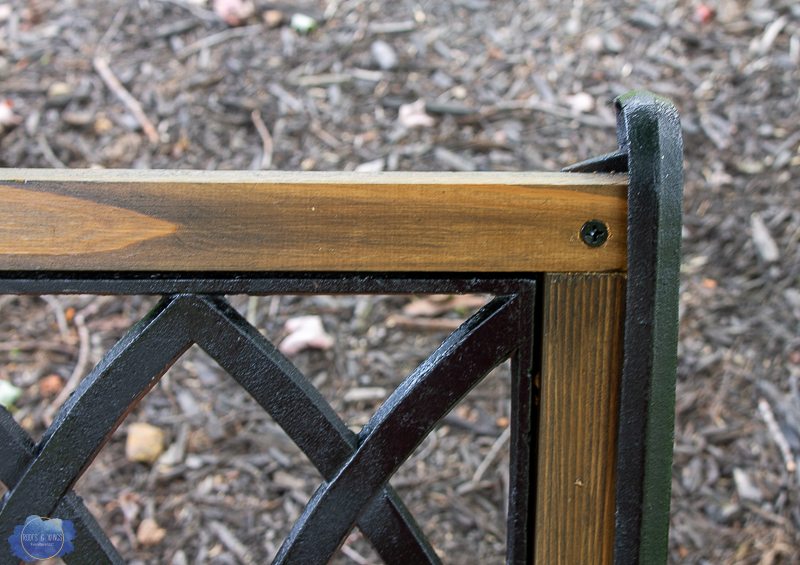
Once I had the slat situation all sorted out, it was just about putting the cast iron bench back together in the same way I took it apart. It was pretty easy to re-assemble using some new screws and bolts.
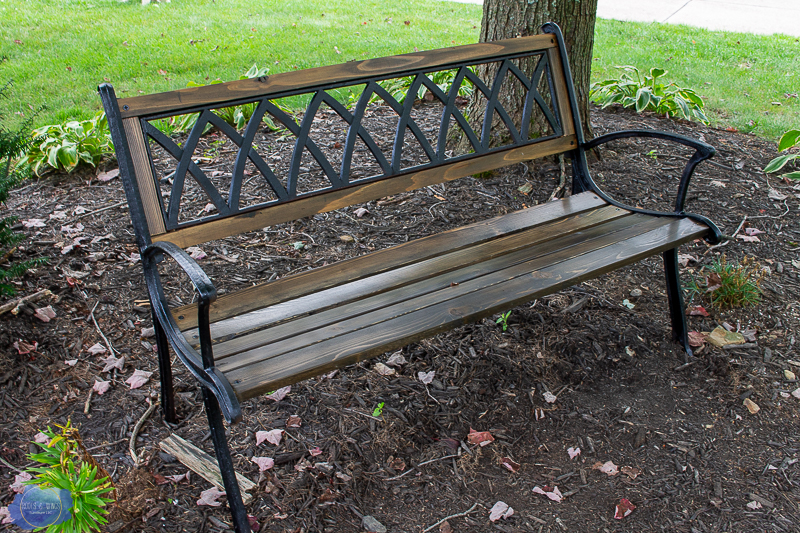
I’m not going to lie, this was a super frustrating project – and I seemed to make it much harder than it needed to be (am I the only one who does this from time to time?!). But when it was all back together, it looks like a brand new bench! Perfect to go with out outdoor makeover we completed last summer. Saved from the trash once again, this bench will (hopefully) last for many seasons to come! So the next time your garden bench takes a turn for the worst, grab your DIY skills and make some replacement slats that will last!
Until next time,
Jenni


But it turned out great and I bet you learned a lot in the process. That is what usually happens to me.
Great job!!!
Bonnie Lamb
Yes, I sure did! Thank you for reading!