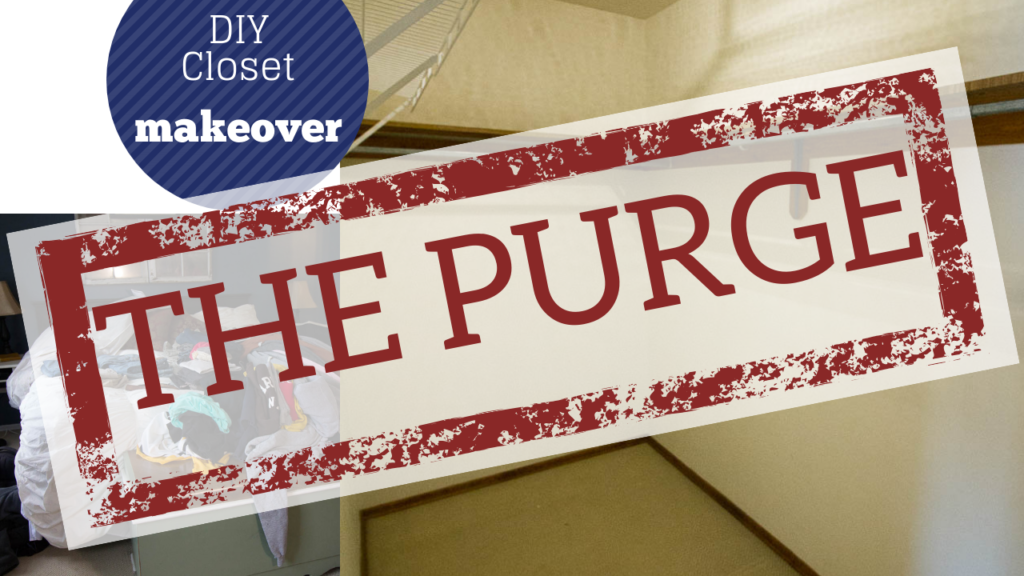
Today we’re continuing with our master closet makeover! Kristin DiBacco from The Serene Space is helping me make my closet functional and pretty! We’ve got our DIY closet makeover plan from last week. This week it’s time to roll up our sleeves and get to work! It’s time to PURGE!! But, before we get started, let’s talk tips. There are some great tips and tricks Kristin gives us in this week’s video. She knows how to go about this the right way.
This post contains a few affiliate links of the products I use and recommend. When you click the links, I get paid a small commission. To see my full disclosure policy, click here.
5 Easy Tips to Organize your Closet
1.Get your bags ready
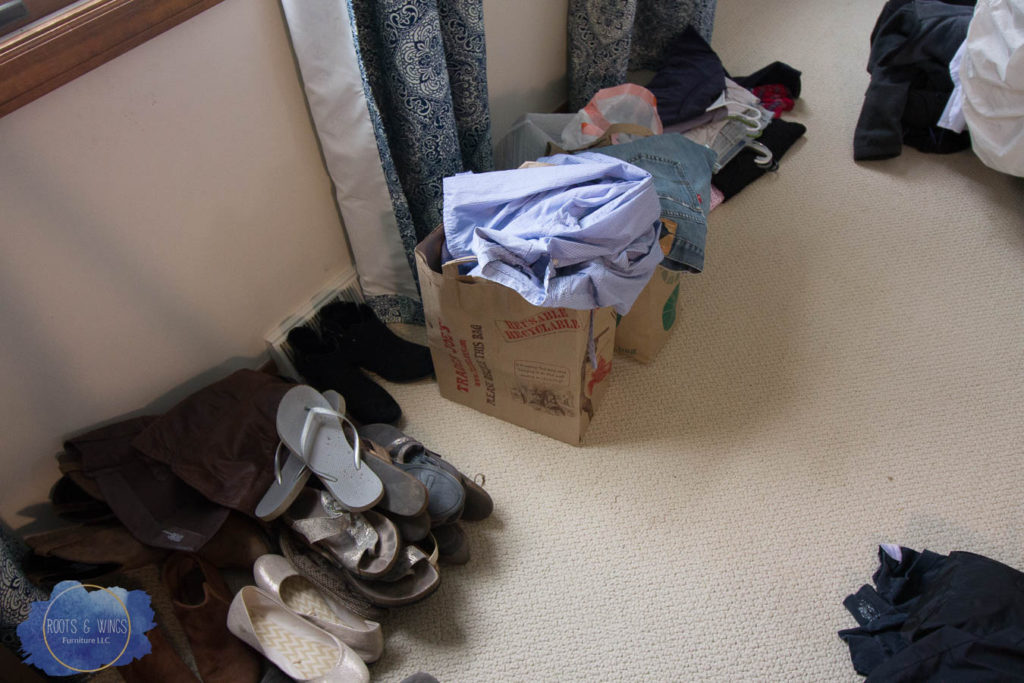
Before you even touch a piece of clothing, it’s time to have a plan. What are you going to do with the stuff you decide to get rid of? Are you going to consign it, donate it, throw it away, recycle it? Pick up to 3 solutions – any more than this and you just made a job for yourself running around town dropping clothing off at too many places.
I chose to donate and throw away. So we got 2 bags – one for the donate pile, one for the trash pile (ps – save those old t-shirts for your workshop, they make great rags!). Then as we went through the items I just put it in the right spot and we were able to move on quickly.
When we were done and the closet was empty, I loaded my car and drove right to the thrift store to drop it all off!
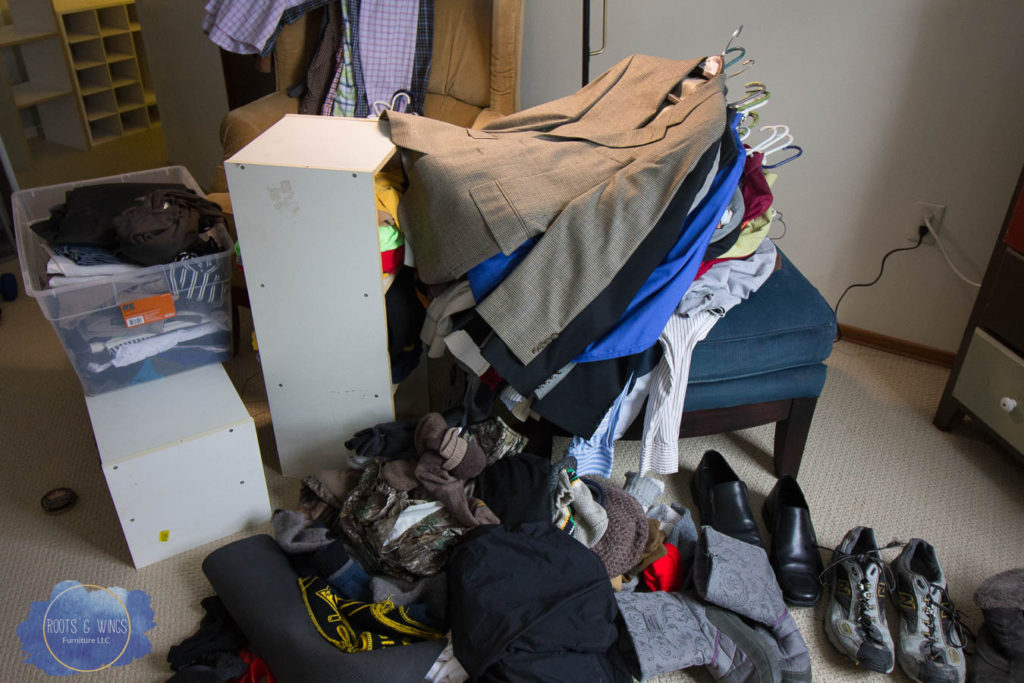
2. Have some alternate hang space
Either make room in other closets around the house or get a portable clothes rack to have some hang space available while you are cleaning out the space. I knew I needed about a week of an empty closet, so I could paint it and do some other projects (coming next week!), so I needed a place for all these clothes to live in the meantime.
Once we went through the initial clean out, we took all the remaining hanging clothes and put them in other closets around the house, the clothes were still easy to access, out of the way and still on the hanger!
3. Pick out your outfits for the next week
This was such a simple, smart tip I thought. Since our clothes we are keeping are scattered throughout the house in other closets, it made sense to pick out a weeks worth of outfits ahead of time to put in a designated spot. That way when we went to get dressed each morning, it was easy to find our clothes!
(We picked a week’s worth because that’s how long I was giving myself to get this finished, if it’s going to take shorter/longer amount of time, choose clothes as necessary. )
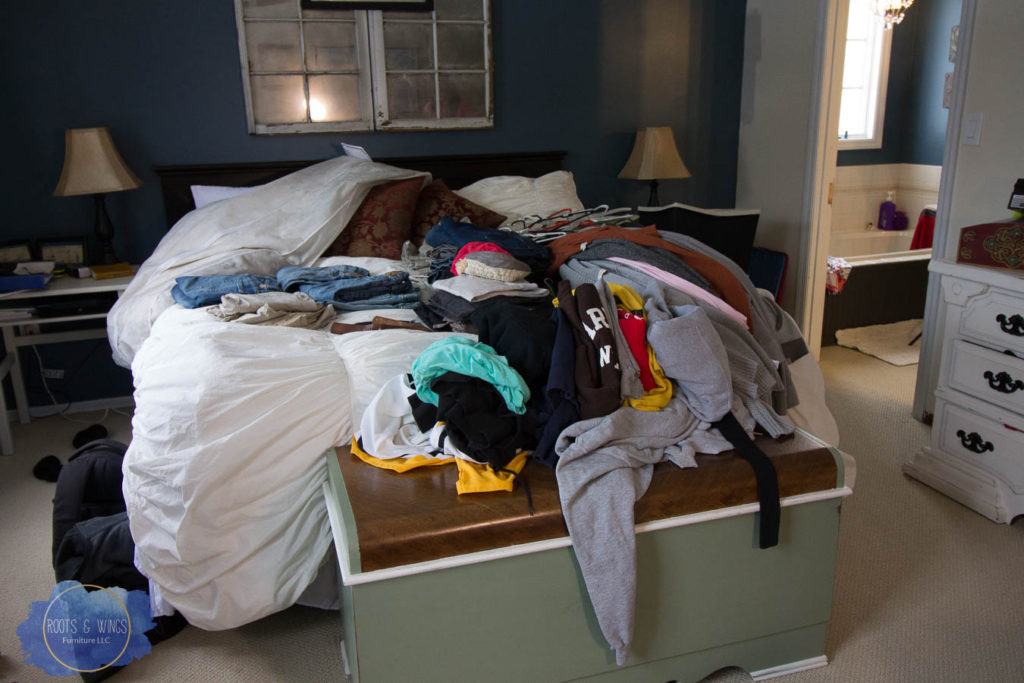
4. Sort clothes by type
We started doing this in the closet before we even removed anything. Sort shirts by short sleeve, long sleeve, tank top, etc. Also do the same with pants, jeans, work pants, etc. This allows you to really see what you have in one space. Do you really need 18 pairs of jeans when you only really wear 2 of them? Do you need 3 orange polo shirts? You can immediately see what you may be able to get rid of!!
When we had our sorted piles, we were also able to quickly and easily see how much space we actually needed for each type of item. How big do the shelves need to be for the jeans, sweatshirts, etc. Do we have space to store all our clothes in the closet, or do we need to pull out the off season items and store them away??
5. Switch out hangers to all the same type
I decided not to do a “hanger makeover” – purchasing all matching hangers – I do understand it gives a cohesive look to the space, but honestly I just didn’t want to spend the money. A compromise to this was to switch all the hangers I did have over to plastic. We had a ton of extra hangers, plastic, wire, etc. So even though now they aren’t all the same color, they are the same type. So things hang nicer.
Here’s how this purge went down… really Kristin told me what to do, and I just obeyed 😉
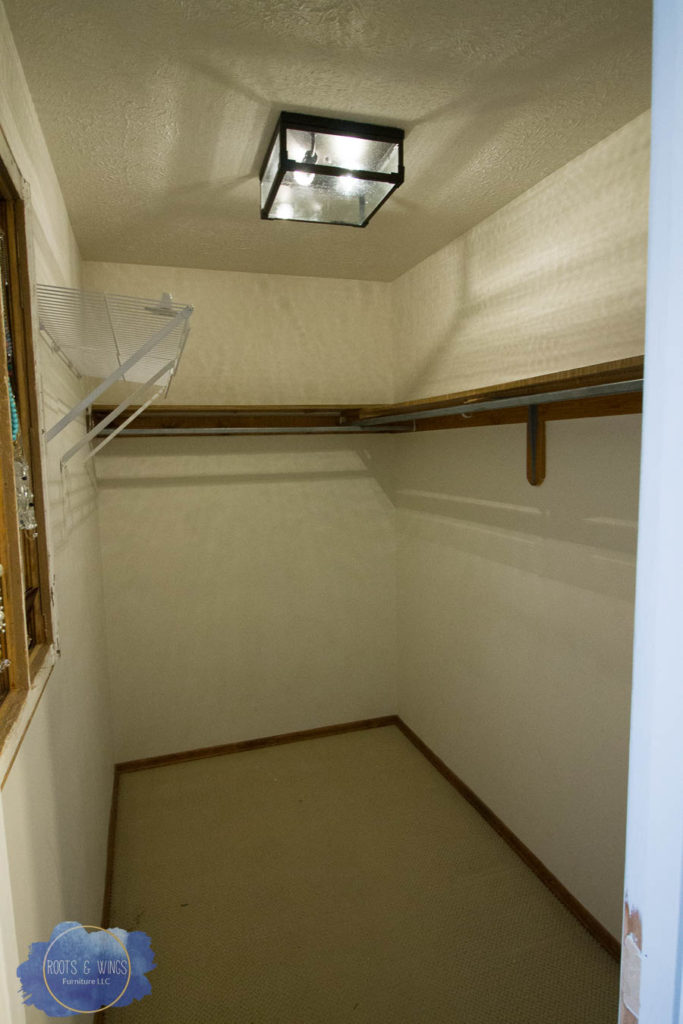
When we were finished, the closet looked like this! EMPTY! GLORIOUS! Pardon those terrible light bulbs. At this point I had changed the light fixture, to this flush mount one. But the light bulbs cast a funny spotted glow (that’s not the light fixture), I replaced them shortly after this!
Next up, painting and building – the best part!! Stay tuned…
Jenni

