Since our closet makeover is complete it’s time to move to the master bathroom. This room has been a design challenge. When we first moved in, we had plans to completely tear it all out and re-configure it. But due to budget constraints and just changing our mind on how we actually use the space, we are getting creative! So it’s a mini bathroom renovation, mostly with my favorite thing – paint! This is all about how to completely change the look and paint bathroom cabinets!
UPDATE: It’s been about a year since I completed this project and the cabinets are holding up great! No nicks or scratches, they are easy to clean and look 1000% better with a little paint. Just wanted to let you know how the paint was holding up since that’s a commonly asked question 😉
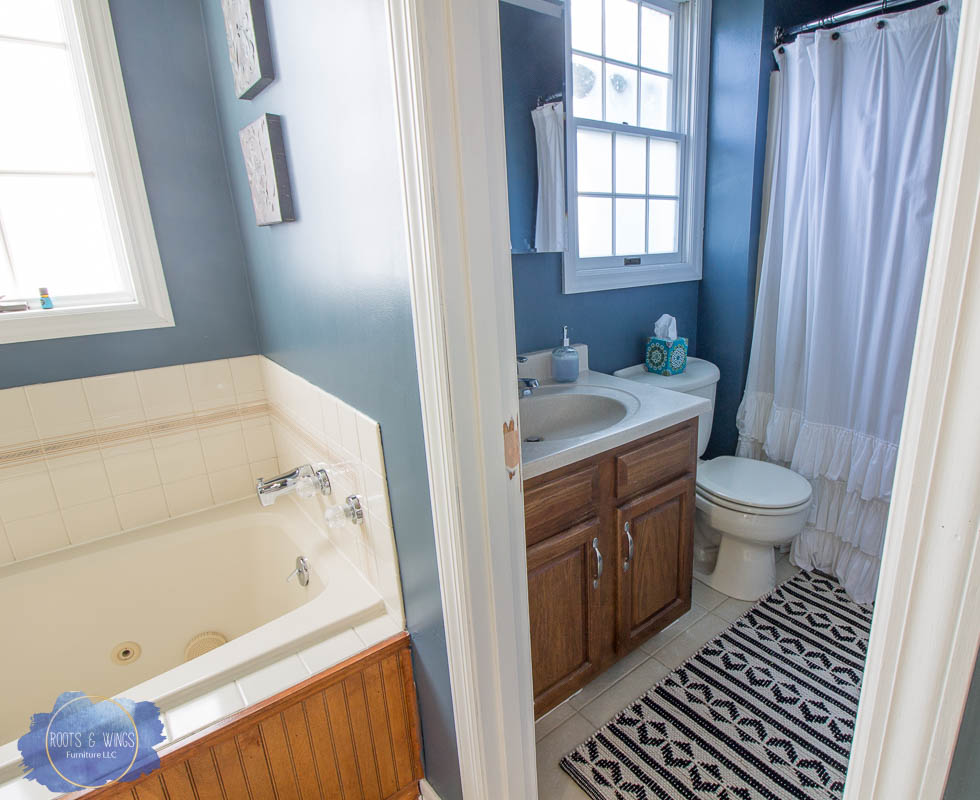
This was what we were dealing with. Builder grade, 80’s oak. Both the tub surround and the cabinets were this lovely shade of orange, and I knew they were no longer living their best life.
This post contains affiliate links to help you find the products I use and recommend. Using these links pays me a small commission but costs you no extra. To see my full disclosure policy, click here.
At some point along the way the vanity top had been replaced, and the hardware had been mildly updated, but this was just still needing a little something – so I grabbed my favorite thing – PAINT!
How to Paint your Bathroom Cabinets
SUPPLY LIST
- Hardware (if you choose to replace it). I picked these pulls. I didn’t replace my hinges because they went okay with the pulls I chose. However, also get new hinges if you are making a big change.
- 220 grit sandpaper
- White Lightning Cleaner
- Paper Towels
- Dixie Belle’s Gravel Road Chalk Paint
- A good quality paint brush – my favorite in this collection is the Flat Medium
- Dixie Belle’s Gator Hide
- Painter’s Tape
Step 1. Figure if you want to replace your hardware, and what you’d like to replace it with. I picked hardware that was the same size as the existing holes so I didn’t have to fill the holes and re-drill. I picked these bronze pulls, they are simple, and modern (and match the pulls I used on my laundry basket dresser which is in my closet).
Step 2. Do a little scuff sanding. There was some water damage or something on these cabinets that made them a little rough to the touch, so to smooth out the grain as well as give the paint a good surface to stick to, I just quickly scuff sanded with 220 grit sandpaper.
I chose to do the prep work with the doors in place – you can certainly take them off and move them, I just wanted to keep this as quick and easy as possible. Do what works for you!
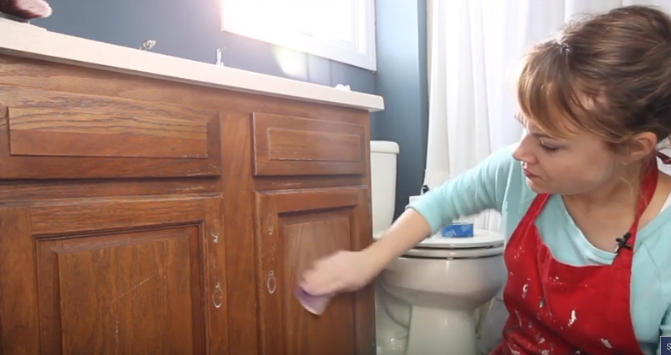
Step 3. Clean the cabinets, here I used White Lightning mixed with water in a spray bottle and some paper towels. It’s gross to see what all will come off your cabinets! I removed the doors after this step so I could paint them separately.
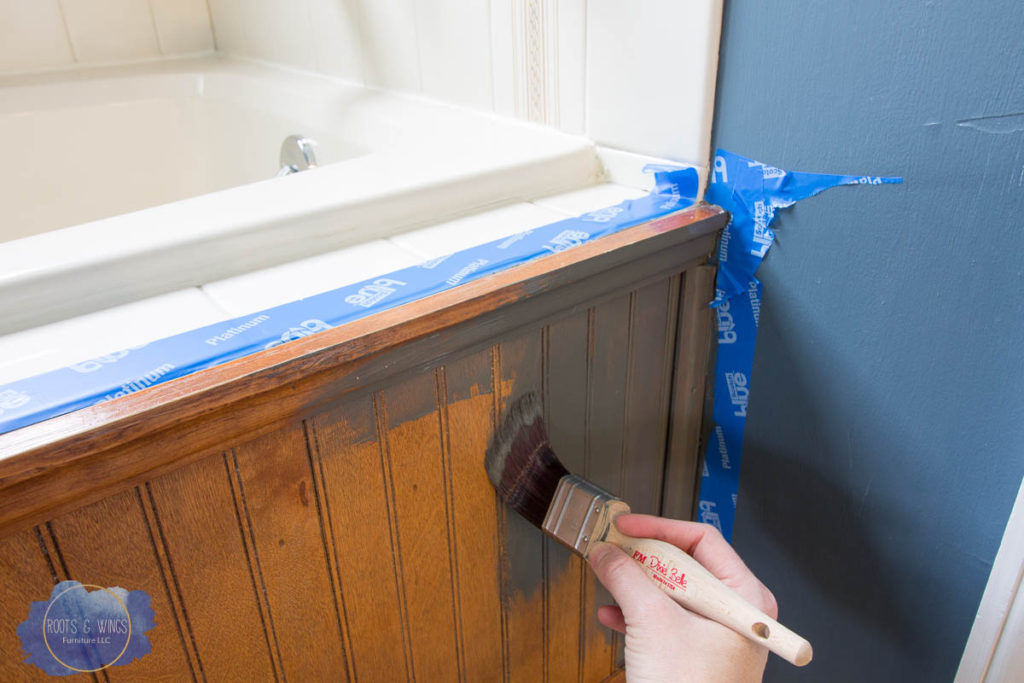
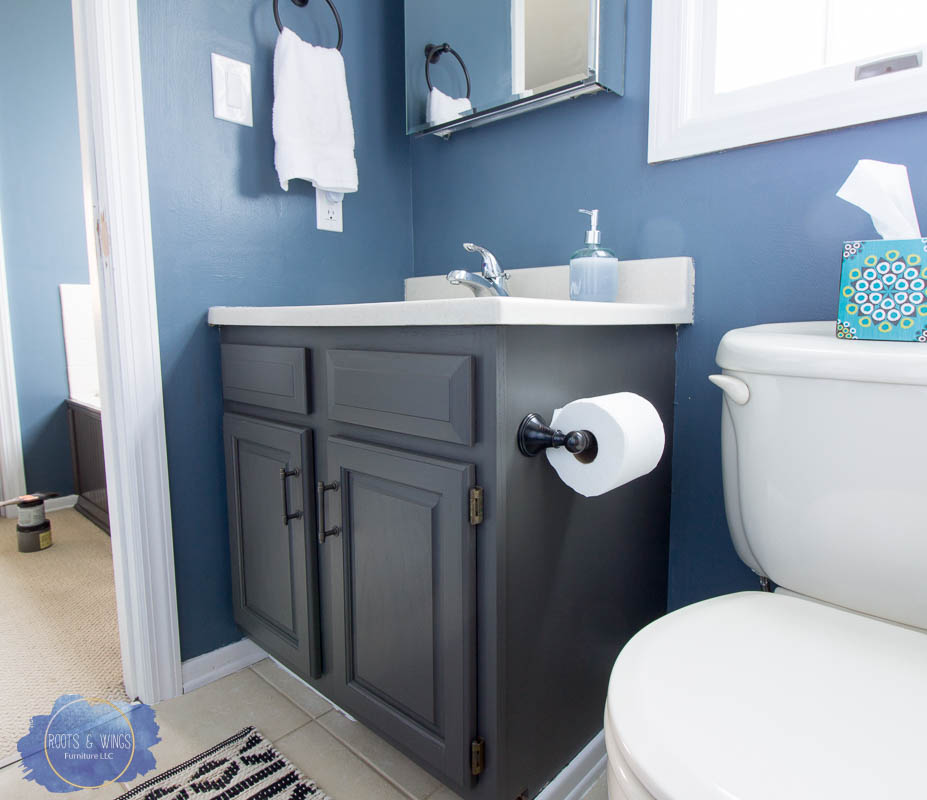
Step 4. Now comes the fun, it’s time to paint the bathroom cabinets! I’m using Dixie Belle’s Gravel Road. It’s a beautiful warm dark gray. It goes really well with the blue walls in and black and white accents in the room. It also contrasts with the light counter top which I like.
The color and coverage of this paint was excellent, and it only took one coat to cover completely!
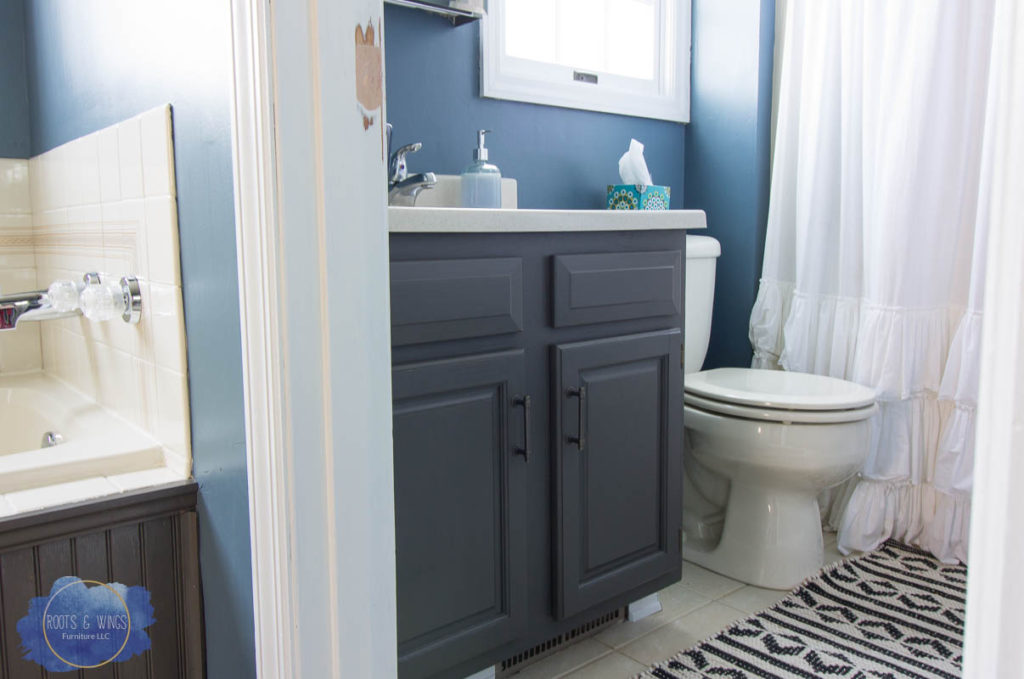
Step 5. Once the paint was dry, it was time to topcoat using Gator Hide. It’s water resistant, which is a necessity here. I brushed it on with a Dixie Belle brush and it gave a smooth finish with no brushstrokes. When the topcoat is dry, install the hardware, and this painted bathroom cabinet is finished!
Here’s the full video tutorial:
What a difference a few hours and some paint can make to this bathroom cabinet! If you’d prefer to stain your cabinets rather than paint, I have a tutorial on that for you here. Either way, it makes a world of difference!
Have I convinced you yet? Are you going to paint your bathroom cabinets??

More bathroom inspiration coming soon!
Jenni


I just subscribed! I was wondering how well this is holding up? I know it wasn’t that long ago but wondering because I’m thinking of going this way with my kitchen cabinets. They of course get a lot more use than a bathroom cabinet does but I need as simple as possible.
This has held up great! I think with good cleaning and prep this method would work just fine for your kitchen as well! I have a new kitchen cabinet tutorial coming this month… stay tuned 🙂
YOU really did a nice job. Could I do the same thing with my laminated cabinets/ vanity?
YES! Just do a bit more sanding before you paint to be sure to scratch up the smooth laminate finish.
GORGEOUS! I am getting ready to paint my oak bathroom cabinet a dark grey too! What size of the gator hide did you use? 8 oz 10 oz?
What is the color you painted that cabinet? Its gorgeous
This is called Gravel Road: https://dixiebellepaint.com/gravel-road-chalk-paint/?aff=177
I have an ugly bathroom cabinet I am painting but it has a fake drawer at the top that I would like to remove but need ideas how to do that
Sometimes they are just little clips that keep it on there, check that first?
I watched your youtube video and it was great! Your cabinets are lovely.
I’m painting my oak veneer cabinets white. Would like to paint them a distressed white. Any tips and or tutorials, i.e. primer.
Check out this post – I went lighter on kitchen cabinets: https://rootsandwingsfurniture.com/blog/how-to-paint-kitchen-cabinets/ also you can distress with sandpaper to get the look you want!
What color of paint did you use on your bathroom wall? I am looking for a blue for my living room and I really liked that color!
I used Needlepoint Navy. I really like it!
turned out really nicely! this will help me as I was considering painting my cabinet from dark brown to off white (not pure white) silvery but not shiny and this tutorial is easy, fun to follow — very timely and will come in handy! Thanks.
You are welcome!! Have a fun time with your project!